Dinner · Part 2 of 3: Instructions
Truffle Four Cheese Mac with Crispy Panko Cauliflower Skillet Step-by-step instructions
- Prep
- Cook
- Total
- Serves
- 6
Before you start
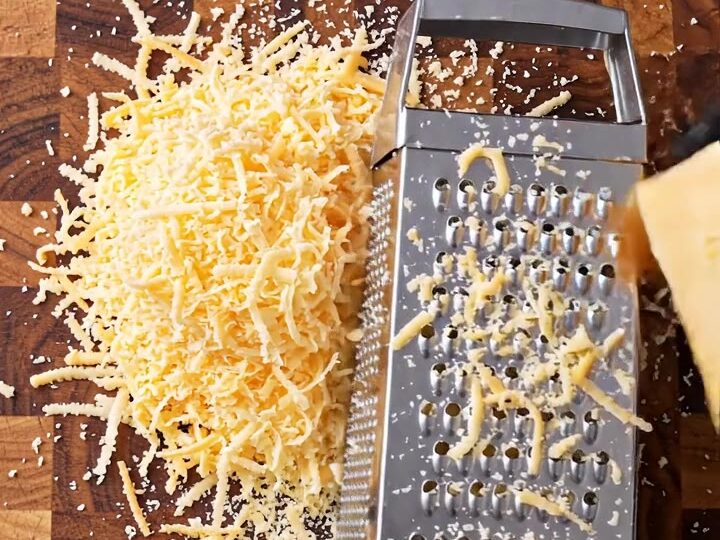
Before starting, heat the oven to 400°F (200°C) and position a rack in the middle. Prepare the cauliflower by cutting it into bite-sized florets and patting them dry. Grate the cheeses on a box grater: you'll need 1 1/2 cups each of Gruyere and cheddar, plus 1/2 cup each of Parmesan and mozzarella.
Measure out the remaining ingredients. Set a large pot of salted water to boil for the pasta. Have a large cast iron skillet ready, as well as a baking sheet for roasting the cauliflower. This mise en place will make the cooking process smooth and efficient.
Ingredients at a glance (16)
- 1 head cauliflower, cut into bite-sized florets
- 2 tbsp olive oil
- 1 tsp kosher salt
- 1/2 tsp black pepper
- 12 oz cavatappi pasta
- 4 tbsp unsalted butter
- 1/4 cup all-purpose flour
- 2 cups whole milk
- 1/2 cup heavy cream
- 2 tsp truffle oil
- 1 1/2 cups aged Gruyere, shredded
- 1 1/2 cups sharp cheddar, shredded
- 1/2 cup Parmesan, grated
- 1/2 cup low-moisture mozzarella, shredded
- 1 cup panko breadcrumbs
- 1/4 cup fresh chives, finely sliced
Instructions
Roasting and Pasta
- Prep and Roast the CauliflowerHeat the oven to 400°F (200°C). Cut the cauliflower into bite-sized florets and place them on a baking sheet. Drizzle with olive oil, sprinkle with salt and black pepper, and toss to coat. Roast for 20-25 minutes until golden and tender, stirring once halfway through.Look for The cauliflower should be golden brown at the edges and easily pierced with a fork.Tip For extra crispiness, don't overcrowd the baking sheet; give each floret some space.
- Cook the PastaBring a large pot of salted water to a boil. Add the cavatappi and cook according to package directions until al dente. Drain and set aside.Look for The pasta should be tender but still firm to the bite.Tip Reserve about 1/2 cup of pasta water in case you need to thin the sauce later.
At the end of this phase, the cauliflower should be golden brown with crispy edges, and the pasta should be al dente. The kitchen will smell of roasted vegetables and warm pasta.
Check that the cauliflower is tender enough to pierce with a fork, and that the pasta is still slightly firm to the bite. If the cauliflower isn't golden yet, give it a few more minutes, keeping an eye to prevent burning.
Making the Sauce
- Make the Truffle Cheese SauceIn a large cast iron skillet over medium heat, melt the butter. Whisk in the flour and cook for 1-2 minutes until lightly golden. Gradually whisk in the milk and heavy cream, stirring constantly until the mixture thickens and bubbles, about 5 minutes. Remove from heat and stir in the truffle oil, then gradually add the Gruyere, cheddar, Parmesan, and mozzarella, stirring until smooth and fully melted.Look for The sauce should be thick enough to coat the back of a spoon and completely smooth.Tip Add the cheese off the heat to avoid a grainy sauce.
- Combine Pasta and CauliflowerAdd the cooked cavatappi and roasted cauliflower to the skillet with the cheese sauce. Gently fold everything together until the pasta and cauliflower are evenly coated with the sauce.Look for Every piece of pasta and cauliflower should be coated in the creamy sauce.Tip Use a gentle folding motion to keep the cauliflower florets intact.
The cheese sauce should be thick, smooth, and glossy, with all the cheese fully melted. It should coat the back of a spoon and have a rich, creamy aroma with a hint of truffle. The sauce should not have any lumps, and the texture should be velvety. If the sauce seems too thick, you can add a splash of the reserved pasta water to loosen it. The skillet will be hot, so handle with care.
Baking and Serving
- Top and BakeSprinkle the remaining shredded cheese (about 1/2 cup) over the top of the mac and cheese. In a small bowl, combine the panko breadcrumbs with 1 tablespoon of melted butter (if needed) and scatter over the top. Bake in the preheated oven at 400°F (200°C) for 15-20 minutes until the top is golden and the sauce is bubbling.Look for The top should be deeply golden and the edges of the skillet bubbling.Tip If the panko browns too quickly, tent loosely with foil.
- Garnish and ServeRemove the skillet from the oven and let it sit for 5 minutes. Scatter the sliced chives over the top. Serve hot, pulling a portion with a spoon to show the cheese stretch.Look for The chives add a fresh green contrast and the cheese should be stretchy.Tip Letting it rest helps the sauce set slightly for cleaner serving.
The top should be golden brown and the edges bubbling, with a crisp panko crust that gives slightly when pressed. The cheese should be melted and stretchy when you pull a portion. The chives add a fresh green contrast. Let it rest for 5 minutes before serving to allow the sauce to set. The final dish should have a crunchy topping, a creamy interior, and a delightful cheese pull.
Common mistakes
One common mistake is overcooking the pasta, which can lead to a mushy texture. Cook it al dente, as it will continue to cook in the oven. Another is adding the cheese to a sauce that's too hot, which can cause it to separate and become greasy.
Remove the skillet from the heat before stirring in the cheese. Also, avoid overcrowding the baking sheet when roasting the cauliflower; give each floret space so it roasts rather than steams. Finally, don't skip the resting time after baking – it helps the dish hold together when served.
How to tell it’s done
The dish is done when the top is golden brown and the sauce is bubbling around the edges. The internal temperature of the casserole should reach at least 165°F (74°C) if you want to be precise, but since there are no raw proteins, the visual cues are key.
The cauliflower should be tender when pierced with a fork, and the cheese sauce should be thick and creamy, not thin or watery. Let it rest for 5 minutes before serving to allow the sauce to set slightly, making it easier to serve.
Up next · Part 3 of 3
4 variations · storage & make-ahead · 5 answers · printable card
Tips, FAQ & printable recipe (Part 3)← Back to the ingredients (Part 1)