Desserts · Part 1 of 3: Ingredients
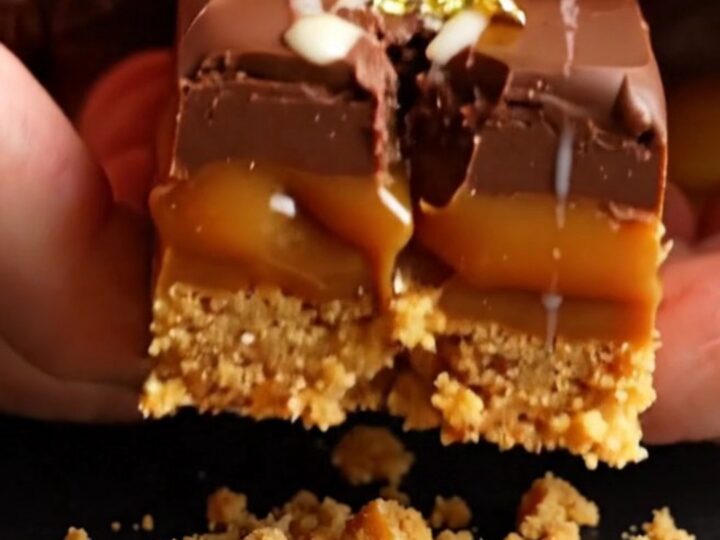
Triple-Layer Millionaire’s Shortbread with Salted Caramel
- Prep
- Cook
- Total
- Serves
- 12
Discover the art of creating the ultimate Millionaire's shortbread, featuring a perfect balance of buttery crumb, velvety salted caramel, and a crisp dark chocolate snap. This classic confection remains a favorite for its complex textures and luxurious finish, making it an essential recipe for any home baker looking to impress.
With just a few pantry staples, you can recreate this bakery-style masterpiece in your own kitchen, ensuring a professional result every time you prepare this delightful treat.
Millionaire's shortbread is a timeless dessert that combines three distinct layers into one harmonious bite. The foundation is a classic, tender shortbread biscuit that provides a necessary crunch. This is topped with a rich, slow-cooked caramel that brings a deep sweetness, and finally, a tempered dark chocolate layer that offers a satisfying snap.
By controlling the temperature of the caramel and ensuring the layers are fully cooled, you achieve a professional finish that looks as beautiful as it tastes. Perfect for gifting or serving at special gatherings, this recipe is straightforward yet deeply rewarding for those who appreciate traditional confectionery techniques.
Ingredients
Shortbread
- 1 cup unsalted butter, softened
Caramel
- 1 cup brown sugar
- 1 can sweetened condensed milk
Topping
- 10 oz 70% dark chocolate
- 2 tbsp white chocolate, for drizzling
- edible gold leaf, for serving
Why this recipe works
The method of cooking the caramel to exactly 225°F (107°C) is crucial because it ensures the sugar and milk solids reach the ideal consistency.
At this temperature, the water content evaporates sufficiently to create a stable, chewy texture that won't weep or become runny when sliced. This precise stage is the secret to achieving that signature pull without the caramel losing its structural integrity.
Layering the components requires patience, specifically allowing each tier to set before adding the next. By letting the shortbread cool fully before pouring the hot caramel, you prevent the butter in the base from melting and becoming greasy.
Similarly, chilling the caramel before adding the chocolate ensures a smooth, non-streaky finish that maintains a crisp snap when you bite into the final bar.
Notes and substitutions
For the best results, use a high-quality unsalted butter and a dark chocolate with at least 70% cocoa solids. The cocoa percentage is important for the final snap of the top layer; lower percentages may remain too soft. If you prefer a more pronounced saltiness, a light sprinkle of flaky sea salt on top of the caramel layer before adding the chocolate can elevate the flavor profile significantly.
Equipment choice plays a role in the success of the caramel. A heavy-bottomed saucepan is essential to prevent hot spots that can cause the condensed milk to scorch. If you do not have a digital candy thermometer, watch for the mixture to transition from a light foam to a thick, bubbling amber liquid that coats the back of a spoon, though a thermometer is highly recommended for accuracy.
- 70% dark chocolate: semisweet chocolate chips if preferred for a milder sweetness
- brown sugar: muscovado sugar for a deeper molasses flavor
Equipment
- 9x9 inch square baking pan
- heavy-bottomed saucepan
- whisk
- digital candy thermometer
- offset spatula
- parchment paper
Up next · Part 2 of 3
3 steps · 30 min of cooking · what to look for at each stage
Step-by-step instructions (Part 2)