Desserts · Part 2 of 3: Instructions
Triple Chocolate Fudge Cake with Rich Ganache Step-by-step instructions
- Prep
- Cook
- Total
- Serves
- 12
Before you start
Ensure all cake layers are completely cooled to room temperature before beginning the assembly process. If the sponges are even slightly warm, the fudge frosting will melt and slide off the sides, ruining the structure. Prepare the ganache and keep it in a warm place so it maintains a pourable, glossy consistency.
Have the serving platter ready and ensure there is enough space in the refrigerator for the cake to set once finished. Organize all ingredients and tools in the workspace to allow for a fluid assembly, as working quickly prevents the frosting from drying out or becoming too stiff to spread smoothly across the layers.
Ingredients at a glance (4)
- 3 layers chocolate sponge cake, made ahead
- 2 cups chocolate fudge frosting
- 1 cup chocolate ganache
- 1/4 cup mini chocolate chips
Instructions
Layering the sponge
- Assemble base layersPlace the first chocolate sponge cake layer onto the center of a cake stand or serving plate. Spread an even layer of chocolate fudge frosting over the top using an offset spatula, ensuring it reaches the edges.Look for The frosting should be smooth and level.Tip Use a room temperature frosting for easier spreading.
- Stacking the cakeRepeat the layering process by placing the second cake layer on top, followed by another generous portion of chocolate fudge frosting. Finally, add the third cake layer and frost the entire exterior of the cake with the remaining fudge frosting.Look for The cake should look uniform and fully covered in frosting.Tip Chill the cake for 20 minutes if the frosting feels too soft.
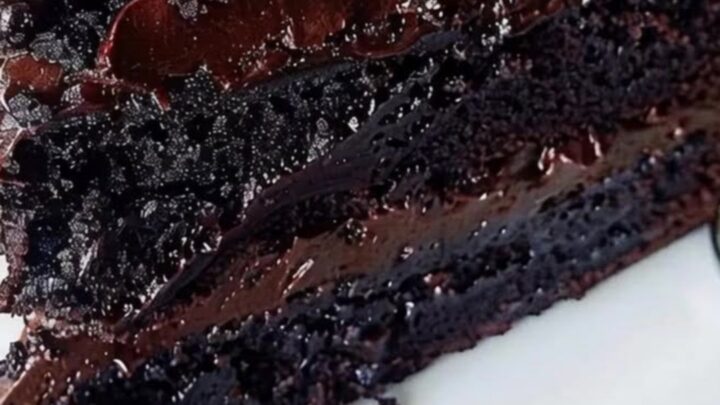
The cake layers should be perfectly stacked and aligned, with an even layer of fudge frosting separating each sponge.
The sides should look clean and the frosting should be level, providing a solid foundation for the remaining steps. Check that no crumbs migrate into the outer frosting layer to keep the finish neat and ready for the glaze.
Applying the ganache
- Apply ganache glazePour the prepared chocolate ganache over the center of the top cake layer. Use an offset spatula to gently guide the ganache toward the edges, allowing it to drip naturally down the sides to create a professional finish.Look for The ganache should be glossy and start to drip evenly.Tip Ensure the ganache is at room temperature so it does not melt the frosting.
The ganache should coat the top surface and drip down the sides in smooth, consistent lines. The finish must be glossy and reflective, indicating that the ganache was poured at the correct temperature for an ideal, professional appearance. Make sure the drips stop naturally before pooling excessively at the base of the cake.
Final setting
- Garnish and setSprinkle the mini chocolate chips over the top of the cake while the ganache is still tacky. If using homemade custard-based ganache, ensure it has been cooked to an internal temperature of 160°F (71°C) to ensure the eggs are fully set. Allow the cake to rest in a cool area for at least one hour to let the ganache set before slicing.Look for The ganache should be set to the touch.Safe temperature 160°F (71°C) internal temperature (egg dishes)Tip Use a warm, dry knife for clean, sharp slices.
The mini chocolate chips should be evenly distributed over the top. The ganache should no longer be runny, and the entire cake should appear stable and ready for slicing, with all components firmly in place for a perfect presentation. Touch the surface gently to ensure the chocolate coating is completely firm before cutting.
Common mistakes
A common mistake is attempting to frost a warm cake, which inevitably leads to a messy result as the fat in the frosting liquefies. Another frequent error is using a ganache that is too cold; if it becomes too thick, it will not pour smoothly and will create clumpy streaks rather than a glossy, mirror-like finish.
Finally, rushing the setting time is a mistake that prevents clean slicing. Always allow the cake the necessary time to rest in a cool environment, as this ensures the frosting and ganache firm up, allowing for sharp, beautiful slices that showcase the distinct layers of the cake.
How to tell it’s done
The cake is considered done when the ganache is set to the touch and the layers have stabilized. The entire assembly should feel firm but yield slightly when pressed. Because this recipe uses pre-made sponge layers, there is no internal temperature requirement for the cake itself.
However, if using fresh eggs in any part of the homemade frosting or ganache, ensure those components are cooked until reaching 160°F (71°C) to ensure safety. The final cake should be chilled for at least one hour before serving to allow all elements to meld together for the best possible texture and flavor profile.
- Egg dishes: 160°F (71°C) in the thickest part
Up next · Part 3 of 3
2 variations · storage & make-ahead · 3 answers · printable card
Tips, FAQ & printable recipe (Part 3)← Back to the ingredients (Part 1)