Dinner · Part 2 of 3: Instructions
Tender Slow Cooker Beef Tips in Rich Onion Gravy Step-by-step instructions
- Prep
- Cook
- Total
- Serves
- 6
Before you start
Before beginning, ensure your slow cooker insert is clean and dry. Prepare the beef by trimming any large, excessive external fat caps, though some marbling is desirable for flavor and texture. Cut the meat into uniform 2-inch cubes to ensure they all cook at the same rate.
Have your dry onion soup mix and beef broth ready. If you are serving this with sides like mashed potatoes or steamed vegetables, prepare them while the beef is in its final hour of cooking, as the beef will need to rest briefly once it is finished.
Ingredients at a glance (3)
- 2 1/2 lb beef chuck roast, cut into 2-inch cubes
- 1 packet dry onion soup mix
- 2 cups beef broth
Instructions
Initial Preparation
- Combine IngredientsPlace the cubed beef chuck roast into the bottom of the slow cooker. Sprinkle the dry onion soup mix evenly over the meat, then pour the beef broth over everything. Ensure the beef is mostly covered by the liquid.Look for The beef is submerged in the broth and seasoning.Tip Avoid over-crowding the slow cooker to ensure even cooking of the meat pieces.
The beef should be arranged in a single layer at the bottom of the slow cooker, covered by the broth and seasoning mix. It should look organized and ready for the long, slow heat. There should be enough liquid to cover about three-quarters of the meat, ensuring it stays moist during the initial stages of cooking.
Slow Cooking
- Slow CookCover the slow cooker with the lid. Set the temperature to low and cook for 8 hours until the beef is fork-tender. Ensure the beef reaches an internal temperature of 145°F (63°C). Once cooked, let the meat rest for at least 3 minutes before serving.Look for The meat is extremely tender and falling apart when prodded.Safe temperature 145°F (63°C) internal temperature (steaks, chops and roasts)Tip Cooking on low heat is essential for breaking down the tough connective tissues in the beef chuck.
During the long cook, the kitchen will begin to smell savory and rich. The beef will slowly soften, and the onion soup mix will infuse the broth with deep color and saltiness.
By the end of this phase, the meat should be visibly tender and the liquid should be bubbling gently, indicating that the collagen has begun to break down.
Final Service
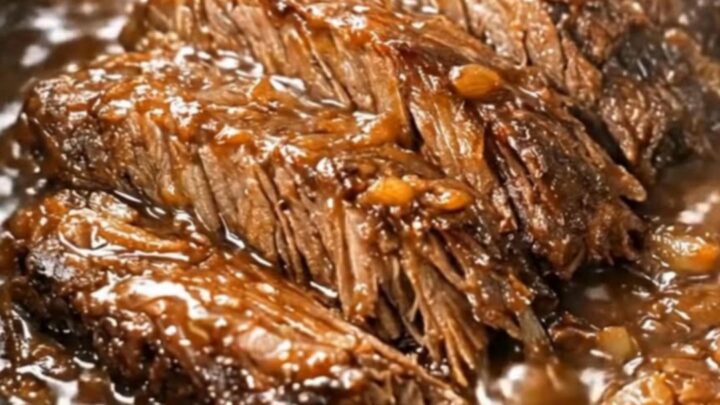
- ServeUsing tongs, lift the tender beef tips from the slow cooker and transfer them to a serving plate. Drizzle the rich, natural onion gravy from the slow cooker over the beef before serving.Look for The gravy is rich and coats the back of a spoon.Tip Serve immediately while the beef is hot and tender.
Once the beef is tender, use tongs to remove the pieces. The gravy remaining in the pot will be concentrated and flavorful. Ensure the beef is served immediately while it is still warm and tender, with the gravy drizzled generously over the top for the best presentation and flavor experience.
Common mistakes
A common mistake is lifting the lid too often during the cooking process. Every time the lid is opened, heat escapes and the cooking time is extended by 15 to 20 minutes.
Another error is using a cut of beef that is too lean, which will result in dry, tough meat regardless of how long it cooks. Finally, failing to ensure the beef is properly submerged in the broth can lead to uneven cooking, so arrange the meat pieces carefully before starting the slow cooker.
How to tell it’s done
To determine if the beef tips are done, use a fork to test the tenderness of the largest piece. The meat should yield instantly with almost no resistance, essentially pulling apart into shreds under the weight of the fork.
The internal temperature must reach at least 145°F (63°C) for safety. The gravy should be dark, aromatic, and thick enough to coat the back of a spoon. If the meat feels tough or rubbery, it likely needs more time to break down the connective tissue.
- Steaks, chops and roasts: 145°F (63°C) in the thickest part, then a 3-minute rest
Up next · Part 3 of 3
2 variations · storage & make-ahead · 3 answers · printable card
Tips, FAQ & printable recipe (Part 3)← Back to the ingredients (Part 1)