Dinner · Part 1 of 3: Ingredients
Sweet Vidalia Honey Hickory Beef Short Ribs
- Prep
- Cook
- Total
- Serves
- 4
Five ingredients. One slow cooker. Zero fuss. These Sweet Vidalia Honey Hickory Beef Short Ribs are the definition of set-it-and-forget-it cooking. Thick-cut bone-in short ribs get buried under sweet onions, brown sugar, and a generous pour of honey hickory barbecue sauce.
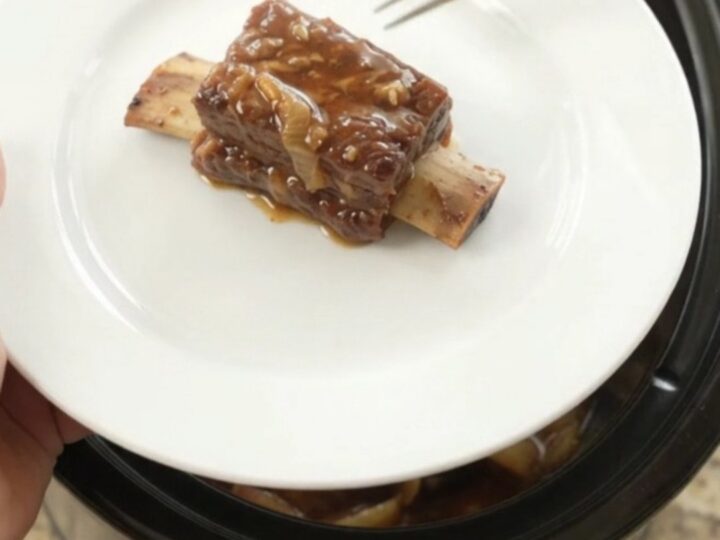
Eight hours later, the meat is so tender it practically falls off the bone, and the sauce has turned into a glossy, caramelized glaze. This is the kind of dinner that makes a weekday feel like a special occasion, yet it takes just ten minutes to throw together.
There are some recipes that become instant classics because they are almost too easy to believe. This slow cooker short rib recipe is one of them. You do not need to sear the meat, you do not need to build a complicated sauce, and you do not need to watch the pot.
Just layer the ingredients in the order they are given, cover, and walk away. The slow cooker does the rest, turning tough, marbled short ribs into fork-tender bites of beef that are coated in a sweet, smoky, onion-flecked glaze. Serve them over mashed potatoes, polenta, or crusty bread to soak up every last drop.
Ingredients
- 4 lb bone-in English-cut beef short ribs
- 3 medium Vidalia onions, thinly sliced
- 1/2 cup packed light brown sugar
- 2 cups honey hickory barbecue sauce
Why this recipe works
The magic of this recipe lies in the combination of low heat, time, and the natural sugars in the onions and brown sugar. As the short ribs cook slowly, the collagen in the meat breaks down into gelatin, which gives the meat its signature melt-in-your-mouth texture.
Meanwhile, the Vidalia onions release their moisture and slowly caramelize in the sauce, adding a subtle sweetness and body that you cannot get from any bottled sauce alone. The brown sugar deepens the caramelization and helps the sauce cling to the meat.
The honey hickory barbecue sauce provides a double layer of flavor: the honey adds floral sweetness that complements the onions, while the hickory smoke gives the dish a barbecue depth that usually requires hours over a smoker.
Because the sauce is added from the start, it infuses the meat as it cooks, rather than just coating the surface. The result is a cohesive, deeply flavored dish where every component works together. This method also means there is no splattering oil or burned sugar to scrub off the stovetop.
Notes and substitutions
The cut of meat matters here. English-cut short ribs are thick, meaty rectangles cut from the chuck, with a single bone running through the center. They are ideal for slow cooking because they have plenty of marbling and connective tissue that breaks down into rich, beefy flavor. If you can only find flanken-style ribs (cut across the bone into thin strips), they will work, but they cook faster and may become dry if left for the full 8 hours. Stick with English-cut if possible.
Vidalia onions are prized for their sweetness and low sulfur content, which makes them milder than regular onions. If you cannot find them, any sweet onion variety will work. The brown sugar is not just for sweetness—it helps the onions caramelize and creates a sticky glaze. For the BBQ sauce, look for one that lists honey and hickory smoke as prominent flavors. A sauce that is too tangy or too thin will not produce the same glossy finish. You can also use a smoky sauce and stir in a tablespoon of honey.
- Vidalia onions: Any sweet onion, such as Walla Walla or Maui, works. Yellow onions are fine but slightly sharper.
- honey hickory barbecue sauce: Use any sweet and smoky BBQ sauce; add 2 tablespoons honey if the sauce is not sweet enough.
- light brown sugar: Dark brown sugar adds more molasses depth. Coconut sugar can replace it 1:1.
- bone-in English-cut short ribs: Boneless short ribs work, but reduce cook time to 6–7 hours and check tenderness early.
Equipment
- 6-quart slow cooker
- Tongs
- Carving fork
- Cutting board
- Serving plate
Up next · Part 2 of 3
5 steps · 8 h of cooking · what to look for at each stage
Step-by-step instructions (Part 2)