Desserts · Part 1 of 3: Ingredients
Strawberry Rhubarb Tart with Vanilla Custard and White Chocolate
- Prep
- Cook
- Total
- Serves
- 8
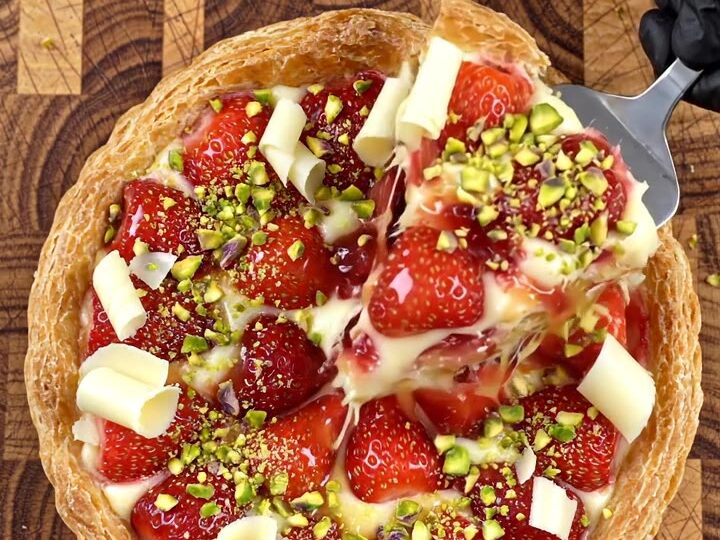
This strawberry rhubarb tart is a celebration of spring: flaky puff pastry, luscious vanilla custard, and bright, tangy fruit, all crowned with white chocolate curls and pistachios.
The geometric chevron pattern makes it as beautiful as it is delicious, perfect for a special dessert or a weekend baking project. With simple ingredients and a straightforward method, this tart delivers impressive results every time.
This tart is a study in contrasts: crisp, buttery pastry against silky custard; tart rhubarb and sweet strawberries against rich white chocolate; and a pop of green pistachios for crunch.
The vanilla bean custard provides a creamy base that ties all the flavors together, while the apricot glaze adds a professional shine. Whether served warm from the oven or at room temperature, this tart is a showstopper that will impress family and friends alike.
Ingredients
- 1 sheet puff pastry, thawed
- 1 1/2 cups vanilla bean pastry custard
- 4 stalks rhubarb, sliced on diagonal
- 1 cup strawberries, hulled and halved
- 4 oz white chocolate, grated into curls
- 1 egg, beaten with 1 tbsp water
- 1/4 cup apricot glaze
- 1/4 cup pistachios, chopped
Why this recipe works
The combination of rhubarb and strawberries is a classic pairing, with the rhubarb's sharpness balancing the strawberries' sweetness. Slicing the rhubarb on a diagonal bias creates long, elegant ribbons that not only look beautiful but also cook evenly.
The vanilla custard adds richness and a comforting creaminess, while the white chocolate brings a subtle sweetness and a luxurious texture that melts in the mouth.
Using puff pastry as the base simplifies the process while still delivering a flaky, buttery crust. The egg wash ensures a golden, glossy finish, and the apricot glaze adds shine and a hint of fruitiness.
The chevron arrangement of the fruit is not just for looks—it allows the fruit to cook uniformly and creates a stunning visual impact that makes this tart worthy of any celebration.
Notes and substitutions
For the best flavor, use ripe but firm strawberries and fresh rhubarb stalks that are bright red and crisp. If rhubarb is out of season, frozen rhubarb can be used, but thaw and pat it dry before slicing. The vanilla bean pastry custard can be homemade or store-bought; if making it from scratch, ensure it is thick enough to hold its shape when spread on the pastry.
White chocolate is best grated when cold; chill it for 15 minutes in the freezer for easier handling. Pistachios should be unsalted and roughly chopped for a nice crunch. If you prefer a less sweet tart, reduce the white chocolate or omit it altogether—the tart will still be delicious. For a nut-free version, skip the pistachios or replace them with toasted sesame seeds.
- vanilla bean pastry custard: Use a thick vanilla pudding or pastry cream from a mix, or a store-bought vanilla custard.
- white chocolate: Semi-sweet or milk chocolate can be used if preferred, but the white chocolate's sweetness balances the tart rhubarb.
- apricot glaze: Melted apricot jam mixed with a little water can be used as a substitute.
- pistachios: Sliced almonds or chopped hazelnuts work well, if pistachios are unavailable.
Equipment
- Box grater
- Pastry brush
- Baking sheet
- Parchment paper
- Sharp knife
- Cutting board
- Offset spatula
Up next · Part 2 of 3
7 steps · 35 min of cooking · what to look for at each stage
Step-by-step instructions (Part 2)