Desserts · Part 1 of 3: Ingredients
Strawberry Pink Velvet White Chocolate Mousse Cake Recipe
- Prep
- Cook
- Total
- Serves
- 10
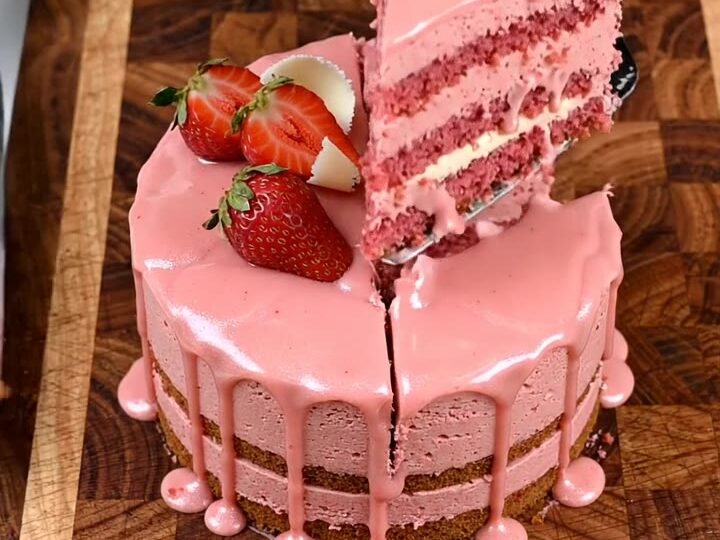
Imagine a slice of pink, glossy strawberry cake that reveals creamy white chocolate mousse and fresh berries inside. Every layer is simple to build, and the dessert sets in the fridge rather than the oven, so it is easy to plan ahead for a party or a special dinner at home.
This strawberry pink velvet white chocolate mousse cake is built from three simple parts: fresh strawberries, a white chocolate mousse lightened with whipped cream, and a glossy pink glaze. You start by slicing the berries and grating white chocolate into fine shavings for the garnish.
The mousse is whipped and layered in a clear glass bowl with the strawberries, then set in a round tin and finished with the pink glaze, whole berries and chocolate pieces.
Once chilled, the cake slices cleanly and shows its pink and white layers. The method takes patience more than skill, and every step is designed to keep the mousse light, the fruit fresh and the finish smooth.
Ingredients
Strawberry layer
- 1 lb fresh strawberries, hulled, sliced into halves and quarters
Mousse
- 8 oz white chocolate, finely chopped, plus extra for grating and garnish
- 2 cups cold heavy cream
- 2 tbsp confectioners' sugar
- 1 tsp vanilla extract
- 1 tsp unflavored powdered gelatin
- 1 tbsp cold water, for blooming the gelatin
Pink glaze
- 1/2 cup strawberry purée, from ripe strawberries
- 2 tbsp granulated sugar
- 1 tsp unflavored powdered gelatin, bloomed in 1 tbsp cold water
- pink food coloring, to taste
Assembly
- round cake layer or sponge, store-bought or made ahead, to taste
Why this recipe works
White chocolate has a high cocoa butter content and a milder flavor than dark chocolate, so it blends smoothly into whipped cream without turning bitter.
Melting it gently and folding it into cream keeps the mousse light, silky and easy to slice. Gelatin gives the mousse enough body to hold its shape once chilled, which is what makes the layers stay clean.
Cold heavy cream whips to soft peaks more easily and holds air better than warm cream. Chilling the layers between additions keeps the strawberries from sinking and the mousse from softening.
The pink glaze sets with its own gelatin, so it stays glossy on the sides of the cake rather than running off the plate.
Notes and substitutions
Choose ripe, fragrant strawberries for both the layers and the glaze. Firm berries will give a paler, less juicy purée, and overripe fruit can make the mousse watery. Pat the berries dry before slicing so the layers stay thick and the cream holds its texture.
Use a clear glass bowl for the layering stage so you can see each layer as you build it. A round 8-inch springform or cake tin makes unmoulding simple. A four-sided box grater gives the fine shavings used for garnish. If you prefer a deeper pink, raspberry purée works well in place of strawberry purée.
- strawberry purée: raspberry purée for a deeper pink glaze
- heavy cream: chilled whipping cream with at least 35 percent fat
- powdered gelatin: gelatin sheets, softened in cold water and squeezed dry
Equipment
- Long chef's knife
- Checkered wooden cutting board
- Four-sided box grater
- Clear glass bowl
- Round 8-inch springform or cake tin
- Stand or hand mixer
- Fine-mesh sieve
Up next · Part 2 of 3
8 steps · 10 min of cooking · what to look for at each stage
Step-by-step instructions (Part 2)