Breakfast · Part 1 of 3: Ingredients
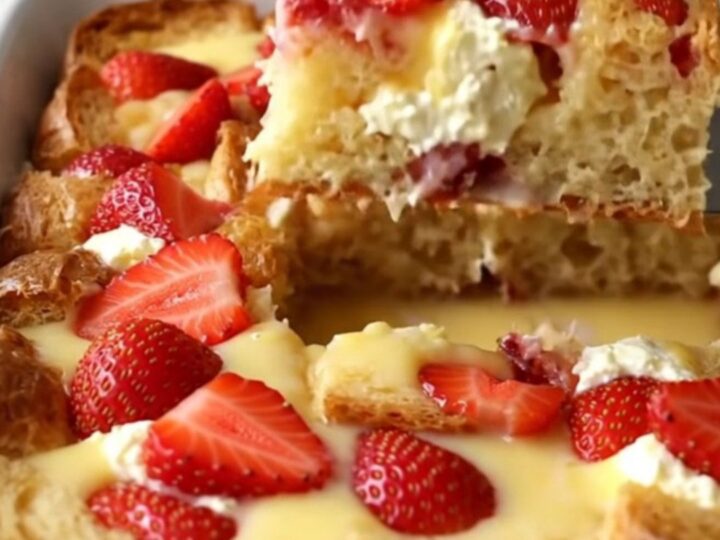
Strawberry Cream Cheese French Toast Bake
- Prep
- Cook
- Total
- Serves
- 8
Discover the ultimate morning indulgence with this strawberry cream cheese French toast bake. By combining buttery brioche, creamy pockets of cheese, and a delicate vanilla custard, this recipe transforms simple pantry staples into a restaurant-quality breakfast.
It is designed for ease and elegance, making it the perfect centerpiece for slow weekend mornings or special gatherings. Follow these straightforward steps to achieve a perfectly golden bake that will impress everyone at the table with its textures and flavors.
This French toast bake relies on the quality of the bread and the balance of the custard to create a dish that is soft, rich, and slightly sweet. Brioche is the ideal choice due to its high butter content, which ensures a tender crumb that holds up well when soaked.
The cream cheese adds a tangy contrast that cuts through the sweetness, while fresh strawberries provide a bright, fruity finish. Baking the dish instead of frying individual slices allows the flavors to meld perfectly while offering a convenient way to serve a crowd without standing over the stove.
Ingredients
Base
- 1 lb brioche bread, cut into 1-inch cubes
- 8 oz cream cheese, cut into small cubes
Custard
- 6 large eggs
- 1 tsp vanilla extract
Topping
- 2 cups fresh strawberries, sliced
Why this recipe works
The method of soaking bread cubes in a custard mixture ensures that the moisture penetrates deep into the brioche. Because the bread is cubed rather than left in whole slices, it creates more surface area for the custard to soak in, resulting in a consistent, pudding-like texture throughout the entire dish.
This structural approach prevents the bottom from becoming overly soggy while keeping the top crisp and golden during the baking process.
Distributing cream cheese in small, intentional pockets allows for concentrated bursts of flavor and richness in every bite. When the dish bakes, the cream cheese softens and blends slightly with the surrounding custard, creating a luxurious mouthfeel that complements the texture of the bread.
Using fresh strawberries on top adds a natural acidity that balances the richness of the dairy, rounding out the profile of the dish and providing a vibrant visual appeal.
Notes and substitutions
When selecting ingredients, ensure the brioche is fresh enough to be soft but sturdy enough to hold its shape when cubed. If the bread is too dry, it may absorb too much liquid and lose its texture. The custard relies on the eggs and vanilla to provide the necessary richness for a creamy finish, which is essential for the overall success of this breakfast bake.
For equipment, a ceramic baking dish is ideal as it retains heat well and promotes even cooking without scorching the edges. A sharp serrated knife is essential for cutting the bread into uniform cubes without squashing the delicate structure of the brioche. Always use a whisk to ensure the eggs and vanilla are thoroughly combined, as any streaks of egg white can create an uneven texture or appearance in the final baked dish.
- brioche bread: challah or thick-cut white bread
Equipment
- 9x13 inch ceramic baking dish
- large mixing bowl
- whisk
- spatula
- knife
- cutting board
Up next · Part 2 of 3
3 steps · 40 min of cooking · what to look for at each stage
Step-by-step instructions (Part 2)