Desserts · Part 1 of 3: Ingredients
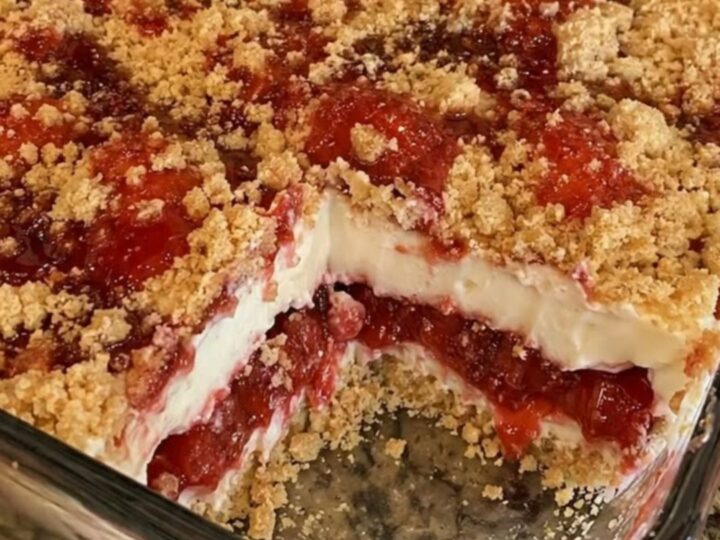
Easy Strawberry Cheesecake Dump Cake with Buttery Crumble
- Prep
- Cook
- Total
- Serves
- 8
Discover the ultimate comfort dessert that balances vibrant fruit, rich creaminess, and a buttery crunch. This strawberry cheesecake dump cake is designed for those moments when you crave a decadent treat without spending hours in the kitchen.
By layering simple pantry staples, you create a professional-style crumble that is impossible to resist. Perfect for gatherings or a quiet weekend at home, this recipe transforms basic ingredients into a warm, inviting masterpiece that will surely become a staple in any home baker's collection.
This strawberry cheesecake dump cake relies on the magic of simple assembly. By placing fresh or frozen strawberries at the base, you create a natural fruit reduction that thickens as it bakes.
The middle layer of softened cream cheese melts into the fruit, creating a luxurious, silky contrast to the crisp, buttery cake mix topping.
The process is streamlined to ensure that the flavors meld perfectly while the oven does the heavy lifting, resulting in a dessert that feels sophisticated yet remains incredibly approachable for cooks of any skill level.
Ingredients
Filling
- 24 oz frozen or fresh strawberries
- 16 oz cream cheese, softened
Topping
- 1 box yellow cake mix
Why this recipe works
The method of layering works because it allows the fruit juices to steam the cake mix from beneath while the oven heat crisps the top. As the strawberries release their moisture, they meld with the cream cheese, creating a self-saucing effect that keeps the dish moist and flavorful throughout the baking process.
Using a dry cake mix as the primary component for the topping provides a consistent texture that is light and slightly crisp.
When baked, the flour and leavening agents in the mix transform into a golden, biscuit-like crumble that perfectly balances the density of the cream cheese and the acidity of the strawberries.
Notes and substitutions
For the best results, use full-fat cream cheese to ensure the filling remains rich and stable during baking. If you prefer a less sweet dessert, ensure you choose a cake mix that is not overly sugary, as the mix itself provides a significant amount of sweetness to the final dish.
When it comes to equipment, a glass baking dish is recommended as it allows you to monitor the browning of the bottom and edges. If you only have a metal pan, be prepared to check for doneness a few minutes early, as metal conducts heat more efficiently and may brown the crust faster than glass.
- yellow cake mix: white or vanilla cake mix
Equipment
- 9x13 inch glass baking dish
- mixing bowl
- whisk
- spatula
- measuring cups
Up next · Part 2 of 3
3 steps · 45 min of cooking · what to look for at each stage
Step-by-step instructions (Part 2)