Dinner · Part 1 of 3: Ingredients
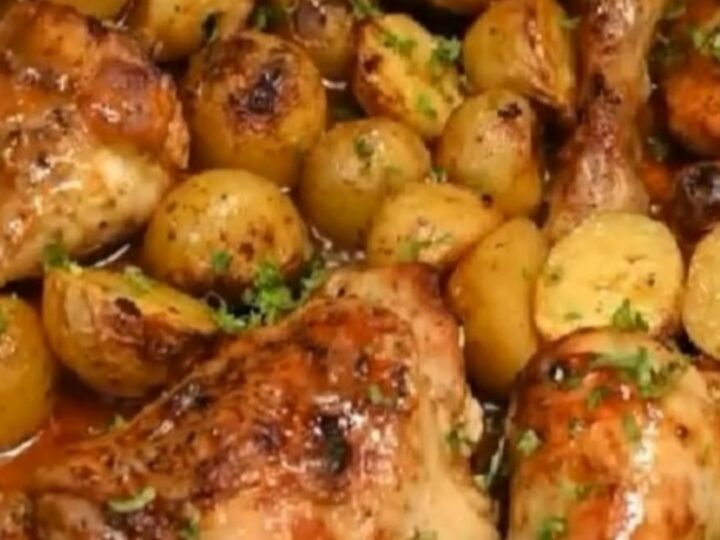
Sticky Honey Garlic Chicken and Potatoes One-Pan Dinner
- Prep
- Cook
- Total
- Serves
- 4
Bring a burst of sweet, savory flavor to your dinner table with this simple one-pan roasted chicken and potato recipe. Perfect for busy weeknights, this dish delivers crispy chicken skin and tender potatoes coated in a rich, glossy honey garlic glaze. It is an effortless meal that requires minimal cleanup and guarantees clean plates every time.
Finding a dinner recipe that satisfies everyone while keeping kitchen cleanup to a minimum can be a challenge. This sticky honey garlic chicken and potatoes is the perfect solution. By roasting bone-in chicken drumsticks and baby potatoes together on a single pan, you allow the rich chicken juices to flavor the potatoes as they cook.
The real magic happens in the final fifteen minutes of baking, when a simple three-ingredient glaze of honey, soy sauce, and fresh garlic is poured over the top. The glaze bubbles and caramelizes in the oven, clinging to the crispy chicken skin and creating a sticky, savory coating that is absolutely irresistible.
Ingredients
- 8 chicken drumsticks
- 1 1/2 lb baby potatoes, halved
Honey Garlic Sauce
- 1/2 cup honey
- 1/4 cup soy sauce
- 4 cloves garlic, minced
- Fresh parsley, chopped, for serving
Why this recipe works
Roasting the chicken and potatoes together at a high temperature is the absolute key to achieving the perfect texture without needing extra fats. The dry heat of the oven quickly renders the natural fat from the chicken skin, allowing it to become incredibly thin, blistered, and crispy.
Meanwhile, the baby potatoes sit in these savory drippings, absorbing the rich flavors as they roast, which helps them develop a beautiful golden exterior while remaining fluffy on the inside.
Adding the sweet honey garlic glaze during the last phase of cooking prevents the sugars in the honey from burning. Honey caramelizes extremely quickly under high heat, so applying it too early in the roasting process would result in a bitter, scorched pan.
By waiting until the chicken is nearly cooked through, the glaze has just enough time to reduce, bubble, and cling to the ingredients, creating a glossy, sticky, and perfectly balanced sweet-and-savory finish.
Notes and substitutions
For the best results, choose bone-in, skin-on chicken drumsticks for this recipe. The bone helps keep the meat incredibly juicy during the roasting process, while the skin provides the perfect canvas for the sticky glaze to cling to.
Baby potatoes, such as red-skinned or Yukon Gold varieties, are ideal because their thin skins do not require peeling, and they hold their shape beautifully when halved and roasted alongside the poultry, absorbing all the savory pan juices.
A heavy-duty deep metal roasting pan is absolutely essential for this recipe to contain all the bubbling juices and glaze. It provides enough surface area to spread the chicken and potatoes in a single layer, ensuring they roast beautifully rather than steam in their own moisture. If you need to substitute the soy sauce, tamari is an excellent gluten-free alternative that retains the deep, savory umami flavor needed to balance the intense sweetness of the honey.
- soy sauce: tamari or coconut aminos for a gluten-free option
- chicken drumsticks: bone-in, skin-on chicken thighs, adjusting the cook time as needed
Equipment
- deep metal pan
- small mixing bowl
- whisk
- meat thermometer
- chef knife
Up next · Part 2 of 3
5 steps · 45 min of cooking · what to look for at each stage
Step-by-step instructions (Part 2)