Dinner · Part 2 of 3: Instructions
Sticky Honey Garlic Beef Ribs Step-by-step instructions
- Prep
- Cook
- Total
- Serves
- 4
Before you start
Before starting, ensure the slow cooker is clean and positioned on a level surface with enough clearance around it for ventilation. Gather all ingredients and measure the honey carefully to maintain the correct consistency of the glaze.
If the ribs are large, cut them into individual segments using a sharp knife on a stable cutting board. Ensure the garlic is minced finely so it distributes evenly throughout the sauce, rather than clumping in one spot.
Ingredients at a glance (3)
- 4 lbs beef ribs, cut into individual pieces
- 1/2 cup honey
- 4 cloves garlic, minced
Instructions
Prep and Arrangement
- Prepare the ribsPlace the beef ribs into the slow cooker bowl. Ensure the ribs are distributed evenly to allow for uniform cooking throughout the process.Look for ribs are arranged in a single layer if possibleTip Pat the ribs dry with paper towels before placing them in the cooker for a cleaner sear.
At this stage, the ribs should be neatly arranged within the slow cooker. Ensure they are not overcrowded, which allows the heat to circulate properly. The meat should be dry and room temperature before you begin the glazing process.
This preparation ensures that the ribs cook evenly and prevents the sauce from becoming diluted by excess moisture, setting the foundation for the deep flavors that will develop during the long, slow cook.
Glazing the Ribs
- Apply glazeIn a small bowl, whisk together the honey and minced garlic until fully combined. Pour this mixture over the ribs, ensuring every piece is thoroughly coated in the glaze.Look for sauce is smooth and well-incorporatedTip Using a silicone spatula helps scrape all the honey out of the measuring cup.
The glaze should be thick, aromatic, and perfectly smooth. After pouring the honey-garlic mixture over the ribs, verify that every piece is thoroughly coated. The scent of the garlic and honey should be prominent. Check that no sauce has pooled excessively at the bottom without touching the meat. A well-coated rib at this stage ensures consistent caramelization and flavor development as the slow cooker begins to build heat.
Slow Cooking
- Slow cook and serveCover the slow cooker and cook on low heat for 8 hours. The ribs are done when they reach an internal temperature of 145°F (63°C). Allow the meat to rest for at least 10 minutes before serving to ensure tenderness.Look for meat is fork-tender and pulls away from the boneSafe temperature 145°F (63°C) internal temperature (steaks, chops and roasts)Tip Use tongs to carefully remove the ribs so they do not fall apart before plating.
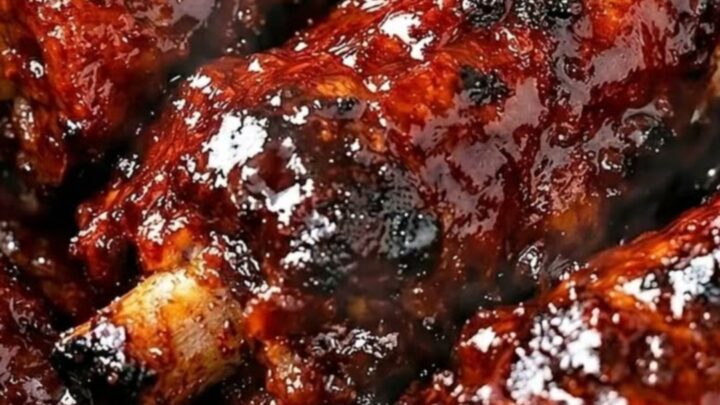
By the end of the cooking phase, the kitchen should be filled with the rich, sweet, and savory aroma of the honey-garlic glaze. The ribs should look dark, glossy, and incredibly tender, with the meat visibly pulling away from the bone ends.
Before serving, verify the internal temperature of the thickest part of the meat is 145°F (63°C). The sauce should have thickened into a rich, sticky coating that clings beautifully to the beef.
Common mistakes
A common mistake is adding too much liquid, which can result in a thin, watery sauce. Stick to the provided proportions to ensure the glaze achieves that signature sticky texture.
Another error is checking the ribs too frequently by lifting the lid; this allows heat to escape and significantly increases the cooking time. Trust the slow cooker to do its work and avoid opening the lid until the final hour of the cooking cycle.
How to tell it’s done
The ribs are perfectly done when the meat is exceptionally tender and pulls away from the bone with minimal resistance. Use a meat thermometer to verify the internal temperature has reached at least 145°F (63°C). The glaze should be thick, glossy, and clinging to the meat. If the meat offers too much resistance when poked with a fork, it may require additional time in the slow cooker to fully break down.
- Steaks, chops and roasts: 145°F (63°C) in the thickest part, then a 3-minute rest
Up next · Part 3 of 3
2 variations · storage & make-ahead · 3 answers · printable card
Tips, FAQ & printable recipe (Part 3)← Back to the ingredients (Part 1)