Dinner · Part 3 of 3: Tips & recipe card
Sticky Garlic BBQ Ribs for Tender Fall-Off-The-Bone Results Tips, FAQ & printable recipe
- Prep
- Cook
- Total
- Serves
- 4
Tips for success
To maximize the flavor of the garlic, consider letting the prepared glaze sit in the refrigerator for at least an hour before use. This allows the oils in the garlic to permeate the barbecue sauce more effectively, resulting in a more complex and balanced flavor profile.
If you find the glaze is too thick, you can thin it slightly with a teaspoon of water or apple cider vinegar to ensure an easier application.
For the best results when serving, use a sharp serrated knife to cut between the bones after the ribs have rested. This prevents the delicate meat from tearing and ensures each portion remains intact. Resting the meat is non-negotiable, as it allows the juices to redistribute throughout the fibers, which is critical for maintaining the moisture and tenderness achieved during the slow-roasting process.
Variations
- Spicy Garlic Ribs: Add two teaspoons of crushed red pepper flakes or a tablespoon of sriracha to the BBQ sauce and garlic mixture before glazing the ribs to introduce a bold, spicy kick.
- Herb-Infused Ribs: Stir one tablespoon of finely chopped fresh rosemary or thyme into the garlic BBQ sauce to provide an earthy, aromatic layer that complements the sweetness of the barbecue glaze.
Storage and make-ahead
- Fridge
- Store in an airtight container for up to 3 days.
- Freezer
- Wrap tightly in plastic wrap and foil; freeze for up to 2 months.
- Reheat
- Reheat in a 300°F (150°C) oven until warmed through, brushing with a little extra sauce if desired.
Store any leftover ribs in an airtight container to prevent them from drying out in the refrigerator. If you have extra glaze, store it in a separate small container. The ribs will remain in good condition for up to three days when stored properly. Avoid keeping the ribs at room temperature for longer than two hours to ensure food safety and maintain the best possible quality for later consumption.
You can prepare the ribs through the slow-roasting phase up to one day in advance. After the initial roast, allow the ribs to cool completely in their foil, then refrigerate them.
When ready to serve, bring the ribs to room temperature, brush with the fresh garlic BBQ glaze, and proceed with the broiling step as directed. This method saves significant time on the day of your event without compromising the final texture or flavor.
Serving ideas
These sticky garlic BBQ ribs are best served hot, directly from the oven after the resting period. Arrange them on a large platter or individual plates alongside your chosen sides.
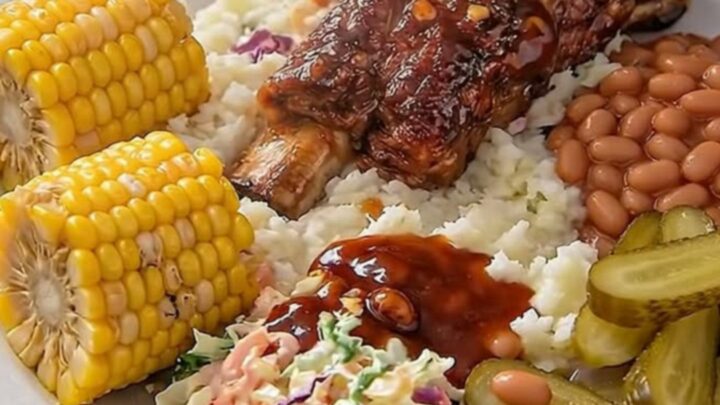
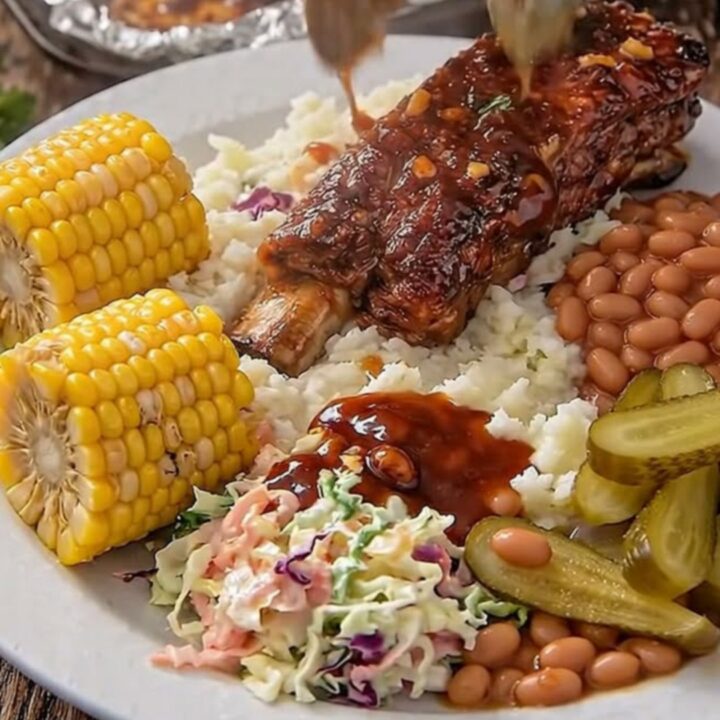
The contrast between the sticky, savory ribs and fresh sides like coleslaw or corn provides a satisfying experience. Ensure there are extra napkins available, as the nature of these ribs makes them a hands-on dining experience that is meant to be enjoyed fully.
Consider serving the ribs with a variety of textures to complement the tender meat. Creamy mashed potatoes are a classic choice that pairs perfectly with the savory sauce, while pickles can add a necessary acidic crunch to cut through the richness of the barbecue glaze.
Presentation is simple; a rustic wooden board or a large ceramic platter works well to showcase the glistening, dark glaze of the finished ribs to your guests.
Frequently asked questions
Can these ribs be made on a grill instead of the oven?
What is the best way to remove the membrane from the ribs?
Why is it important to let the ribs rest before carving?
Sticky Garlic BBQ Ribs for Tender Fall-Off-The-Bone Results
Ingredients
- 2 lb pork ribs, membrane removed
- 1 cup BBQ sauce
- 4 cloves garlic, minced
Instructions
- Preheat the oven to 300°F (150°C). Wrap the pork ribs tightly in aluminum foil and place them on a baking sheet. Roast in the oven for about two hours until the meat becomes tender and begins to pull back from the bone ends.
- While the ribs are in the oven, combine the BBQ sauce and minced garlic in a small mixing bowl. Stir the mixture thoroughly to ensure the garlic is evenly distributed throughout the thick, glossy sauce.
- Remove the ribs from the oven and carefully discard the foil. Increase the oven heat to the broiler setting. Generously brush the garlic BBQ glaze over the surface of the ribs. Place them back under the broiler for 3 to 5 minutes until the sauce is bubbling and caramelized, reaching a safe internal temperature of 145°F (63°C). Let the meat rest for at least 3 minutes before serving.
Estimated nutrition per serving
- Calories
- 520
- Protein
- 32 g
- Carbohydrates
- 28 g
- Fat
- 30 g
- Fiber
- 1 g
- Sugar
- 22 g
- Sodium
- 850 mg
Next recipe
Honey Lemon Garlic Chicken
See the recipe → →This recipe is based on a short cooking video and is published under the pen name Clara Weller. It was checked before publication, but errors can slip through. Nutrition, when shown, is an estimate. Read more in our editorial policy and on our food safety page.
More recipes to try
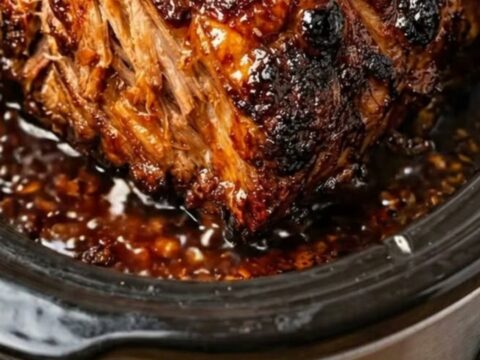
Fall-Apart Tender Honey Garlic Glazed Pork
Total time: 6 h 25 min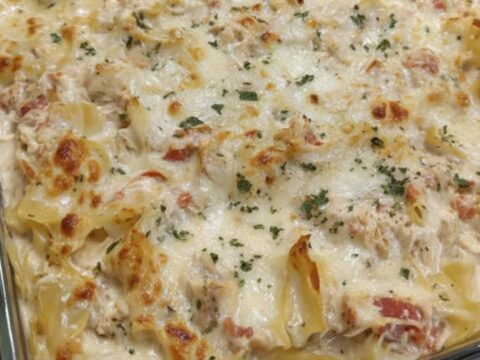
Creamy Chicken Spaghetti Lasagna Bake
Total time: 50 min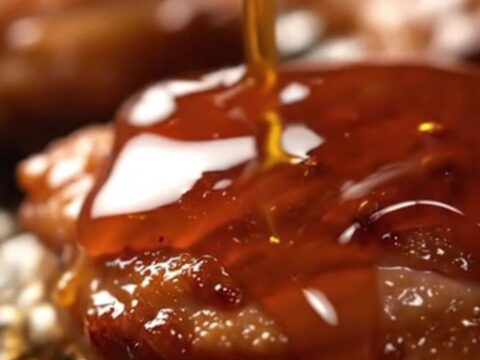
Crispy Skillet Glazed Chicken and Potatoes
Total time: 55 min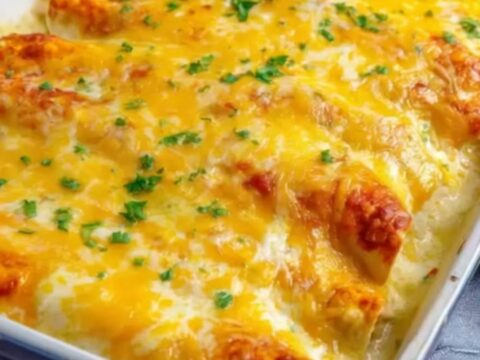
Creamy Sour Cream Chicken Enchiladas for Easy Comfort
Total time: 45 min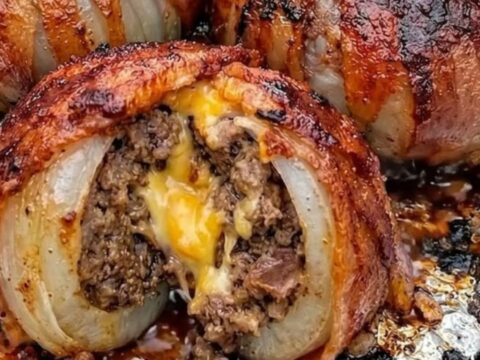
Crispy Bacon-Wrapped Stuffed Onion Bombs
Total time: 55 min