Dinner · Part 1 of 3: Ingredients
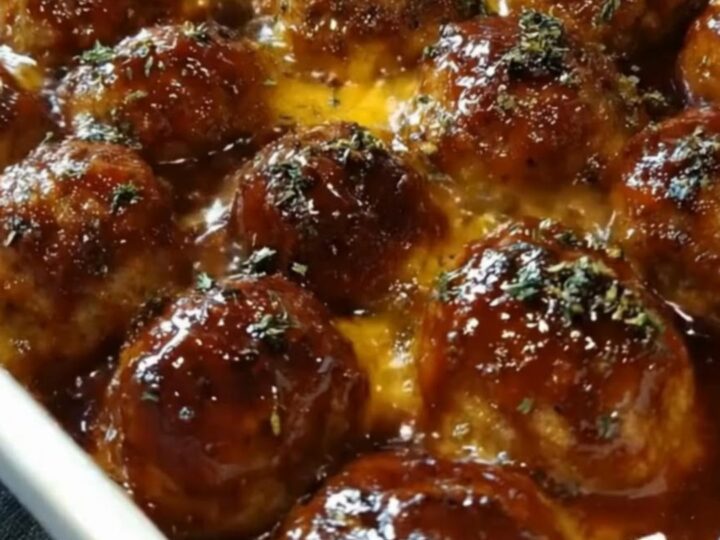
Sticky BBQ Meatball Cheese Bake
- Prep
- Cook
- Total
- Serves
- 4
Transform simple pre-cooked meatballs into an extraordinary weeknight comfort food with this Sticky BBQ Meatball Cheese Bake. Tender, juicy meatballs are smothered in a rich, sweet barbecue sauce and topped with a thick blanket of bubbly, melted mozzarella cheese. It is an incredibly quick, crowd-pleasing dish that brings together classic comfort flavors in one easy baking dish with minimal effort.
This recipe is designed for busy evenings when comfort food is a necessity but time is short. By combining pre-cooked meatballs with your favorite store-bought barbecue sauce and shredded cheese, you create a dish that tastes like it simmered for hours.
The meatballs stay incredibly tender and moist inside, while the exterior caramelizes beautifully under the oven heat. It is the perfect solution for a fast weeknight dinner, a game-day appetizer, or a casual party dish. Serve it as a main course with simple sides, or scoop it onto toasted hoagie rolls for the ultimate meatball sub experience.
Ingredients
- 16 oz pre-cooked meatballs, store-bought or made ahead (thawed if frozen)
- 1 cup rich BBQ sauce
- 1 1/2 cups shredded cheese, preferably mozzarella
- 1 tsp dried parsley flakes
Why this recipe works
The method of using pre-cooked meatballs makes this dish incredibly fast and foolproof. Since the meatballs are already cooked, the primary goal of baking is to heat them thoroughly while allowing the barbecue sauce to reduce and caramelize.
This initial baking step concentrates the flavors of the sauce, transforming it into a sticky, sweet glaze that clings beautifully to the surface of each meatball rather than sliding off into the bottom of the dish.
Adding the cheese during the final minutes of baking ensures the perfect texture. If the cheese were added at the beginning, it would overcook and become greasy or tough before the meatballs heated through.
By layering the shredded mozzarella over the hot, glazed meatballs and returning them to the oven, the cheese melts into a soft, stretchy blanket that traps the steam and keeps the meatballs exceptionally juicy.
Notes and substitutions
When selecting pre-cooked meatballs, look for high-quality beef, pork, or turkey meatballs in the freezer section or deli counter. If using frozen meatballs, ensure they are completely thawed in the refrigerator before assembling the dish to guarantee even heating.
For the barbecue sauce, choose a thick, high-quality brand that leans toward the sweet and smoky side, as this flavor profile contrasts beautifully with the savory meatballs and salty cheese.
Shredded low-moisture mozzarella is the ideal choice for the cheese topping due to its superior melting capability and classic stretchy texture. For the best melt, purchase a block of mozzarella and shred it at home, avoiding pre-bagged varieties that contain anti-caking agents. A simple square ceramic or glass baking dish is perfect for this recipe, ensuring even heat distribution and a beautiful presentation.
- Pre-cooked meatballs: Pre-cooked turkey meatballs, chicken meatballs, or plant-based meatless meatballs can be used instead of beef meatballs.
- Shredded mozzarella cheese: Provolone, Monterey Jack, or mild cheddar cheese can be used for a different flavor profile and excellent melt.
Equipment
- 8x8-inch baking dish
- Pastry brush
- Oven mitts
Up next · Part 2 of 3
4 steps · 25 min of cooking · what to look for at each stage
Step-by-step instructions (Part 2)