Dinner · Part 2 of 3: Instructions
Sticky Baked Country Style Ribs for an Easy Weeknight Dinner Step-by-step instructions
- Prep
- Cook
- Total
- Serves
- 4
Before you start
Before beginning, ensure your workspace is clean and you have all your ingredients measured. Take the ribs out of the refrigerator 20 to 30 minutes before cooking to bring them closer to room temperature, which promotes even heat distribution.
Preheat your oven precisely to 325°F (163°C) and ensure your baking dish is large enough to hold the ribs without overlapping, as overcrowding can lead to uneven cooking and steaming issues. Have your tongs and pastry brush ready near the oven for the final glazing stages.
Ingredients at a glance (2)
- 3 lb country style pork ribs
- 1 cup sticky glaze
Instructions
Initial Preparation
- Season and prep the ribsPreheat the oven to 325°F (163°C). Place the country style pork ribs into a large baking dish in a single layer. Season the meat lightly with salt and pepper if desired, ensuring they are evenly distributed in the pan for consistent cooking.Look for The ribs should be arranged in one flat layer.Tip Removing the ribs from the refrigerator 20 minutes before cooking helps them cook more evenly.
The ribs should be arranged in a single layer in the baking dish. They should be seasoned evenly. The oven must be fully preheated to the target temperature before the dish is placed inside to ensure the cooking time remains accurate and the heat penetrates the meat consistently from the very first moment.
Slow Braising
- Slow bake the ribsCover the baking dish tightly with aluminum foil to trap the moisture. Bake the ribs for 90 minutes. This gentle, slow cooking process is essential for breaking down the connective tissues, ensuring the pork becomes fork-tender and succulent without drying out.Look for The ribs should be tender when pierced with a fork.Tip Ensure the foil is crimped tightly around the edges of the dish to keep the steam inside.
At the end of the 90-minute bake, the ribs should look pale and soft. They will have released a significant amount of liquid into the bottom of the pan.
The meat should feel soft to the touch, and the fat should appear translucent, indicating that the connective tissues have successfully broken down during the steam-braising process.
Caramelizing
- Glaze and finishRemove the foil, brush the ribs generously with the sticky glaze, and return them to the oven uncovered for another 30 minutes. Increase the temperature to 400°F (204°C) for the last 10 minutes to caramelize the sugars. The ribs reach a safe internal temperature of 145°F (63°C). Remove from the oven and let rest for 10 minutes before serving.Look for The sauce should be bubbling and slightly charred on the edges.Safe temperature 145°F (63°C) internal temperature (steaks, chops and roasts)Tip Watch the ribs closely during the high-heat finish to prevent the sugars in the sauce from burning.
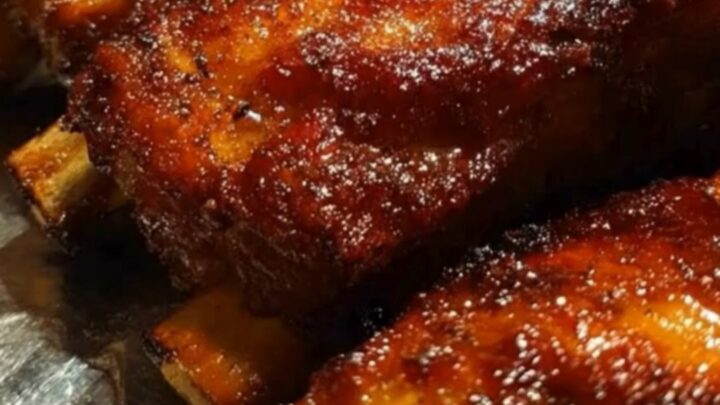
The finished ribs should be deeply colored with a glossy, sticky glaze. The edges of the meat should show signs of charring. The glaze should be thick and clinging to the surface, and the aroma should be savory and sweet. If the glaze looks too thin, you can return them to the oven for a few more minutes.
Common mistakes
A common mistake is failing to seal the foil tightly, which allows steam to escape and results in dry, tough ribs. Always ensure the foil edges are folded over the rim of the dish. Another error is applying the sticky glaze too early.
Adding the glaze at the beginning of the cooking process will cause the sugars to burn long before the meat is tender. Wait until the final stage to glaze the ribs to achieve the perfect balance of caramelization and flavor.
How to tell it’s done
The ribs are considered done when they are fork-tender, meaning the meat pulls away easily from the bone or center with minimal resistance. To ensure safety, use a meat thermometer inserted into the thickest part of the meat; it should read at least 145°F (63°C).
Allowing the meat to rest for at least 10 minutes after removing it from the oven is critical, as it lets the internal juices redistribute throughout the fibers, resulting in a much more succulent bite.
- Steaks, chops and roasts: 145°F (63°C) in the thickest part, then a 3-minute rest
Up next · Part 3 of 3
2 variations · storage & make-ahead · 3 answers · printable card
Tips, FAQ & printable recipe (Part 3)← Back to the ingredients (Part 1)