Dinner · Part 1 of 3: Ingredients
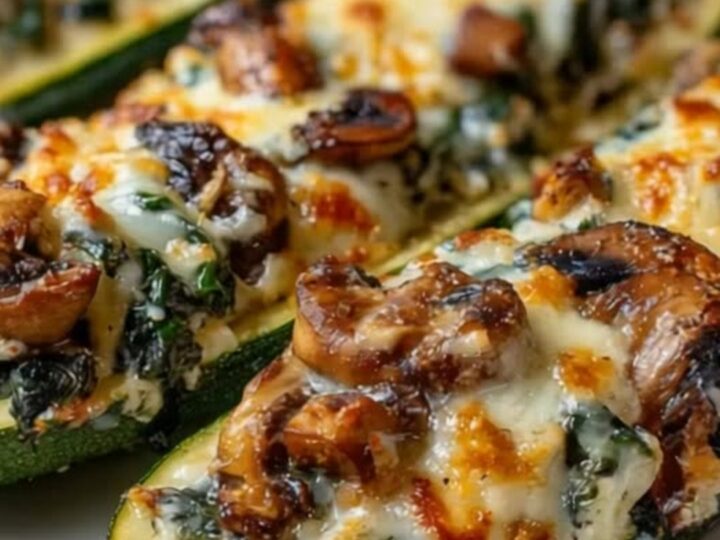
Spinach, Mushroom, and Ricotta Stuffed Zucchini Boats
- Prep
- Cook
- Total
- Serves
- 4
Elevate fresh summer squash with these savory, cheese-crusted stuffed zucchini boats that deliver outstanding richness and balanced garden flavor in every single forkful. They make an undeniably gorgeous centerpiece for any weeknight dinner table or weekend dinner gathering with family and friends.
Stuffed zucchini is a remarkably versatile and elegant dish that works equally well as a satisfying main course or a vibrant side. By combining creamy whole-milk ricotta, deeply browned sautéed mushrooms, and chopped tender spinach, you create a complex flavor profile that feels deeply indulgent while remaining refreshingly bright.
This recipe is designed with complete simplicity in mind, focusing on highlighting the natural sweetness and tender texture of the zucchini while providing a rich, savory filling that satisfies every palate. Whether looking for a dependable dinner option or a crowd-pleasing vegetable feature, these stuffed boats are a foolproof choice that everyone will savor.
Ingredients
Vegetables
- 4 medium zucchini, halved lengthwise and hollowed
Filling
- 8 oz mushrooms, finely chopped
- 1 cup ricotta cheese
- 2 cups fresh spinach, chopped
Topping
- 1/2 cup shredded mozzarella cheese
Why this recipe works
The technique of par-roasting the hollowed zucchini shells before adding the cheese mixture is essential for achieving the perfect balance of tenderness without creating excess liquid.
Zucchini naturally holds a tremendous amount of water, so giving the vegetable an initial roast starts the evaporation process and sets the structural walls of the boat. This ensures that the squash remains firm enough to support the dense filling during the final bake, avoiding any unpleasant sogginess while maintaining a pleasant, toothsome bite.
Sautéing the finely chopped mushrooms thoroughly in a dry skillet over medium heat before combining them with the ricotta is equally crucial for deep flavor and structural integrity. Cooking mushrooms drives off their interior moisture and concentrates their earthy umami notes through caramelization.
If added raw, mushrooms release water directly into the dairy base, resulting in a separated, watery filling. Thorough browning guarantees that the creamy ricotta mixture stays stable, velvety, and intensely savory throughout the entire oven baking time.
Notes and substitutions
Selecting the right zucchini makes a noticeable difference in the final presentation and ease of preparation. Look for firm, medium-sized squash that feel heavy for their size and measure evenly in diameter from stem to tip. Extra-large specimens tend to have watery, fibrous centers and tough skins that do not soften evenly, while very small squash cannot hold an adequate portion of the creamy filling without splitting along the edges.
While whole-milk ricotta provides a wonderfully plush, velvety foundation for the stuffing, you can also substitute well-drained whole-milk cottage cheese or pot cheese if preferred.
For the topping, low-moisture part-skim shredded mozzarella creates the ideal golden, bubbling blanket that melts evenly across the surface. Ensure your skillet is fully preheated before dropping in the mushrooms so they brown rapidly rather than steam in their own juices.
- ricotta cheese: cottage cheese, blended until smooth
- spinach: finely chopped kale or swiss chard
Equipment
- baking sheet
- large skillet
- mixing bowl
- spoon
- knife
Up next · Part 2 of 3
3 steps · 25 min of cooking · what to look for at each stage
Step-by-step instructions (Part 2)