Dinner · Part 1 of 3: Ingredients
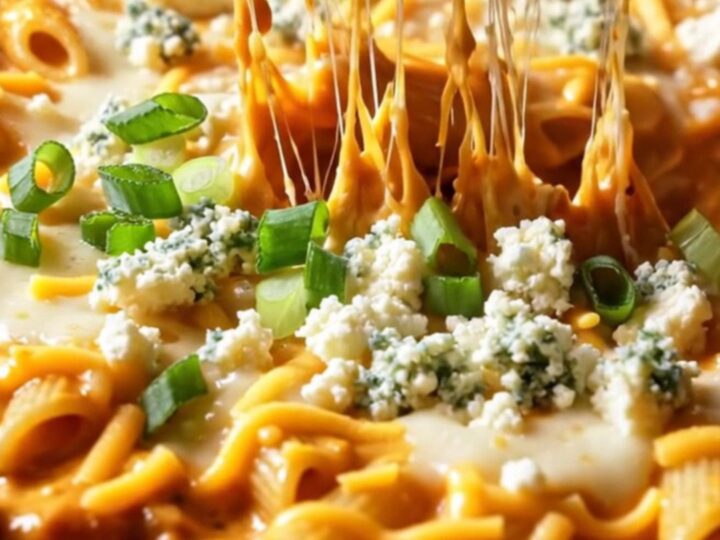
Spicy Buffalo Chicken Ranch Baked Penne
- Prep
- Cook
- Total
- Serves
- 6
Elevate your game day spread with this incredibly satisfying buffalo chicken ranch baked penne. It combines the bold, fiery kick of classic buffalo wings with the comforting, creamy textures of a baked pasta dish.
This recipe is designed to impress a crowd while remaining simple enough for a quick weeknight dinner. With just a few staple ingredients, you can create a bubbly, golden, and flavorful masterpiece that disappears from the table in minutes. It is truly the ultimate comfort food for any occasion.
This buffalo chicken ranch penne bake is a vibrant fusion of flavors. The tangy creaminess of the ranch and cream cheese perfectly balances the heat from the buffalo sauce, while the shredded chicken provides a hearty protein base.
The final bake creates a beautiful, molten cheese crust that adds a delightful texture to every bite. Whether you are hosting friends for a game or simply looking to spice up your dinner routine, this dish delivers consistent results that are sure to satisfy everyone at the table.
Ingredients
Filling
- 500 grams shredded rotisserie chicken
- 160 milliliters buffalo sauce
- 120 milliliters buttermilk ranch
- 200 grams cream cheese
- 400 grams penne pasta, cooked
Topping
- 220 grams shredded sharp cheddar and mozzarella
- 50 grams blue cheese crumbles
Garnish
- sliced scallions, for serving
Why this recipe works
The method of mixing the sauce ingredients thoroughly before adding the pasta ensures that every bite is coated in flavor. By combining the cream cheese and ranch directly with the buffalo sauce, you create an emulsified, velvety base that clings perfectly to the penne ridges. The rotisserie chicken is already cooked, which saves significant time, allowing the flavors to meld during the short baking period without drying out the meat.
Baking at a high temperature for a short duration is the secret to achieving a perfect crust without overcooking the pasta. This technique allows the cheddar and mozzarella to melt quickly and develop those signature browned, bubbling spots that signify a well-made pasta bake.
The blue cheese crumbles provide a sharp, pungent contrast that cuts through the richness of the dairy, creating a complex flavor profile that elevates a simple casserole into something truly memorable.
Notes and substitutions
When selecting ingredients, choose a high-quality shredded cheddar and mozzarella blend for the best melting performance. Pre-shredded cheese often contains anti-caking agents that can affect texture, so grating your own cheese from a block is a great way to ensure a smoother, stretchier melt.
If you prefer a milder heat, adjust the amount of buffalo sauce to suit your taste, but keep in mind that the cream cheese will naturally mellow the overall spice level of the dish significantly.
The choice of pasta is important for this dish; penne rigate, with its ridges, is ideal because it traps the thick sauce effectively. If you cannot find penne, rotini or fusilli are excellent alternatives that perform the same function. For the equipment, a ceramic or glass baking dish works best for even heat distribution. Ensure you have a sturdy spatula available for scooping, as the dish will be quite heavy and rich once it comes out of the oven.
- blue cheese: feta cheese or more mozzarella for a milder flavor
- rotisserie chicken: shredded cooked chicken breast or thigh
Equipment
- Large mixing bowl
- Baking dish
- Silicone spatula
- Pasta pot
Up next · Part 2 of 3
4 steps · 20 min of cooking · what to look for at each stage
Step-by-step instructions (Part 2)