Dinner · Part 1 of 3: Ingredients
Sour Cream Garlic Potato Flank Steak Crockpot Dinner
- Prep
- Cook
- Total
- Serves
- 6
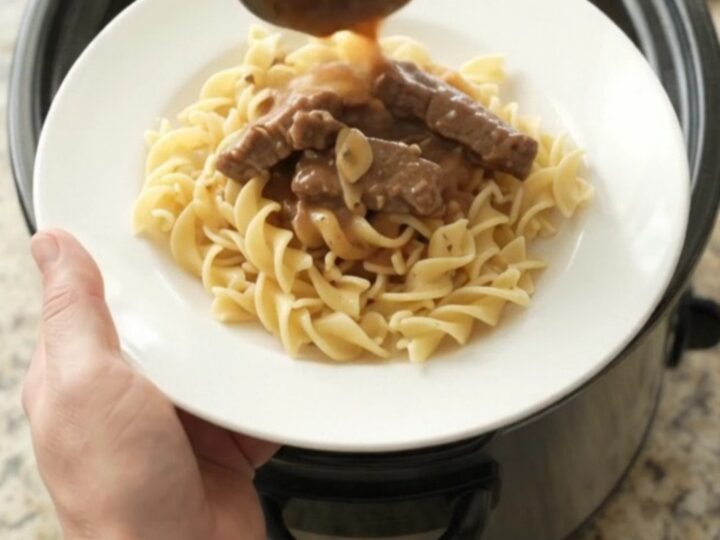
This slow cooker dinner delivers fork-tender flank steak, buttery baby potatoes, and a rich, tangy sour cream gravy with almost no effort. The ingredients go into the pot in layers, and hours later the slow cooker works its magic, turning simple components into a deeply comforting meal. Serve it over buttered egg noodles for a complete dinner that feels special any night of the week.
There are dinners that demand hours of stirring and watching, and then there are dinners that simply happen while life goes on. This slow cooker flank steak and potatoes recipe falls into the second camp. Thin strips of flank steak, halved baby Yukon Gold potatoes, and plenty of minced garlic are piled into a slow cooker with sour cream and brown gravy mix.
A long, gentle simmer transforms the beef into velvety shreds and the potatoes into tender, gravy-soaked bites. The result is a meal that tastes like it took all day to fuss over, when in truth it took about ten minutes to assemble.
Ingredients
- 2 lb flank steak, thinly sliced against the grain
- 1 1/2 lb baby Yukon Gold potatoes, halved
- 2 tbsp minced garlic
- 1 cup sour cream
- 1 oz brown gravy mix (1 packet)
For serving
- Buttered egg noodles, for serving
Why this recipe works
The slow cooker's low, steady heat is the secret to this dish. Flank steak is a lean, muscular cut that can turn tough when cooked quickly, but hours of gentle simmering break down its connective tissue, leaving it fork-tender and succulent.
The potatoes, tucked around the beef, cook at the same unhurried pace, absorbing the savory liquid and becoming creamy inside while their skins stay intact.
The sauce builds itself from just two ingredients: sour cream and brown gravy mix. As the slow cooker simmers, the sour cream thins and melds with the gravy powder, creating a velvety, mahogany-colored sauce that clings to every piece of beef and potato.
The garlic infuses the whole pot with a mellow, roasted sweetness, and the result is a rich, tangy, deeply savory gravy that needs no additional thickening or seasoning.
Notes and substitutions
Flank steak is the star here, but any lean, thinly sliced beef can step in. Sirloin or round steak, cut against the grain, will also become tender with the same slow cooking.
For the potatoes, baby Yukon Golds are ideal because they hold their shape and have a buttery texture; red potatoes or fingerlings work beautifully too. The brown gravy mix adds the deep color and savory backbone—choose a gluten-free version if needed.
A 6-quart slow cooker is the right size for this recipe; a smaller one may be too full, and a larger one may cook the food faster. Do not stir the ingredients after adding the sour cream and gravy mix; the layers will meld on their own. If you prefer more gravy, add a splash of beef broth in the last hour, but keep in mind the sour cream will thin slightly.
- flank steak: sirloin steak or round steak, thinly sliced
- baby Yukon Gold potatoes: red potatoes or fingerling potatoes, halved
- brown gravy mix: 1 cup beef broth plus 2 tablespoons cornstarch whisked with 3 tablespoons water (added at the end)
- sour cream: plain Greek yogurt (full-fat works best)
Equipment
- 6-quart slow cooker
- Cutting board
- Chef's knife
- Measuring spoons
- Measuring cups
- Stainless steel spoon
- Serving spoon
- Dinner plates
Up next · Part 2 of 3
5 steps · 6 h of cooking · what to look for at each stage
Step-by-step instructions (Part 2)