Dinner · Part 1 of 3: Ingredients
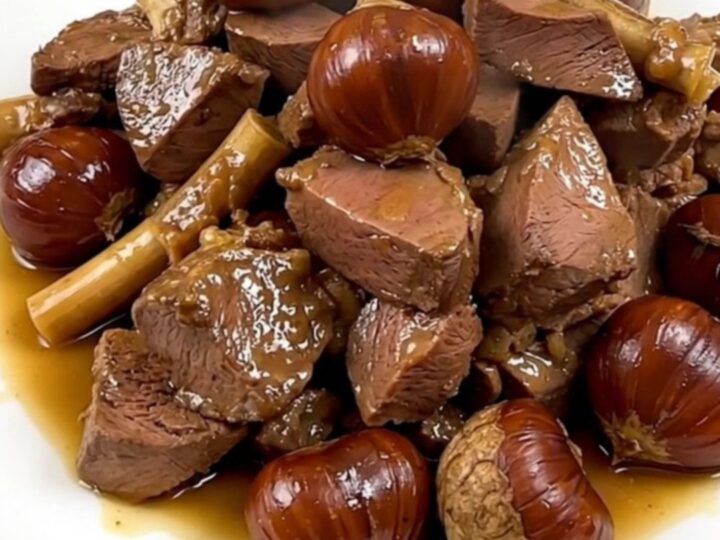
Slow Cooker Veal Tendrons with Chestnuts
- Prep
- Cook
- Total
- Serves
- 4
Discover the art of slow-cooked elegance with this simple veal and chestnut recipe. By using the slow cooker, the veal becomes incredibly tender while the shallots and thyme infuse every bite with deep, savory notes.
This dish is perfect for those who appreciate refined flavors but want a straightforward, hands-off approach to cooking a sophisticated meal. It is a classic combination that highlights the natural richness of the meat, creating a comforting experience that feels both rustic and luxurious.
Slow cooking is a fantastic method for preparing tougher cuts of meat like veal tendrons. Over several hours, the gentle heat breaks down the connective tissues, resulting in meat that practically falls apart. The addition of chicken broth provides a savory base that keeps the meat succulent, while the shallots and thyme add aromatic depth.
Including chestnuts adds a subtle sweetness and a pleasant, slightly firm texture that contrasts beautifully with the tender veal. This recipe is designed for ease and consistency, ensuring a delicious result every time you prepare it.
Ingredients
Main Ingredients
- 2 lb veal tendrons
- 3 shallots, thinly sliced
- 1 tsp dried thyme
- 1 cup chicken broth
- 1 cup whole chestnuts, cooked and peeled
Why this recipe works
The slow cooker method provides a steady, low heat that is ideal for braising veal. This gentle process ensures that the meat remains moist and tender throughout the long cooking time, preventing it from drying out as it might in a high-heat oven or on the stovetop. By cooking the veal in a covered environment, the flavors of the shallots and thyme are trapped, creating a concentrated and aromatic cooking liquid that coats the meat perfectly.
Chestnuts are the perfect complement to veal, offering a mild, nutty flavor and a dense, satisfying texture. Adding them toward the end of the cooking process ensures they absorb the savory juices without losing their structure. This balance of tender, succulent meat and the earthy, slightly sweet notes of the chestnuts creates a harmonious dish that is complex in flavor but remarkably simple to assemble, making it an excellent choice for a refined dinner.
Notes and substitutions
Veal tendrons are a specific cut that benefits greatly from long, slow cooking. If you cannot find them, veal breast or even shoulder cut into large, uniform chunks will work well, as they share similar characteristics.
Ensure that the chicken broth used is of high quality, as it will form the foundation of the sauce. If you prefer a more intense flavor, you can substitute a portion of the chicken broth with a dry white wine, which adds a bright acidity to the final dish.
The choice of equipment is straightforward, though any standard slow cooker will suffice. For the best results, ensure the slow cooker is not overcrowded, which allows the heat to circulate evenly.
When selecting chestnuts, look for pre-cooked, vacuum-packed whole chestnuts in the pantry aisle, as they are convenient and ready to use. If you only have raw chestnuts, they must be roasted and peeled thoroughly before adding them to the pot to ensure the correct texture and flavor.
- Veal tendrons: Veal breast or veal shoulder cut into chunks
- Chicken broth: Vegetable broth or dry white wine mixed with water
Equipment
- Slow cooker
- Measuring cup
- Chef knife
- Cutting board
Up next · Part 2 of 3
3 steps · 8 h of cooking · what to look for at each stage
Step-by-step instructions (Part 2)