Dinner · Part 1 of 3: Ingredients
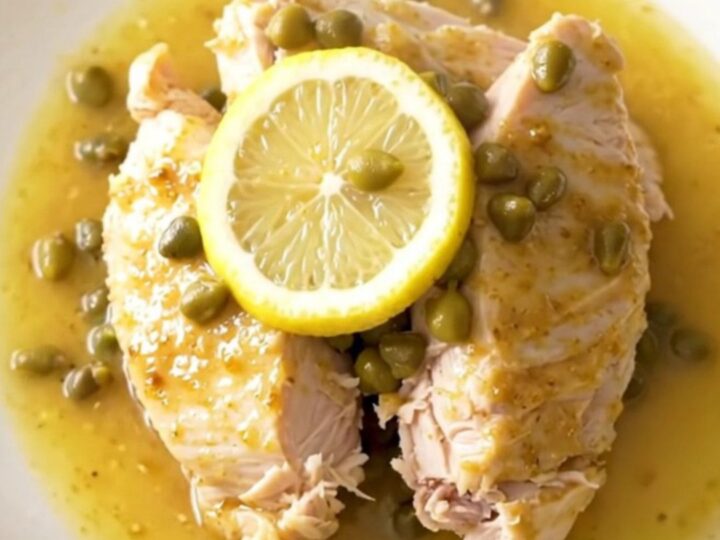
Slow Cooker Turkey Piccata for an Easy Weeknight Dinner
- Prep
- Cook
- Total
- Serves
- 4
Elevate your weeknight routine with a dish that balances bright citrus notes with a rich, savory finish. This slow cooker turkey piccata takes the fuss out of traditional stovetop methods, delivering tender, succulent results with minimal effort. It is the perfect solution for those days when you crave a sophisticated dinner but prefer to let your kitchen appliances do the heavy lifting while you focus on other tasks.
Turkey piccata is a classic dish beloved for its simplicity and vibrant flavor profile. Traditionally, this involves pan-searing thin cutlets, but by adapting the method for the slow cooker, you can achieve a melt-in-your-mouth texture that is difficult to replicate on the stove.
The gentle, consistent heat of the slow cooker allows the turkey to braise in a bath of lemon, capers, garlic, and butter, resulting in a sauce that is both light and decadent. This recipe is designed for busy schedules, requiring only a few minutes of prep before letting the slow cooker work its magic for several hours.
Ingredients
Main
- 1 1/2 lb turkey tenderloins
Aromatics
- 2 whole lemon rounds
- 2 tbsp capers
- 3 cloves garlic, minced
- 2 tbsp fresh parsley, chopped
Sauce
- 1 cup chicken broth
- 4 tbsp unsalted butter, melted
Why this recipe works
The slow cooker method excels here because it creates a moist, controlled environment. Unlike stovetop cooking, which can easily overcook lean turkey tenderloins, the braising liquid maintains a steady temperature that keeps the meat juicy and tender throughout the entire cooking process. This indirect heat also allows the aromatics—lemon, capers, and garlic—to slowly infuse their essence into the meat without the risk of burning delicate ingredients.
Furthermore, the combination of butter and broth creates a naturally emulsified sauce. As the butter melts into the broth, it binds with the juices released by the turkey and the acidity of the lemon. This results in a silky, pourable sauce that coats the turkey perfectly.
Because the ingredients are cooked together from the start, the flavors are deeply integrated, offering a more balanced and complex profile than a quick pan-sauce could provide in such a short window.
Notes and substitutions
When selecting turkey tenderloins, look for pieces that are relatively uniform in size to ensure they finish cooking at the same time. If the tenderloins vary significantly in thickness, you can gently pound the thicker ends with a mallet to create a consistent shape.
Always ensure the turkey is completely thawed if using frozen product, as this is critical for safe and even cooking in a slow cooker, which relies on consistent heat distribution to reach safe temperatures.
Regarding equipment, a standard 4-to-6 quart slow cooker is ideal for this quantity of meat. If you use a significantly larger slow cooker, the liquid may evaporate too quickly, so keep an eye on the volume.
If you prefer a thicker sauce, you can whisk in a teaspoon of cornstarch mixed with a tablespoon of cold water into the liquid during the last 30 minutes of cooking. This simple addition will give the sauce a slightly more substantial body without changing the flavor.
- turkey tenderloins: boneless, skinless chicken breasts
- chicken broth: vegetable broth or dry white wine for extra depth
Equipment
- slow cooker
- glass measuring cup
- spoon
- serving plate
Up next · Part 2 of 3
3 steps · 4 h of cooking · what to look for at each stage
Step-by-step instructions (Part 2)