Dinner · Part 1 of 3: Ingredients
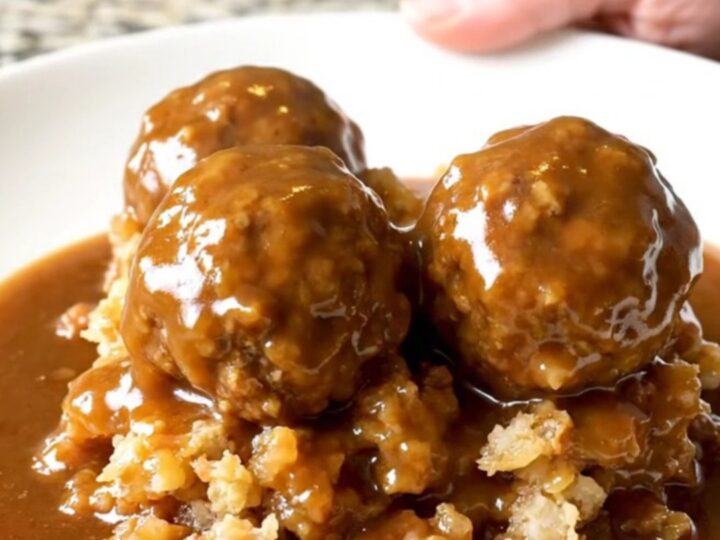
Slow Cooker Turkey Meatballs and Stuffing
- Prep
- Cook
- Total
- Serves
- 4
This simple slow cooker recipe transforms basic pantry staples into a hearty and comforting meal that is perfect for busy weeknights. By combining frozen turkey meatballs with classic stuffing and savory gravy, this dish achieves a deep, home-cooked flavor with minimal effort. It is an ideal solution for those who want a warm, satisfying dinner ready with just a few minutes of preparation, letting the slow cooker handle all the heavy lifting while you focus on other tasks.
The beauty of this slow cooker turkey meatball and stuffing recipe lies in its extreme simplicity and reliable results. By layering the ingredients directly into the slow cooker, the meatballs steam gently while the stuffing absorbs the rich, savory gravy and aromatic sage.
This method ensures the meatballs remain moist throughout the long cooking process, while the stuffing takes on a soft, dumpling-like consistency that pairs perfectly with the gravy. It is a straightforward, no-fuss approach to a complete dinner that delivers consistent, crowd-pleasing results every time.
Ingredients
- 1 lb frozen precooked turkey meatballs
- 2 cups dry stuffing cubes
- 1 tsp rubbed sage
- 1 cup brown gravy
Why this recipe works
The slow cooker method creates a moist, tender environment that is perfect for heating frozen meatballs without drying them out. Because the meatballs are surrounded by stuffing and gravy, they absorb the flavors of the sage and the savory sauce, resulting in a cohesive dish where every bite is well-seasoned and tender.
This technique is highly effective for busy schedules because it requires no pre-browning or sautéing, allowing the ingredients to cook together slowly and uniformly.
Layering the ingredients is the secret to getting the right texture for both the meatballs and the stuffing. By placing the meatballs on the bottom and covering them with the dry stuffing, the stuffing acts as a sponge, soaking up the moisture released by the meatballs as they thaw and heat, along with the gravy poured over the top.
This ensures the stuffing becomes soft and flavorful rather than mushy, while the gravy provides a rich base that ties all the components together perfectly.
Notes and substitutions
When selecting meatballs, ensure they are high-quality frozen precooked turkey meatballs, as these provide the best structure and flavor profile for this dish.
If using a specific brand of stuffing mix, keep in mind that seasoned varieties may contain extra herbs, so adjust the amount of additional rubbed sage accordingly to avoid overpowering the dish. The brown gravy should be a standard savory version, which provides the necessary liquid to hydrate the stuffing cubes during the slow cooking cycle.
Regarding equipment, any standard slow cooker with a capacity of at least 4 quarts will work well for this recipe. If the slow cooker is significantly larger, the cooking time might need to be monitored more closely as the liquid will evaporate faster. A digital food thermometer is a useful tool for verifying that the meal has heated through completely. Always ensure the lid is properly seated to maintain the steady, moist heat required for this preparation.
- Turkey meatballs: Precooked chicken or beef meatballs can be used as a direct replacement.
- Brown gravy: Any prepared poultry gravy or mushroom gravy works well with these ingredients.
Equipment
- Slow cooker
- Measuring cups
- Measuring spoons
Up next · Part 2 of 3
3 steps · 4 h of cooking · what to look for at each stage
Step-by-step instructions (Part 2)