Dinner · Part 1 of 3: Ingredients
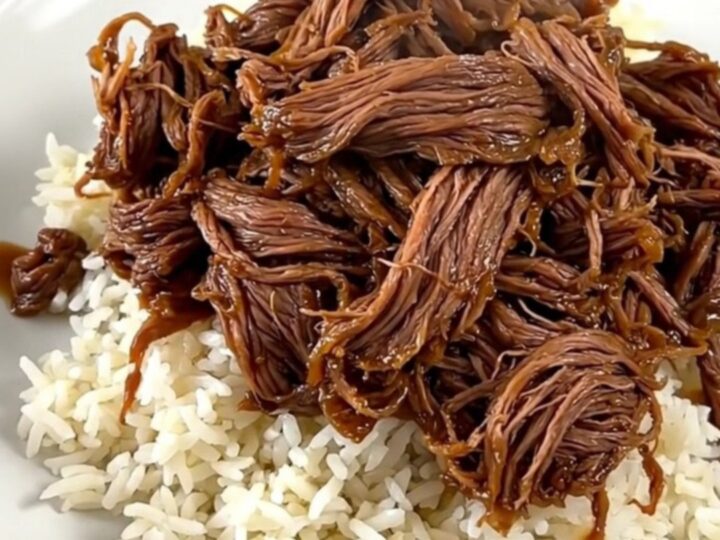
Slow Cooker Sweet and Sour Shredded Beef
- Prep
- Cook
- Total
- Serves
- 6
Simplify your weeknight dinner routine with this effortless four-ingredient slow cooker beef recipe. By using a slow-cooked chuck roast and a sweet and savory glaze, you achieve restaurant-quality results with minimal active preparation time.
This dish is designed for those who appreciate high-impact flavor without spending hours in the kitchen, making it an ideal choice for busy schedules or relaxed weekend meals where convenience and quality are equally prioritized for a satisfying home-cooked experience.
When searching for a reliable main course that delivers consistent results, this sweet and sour shredded beef stands out as a top contender. The slow-cooking process breaks down the connective tissues in the beef chuck roast, resulting in meat that is exceptionally tender and flavorful.
By combining pineapple for natural sweetness and soy sauce for deep umami, the dish creates a balanced profile that pairs perfectly with steamed rice or vegetables. This recipe relies on the slow cooker to develop complex flavors over time, ensuring a stress-free cooking experience that allows you to focus on other tasks while dinner prepares itself in the background.
Ingredients
Main Ingredients
- 3 lb beef chuck roast
- 20 oz crushed pineapple
- 1 tbsp ground ginger
- 1/2 cup soy sauce
Why this recipe works
The slow cooker method is ideal for tough cuts of meat like chuck roast because the low, steady heat gently breaks down collagen over several hours. This transformation turns a potentially tough piece of meat into succulent, melt-in-your-mouth strands that absorb the surrounding liquids.
By cooking the beef in a closed environment, the moisture is trapped, preventing the meat from drying out and ensuring that every bite remains juicy and tender throughout the entire process.
The combination of ingredients creates a natural reduction that develops as the pineapple juices and soy sauce mingle with the rendered fat from the beef. As the beef cooks, it releases its own savory juices, which integrate with the sweetness of the pineapple and the saltiness of the soy sauce to form a glaze.
This process requires no additional thickeners or complex seasoning steps, as the ingredients themselves provide the necessary depth of flavor and texture for the final dish.
Notes and substitutions
For the best results, select a beef chuck roast with good marbling. The fat content is essential for keeping the meat moist during the long cooking time. While you can use a leaner cut, the final texture may not be as tender. Always ensure the beef is fully thawed before adding it to the slow cooker to ensure even cooking and food safety, as starting with frozen meat can lead to uneven temperatures and food safety risks.
Regarding equipment, a standard 6-quart slow cooker is perfect for this recipe. If you have a smaller model, ensure the roast fits comfortably without being overcrowded. If you prefer a more pronounced ginger flavor, you can add a small amount of freshly grated ginger in addition to the ground version. Always verify that your slow cooker is functioning correctly and that the lid creates a tight seal to prevent heat loss during the cooking cycle.
- beef chuck roast: beef brisket or round roast for a different texture
- soy sauce: tamari for a gluten-free alternative
Equipment
- slow cooker
- measuring cups
- measuring spoons
- two forks for shredding
- tongs
Up next · Part 2 of 3
3 steps · 8 h of cooking · what to look for at each stage
Step-by-step instructions (Part 2)