Dinner · Part 1 of 3: Ingredients
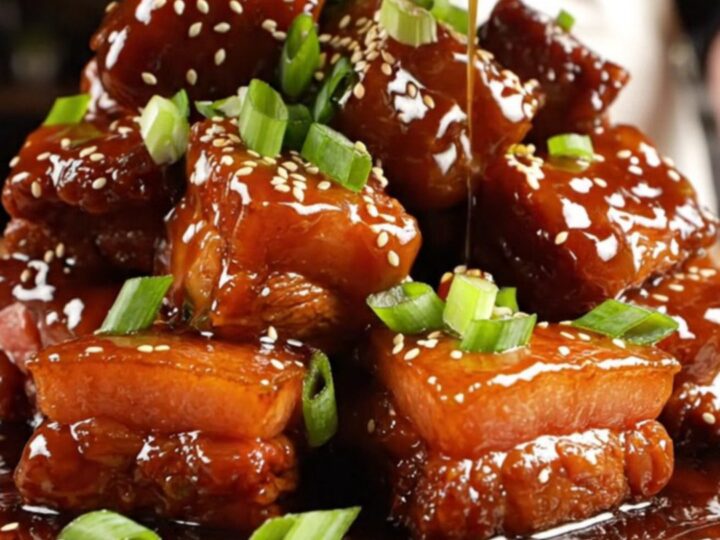
Slow-Cooker Sticky Honey Garlic Pork Belly Burnt Ends
- Prep
- Cook
- Total
- Serves
- 6
Transform humble pork belly into a melt-in-your-mouth masterpiece with nothing more than your trusty slow cooker and a handful of pantry staples. These burnt ends are the ultimate crowd-pleaser, combining the deep, savory richness of slow-rendered pork with a sticky, honey-garlic glaze that caramelizes perfectly over six hours. It is the effortless way to achieve high-end, snackable results without ever needing to stand over a hot stove or grill.
These burnt ends are crafted for maximum flavor and minimal effort. By utilizing the gentle, consistent heat of a slow cooker, the tough connective tissues in the pork belly break down into pure silk, while the sugars in the honey and hoisin reduce into a candy-like coating.
This recipe is designed to be a dump-and-go solution, making it ideal for hosting or whenever a decadent, savory treat is required. The result is a glistening, tender bite that balances salty, sweet, and aromatic notes in every morsel.
Ingredients
Main
- 3 lb skinless pork belly, cut into 1.5-inch cubes
Rub
- 3 tbsp brown sugar-five-spice rub
Sauce
- 1/2 cup honey
- 1/3 cup soy sauce
- 1/4 cup hoisin
- 8 garlic cloves, minced
Garnish
- sliced scallions and sesame seeds, for serving
Why this recipe works
The slow cooker method provides a moist, temperature-controlled environment that is essential for rendering the high fat content of pork belly. Because the pork is submerged in a flavorful braising liquid, the meat remains hydrated while the exterior develops a deep, caramelized finish.
This approach eliminates the need for constant monitoring, allowing the flavors of the garlic, soy, and five-spice to deeply infuse the meat as it slowly transforms into a succulent, candy-like texture.
Cooking on a low setting for an extended period is the secret to achieving the hallmark 'burnt end' texture without the risk of drying out the meat. This gentle heat intensity allows the natural gelatin in the pork to release, which naturally thickens the sauce into a rich, sticky glaze.
The combination of high-sugar ingredients like honey and hoisin ensures that the exterior of each cube becomes deeply browned and sticky, providing that iconic contrast between a crispy edge and a tender, melting interior.
Notes and substitutions
The choice of pork belly is critical; ensure it is skinless to avoid a chewy texture. If the pork belly is sold in one large slab, trim any excess gristly cartilage before cubing. Using a mix of honey and hoisin creates a complex sweetness that pairs perfectly with the salty punch of soy sauce. The Chinese five-spice provides a necessary aromatic warmth that cuts through the richness of the pork fat, making every bite balanced and sophisticated.
A standard 6-quart slow cooker is the ideal equipment for this recipe, as it allows the pork to be spread out in an even layer. If a smaller slow cooker is used, the cooking time might need slight adjustment, though the low setting remains the best choice.
Always ensure the garlic is minced finely to avoid large, bitter chunks in the final glaze. These burnt ends are best served immediately, garnished simply to highlight the natural beauty of the caramelized meat.
- hoisin: Use oyster sauce with a pinch of sugar for a similar depth of flavor.
- brown sugar-five-spice rub: Mix 2 tablespoons brown sugar with 1 teaspoon Chinese five-spice powder.
Equipment
- Slow cooker
- Chef's knife
- Cutting board
- Measuring cups
- Wooden spoon
- Serving platter
Up next · Part 2 of 3
3 steps · 6 h of cooking · what to look for at each stage
Step-by-step instructions (Part 2)