Dinner · Part 2 of 3: Instructions
Slow Cooker Southwest Three Bean Chili Step-by-step instructions
- Prep
- Cook
- Total
- Serves
- 6
Before you start
Before you begin, ensure your slow cooker is clean and positioned on a level surface away from flammable materials. Drain all canned beans thoroughly in a colander, rinsing them under cool running water if preferred to remove excess sodium.
Have your seasoning packet and salsa ready for quick assembly.
Clear enough counter space to accommodate the slow cooker and the necessary measuring tools, ensuring all ingredients are at room temperature before starting the assembly to allow for a more even cooking transition.
Ingredients at a glance (4)
- 3 cans mixed beans, drained
- 1 cup sweet corn
- 1 packet chili seasoning packet
- 2 cups mild salsa
Instructions
Preparation and assembly
- Combine the ingredientsPlace the drained mixed beans into the bottom of the slow cooker bowl. Add the sweet corn over the beans, followed by the contents of the seasoning packet, and pour the salsa over the top.Look for The ingredients should be layered clearly within the cooker.Tip Ensure the beans are thoroughly drained to prevent the chili from becoming too watery during the cooking process.
At this stage, the slow cooker should be filled with layers of beans, corn, seasoning, and salsa. The ingredients should be neatly distributed within the vessel, ready for the slow cooking process to begin. Ensure the lid is firmly in place to begin the heat-up phase.
Low and slow cooking
- Slow cook the chiliCover the slow cooker with its lid and set it to cook on low heat for four hours. This allows the spices to meld with the beans and salsa to create a rich base.Look for The lid must be securely placed to trap moisture and heat.Tip Avoid lifting the lid during the first few hours of cooking to ensure a consistent internal temperature.
During the cooking phase, the slow cooker will be quiet, with a gentle aroma of spices and tomatoes filling the kitchen. The chili should remain covered, allowing the heat to penetrate the beans and meld the salsa and seasoning into a rich, unified sauce.
Final stir and serving
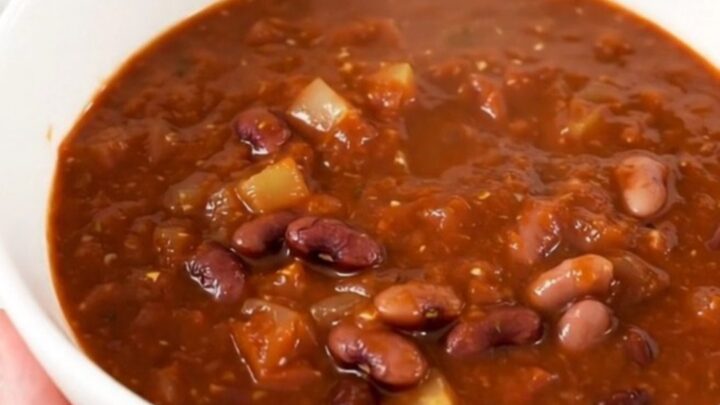
- Serve the chiliOnce finished, stir the chili gently to incorporate all the flavors. Ladle the hot mixture into individual serving bowls while steaming.Look for The chili should appear glossy and thick.Tip Serve immediately while warm for the best texture and flavor experience.
Once the cooking time is complete, the chili should have a thick, glossy appearance. The beans should be tender, and the mixture should be steaming hot. Give the chili a final stir to ensure all spices are perfectly distributed before serving in bowls.
Common mistakes
A common mistake is failing to drain the beans properly, which can result in a watery or diluted chili. Another oversight is failing to properly seal the slow cooker lid, which allows heat to escape and increases the required cooking time significantly.
Additionally, using a salsa that is too thin might affect the final texture, so choose a chunky variety for better results. Always verify the seasoning packet contents to ensure they match your personal spice tolerance to avoid an overly intense flavor profile.
How to tell it’s done
The chili is considered done when the beans are tender to the bite and the entire mixture has reached a uniform, piping hot temperature throughout. The sauce should appear glossy, thick, and well-integrated.
If the chili appears too thin, you can continue to cook it uncovered for an additional thirty minutes to allow excess moisture to evaporate, ensuring the desired consistency is achieved before serving to your guests or family.
Up next · Part 3 of 3
2 variations · storage & make-ahead · 3 answers · printable card
Tips, FAQ & printable recipe (Part 3)← Back to the ingredients (Part 1)