Dinner · Part 1 of 3: Ingredients
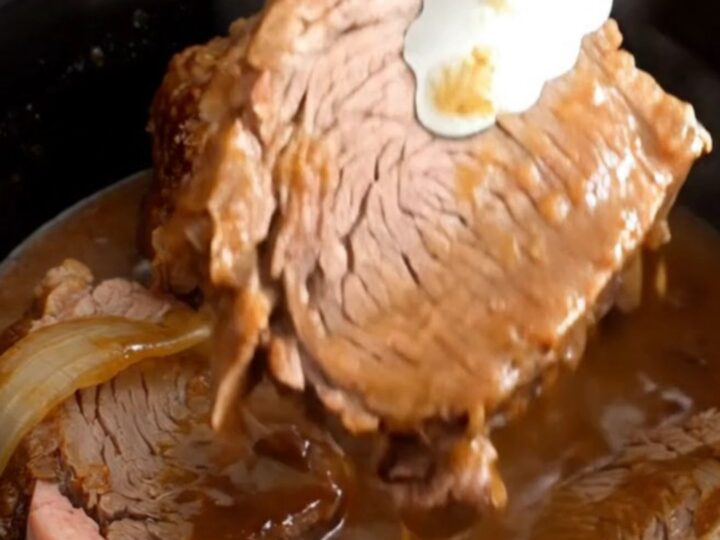
Slow Cooker Sliced Rump Roast with Savory Brown Gravy
- Prep
- Cook
- Total
- Serves
- 6
Transform humble ingredients into a restaurant-quality meal with this effortless slow cooker rump roast. By slowly simmering beef in a savory brown gravy, you achieve a level of tenderness that is simply impossible to replicate with fast-cooking methods.
This recipe is designed to be the ultimate time-saver, allowing you to focus on your day while dinner practically makes itself. It is the perfect solution for busy families who refuse to compromise on a hearty, comforting, and delicious meal at the end of the day.
This slow cooker rump roast recipe focuses on simplicity and depth of flavor. By using a pre-made brown gravy mix, you create a complex, savory sauce that perfectly complements the rich taste of the beef.
The onions break down during the long cooking time, thickening the gravy and adding a subtle sweetness that balances the saltiness of the beef broth. This dish is ideal for those who enjoy minimal prep and maximum flavor, making it a reliable staple for any home cook's collection of easy dinner recipes.
Ingredients
Main
- 3 lb beef rump roast, sliced
- 1 large yellow onion, sliced into half-moons
- 1 packet brown gravy mix
- 2 cups beef broth
Why this recipe works
The slow cooking process is essential for breaking down the tough connective tissues found in rump roast, turning it into incredibly tender, melt-in-your-mouth slices. Because the meat cooks submerged in the savory liquid, it remains moist and absorbs all the aromatic flavors of the broth and onions. This gentle, consistent heat ensures that the meat does not dry out, resulting in a succulent texture that is difficult to achieve with other cooking techniques.
Additionally, the combination of brown gravy mix and beef broth creates a concentrated, umami-rich sauce that coats every slice of beef perfectly. As the onions soften and release their moisture, they meld with the gravy, creating a natural thickening effect that clings to the meat.
This method provides a balanced, flavorful meal without requiring constant attention or complex culinary techniques, making it a highly reliable and efficient way to prepare a substantial dinner for the entire family.
Notes and substitutions
When selecting a rump roast, look for one that is well-marbled, as this fat will render down during the long cooking process, adding moisture and flavor to the final dish. You can ask your butcher to slice the roast into thick slices to save preparation time, or slice it yourself at home using a sharp chef's knife. If you prefer a thinner gravy, feel free to add a splash more beef broth, but keep in mind that the beef and onions will release their own juices as they cook.
While a standard oval slow cooker is ideal for this recipe, any size that comfortably fits the beef in a single layer will work. If you find that the gravy is too thin after cooking, you can remove the beef and whisk in a small amount of cornstarch slurry to the sauce, simmering it for a few minutes on high until it reaches your desired consistency.
This simple adjustment allows you to customize the texture of the gravy according to your personal preference for a thicker or thinner sauce.
- Beef rump roast: Beef chuck roast or top round roast will also work well for slow cooking.
- Brown gravy mix: Use a mixture of beef bouillon, cornstarch, and garlic powder as a homemade alternative.
Equipment
- Slow cooker
- Knife
- Cutting board
Up next · Part 2 of 3
3 steps · 8 h of cooking · what to look for at each stage
Step-by-step instructions (Part 2)