Dinner · Part 1 of 3: Ingredients
Slow-Cooker Shallot Carrot Butter Pork Shoulder
- Prep
- Cook
- Total
- Serves
- 8
This slow-cooker pork shoulder recipe is the definition of set-it-and-forget-it. A well-marbled roast, sweet baby carrots, whole shallots, and a generous stick of butter go into the pot in minutes.
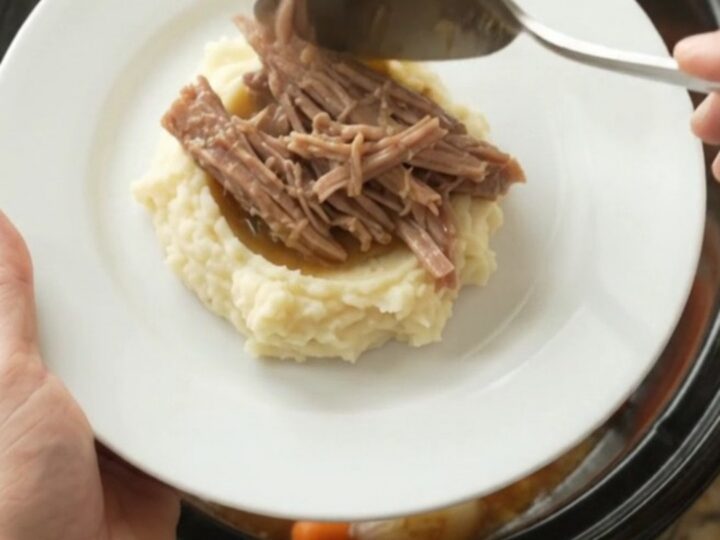
Hours later, the meat is fall-apart tender, the vegetables are caramelized, and the juices have become a silky, buttery sauce. It's a hands-off dinner that tastes like you spent all day tending it—but the slow cooker does all the work. Serve it over mashed potatoes or with crusty bread to soak up every drop.
This recipe comes together with just five ingredients and a slow cooker. The pork shoulder, also called Boston butt, is ideal for long, slow cooking because its fat and connective tissue break down into succulent, shreddable meat.
Whole shallots and baby carrots cook alongside, absorbing the savory juices and becoming sweet and tender. A stick of salted butter melts over the top, enriching the cooking liquid into a glossy, emulsified pan jus. The result is a comforting, deeply flavorful meal that requires minimal effort and delivers maximum satisfaction.
Ingredients
- 4 lb boneless pork shoulder roast (Boston butt)
- 8 whole shallots, peeled
- 1 lb baby carrots
- 1 stick salted butter
- 1 tsp kosher salt
- 1/2 tsp black pepper
Why this recipe works
Pork shoulder is a tough, well-exercised cut that transforms when cooked low and slow. The collagen in the meat melts into gelatin, which gives the pulled pork its luxurious, moist texture.
The long cooking time also allows the fat to render, basting the meat from within and keeping it juicy. The slow cooker maintains a gentle, even heat that breaks down the meat without drying it out, making it nearly impossible to overcook as long as you use the low setting.
The combination of shallots and carrots provides a natural sweetness that balances the rich pork and butter. As they cook, they soften and caramelize, adding depth to the pan juices. The butter, melted on top, creates a silky emulsion that coats every shred of pork. This simple layering of ingredients—meat, aromatics, and fat—creates a complex sauce with no extra steps. The result is a dish that tastes both rustic and refined, with minimal effort.
Notes and substitutions
Choose a pork shoulder with good marbling; the fat is essential for flavor and tenderness. If your roast has a thick fat cap, you can trim it slightly, but leaving some fat ensures moist results.
Baby carrots are convenient, but you can substitute regular carrots cut into chunks. Shallots are sweeter and milder than onions, but a yellow onion cut into wedges works in a pinch. Use salted butter for the best seasoning; if using unsalted, add a pinch more salt.
This recipe is forgiving—the slow cooker does the work. You can cook on low for 8 to 10 hours or on high for 5 to 6 hours. The meat is done when it shreds easily with a fork. The vegetables will be very soft and may break apart; that's fine, as they become part of the sauce. If you prefer a thicker sauce, you can transfer the juices to a saucepan and simmer until reduced, but the natural jus is delicious as-is.
- baby carrots: 3 large carrots, peeled and cut into 2-inch chunks
- shallots: 1 large yellow onion, cut into wedges
- salted butter: unsalted butter plus 1/4 tsp salt
Equipment
- 6-quart slow cooker
- cutting board
- chef's knife
- vegetable peeler
- measuring spoons
- two forks
- serving spoon
Up next · Part 2 of 3
6 steps · 8 h of cooking · what to look for at each stage
Step-by-step instructions (Part 2)