Desserts · Part 1 of 3: Ingredients
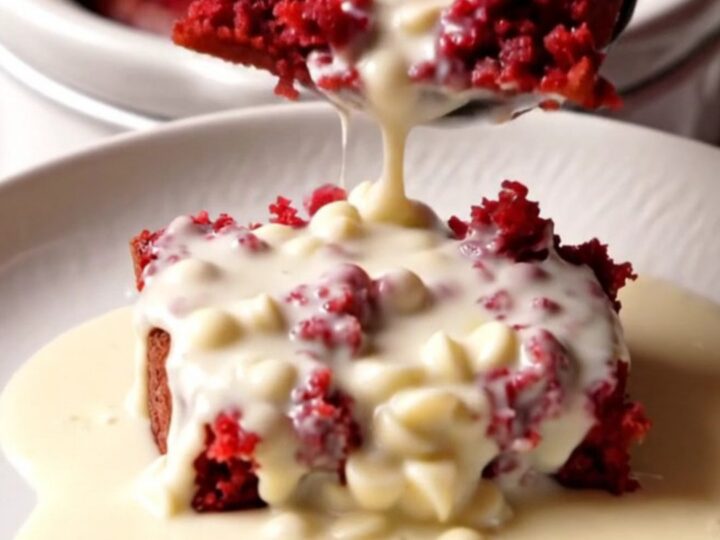
Slow-Cooker Red Velvet Lava Cake with Cream Cheese Core
- Prep
- Cook
- Total
- Serves
- 6
Transform a standard cake mix into a gourmet dessert with this simple slow-cooker method. The combination of a deep red velvet sponge and a creamy, molten white chocolate core creates a stunning contrast that feels like a professional culinary creation.
Whether hosting a small dinner or looking for a comforting weekend treat, this recipe offers a foolproof way to achieve that perfect lava cake texture without needing an oven or complex baking techniques.
This red velvet lava cake is the ultimate solution for dessert lovers who appreciate rich flavors and impressive textures. By utilizing the gentle, consistent heat of a slow cooker, the cake exterior bakes to a tender, cake-like consistency while the center remains a luxurious, warm cream cheese and white chocolate ganache.
This method ensures that the molten core stays perfectly liquid, providing a delightful surprise with every spoonful. It is a reliable, low-stress recipe that delivers elegant results with minimal effort, making it a favorite for those who want to spend more time enjoying dessert and less time monitoring a hot oven.
Ingredients
Cake Base
- 1 box red velvet cake mix
Filling
- 8 oz cream cheese, softened
- 1 cup white chocolate chips
Why this recipe works
The slow cooker environment provides a humid, even heat that is ideal for delicate desserts like lava cakes. Unlike an oven, which can dry out the edges of a cake, the ceramic insert of a crockpot retains moisture, allowing the red velvet sponge to stay soft and tender.
The gentle rise ensures the batter sets slowly, preventing the cake from collapsing while keeping the center pockets of cream cheese and white chocolate ganache perfectly molten and warm.
The layering technique is essential for achieving the distinct lava effect. By placing the cream cheese mixture in the center of the batter rather than mixing it throughout, the filling remains concentrated.
As the cake bakes, the surrounding batter rises and sets around the cream cheese, creating a structural barrier that keeps the liquid filling inside until it is pierced with a spoon. This deliberate separation is the secret to the dramatic, flowing lava presentation.
Notes and substitutions
When selecting ingredients, use a standard boxed red velvet cake mix that includes high-quality cocoa powder for the best flavor profile. Ensure the cream cheese is fully softened to room temperature before beating; this prevents lumps from forming and ensures a smooth, silky ganache consistency. If the cream cheese is too cold, it will not melt properly into the white chocolate, resulting in a grainy texture rather than the desired liquid lava core.
For the best results, use a 6-quart slow cooker, as the surface area is ideal for the thickness of this cake. If using a smaller slow cooker, the cake may be too deep, which can affect the cooking time and the consistency of the molten center. Always use high-quality white chocolate chips, as they provide the necessary sweetness and creamy mouthfeel to balance the slight tang of the cream cheese filling.
- white chocolate chips: chopped white chocolate bars
- red velvet cake mix: chocolate cake mix mixed with red food coloring
Equipment
- 6-quart slow cooker
- mixing bowl
- electric hand mixer
- silicone spatula
- serving spoon
Up next · Part 2 of 3
3 steps · 2 h 15 min of cooking · what to look for at each stage
Step-by-step instructions (Part 2)