Dinner · Part 1 of 3: Ingredients
Slow Cooker Pork Tinga for Easy Weeknight Dinners
- Prep
- Cook
- Total
- Serves
- 6
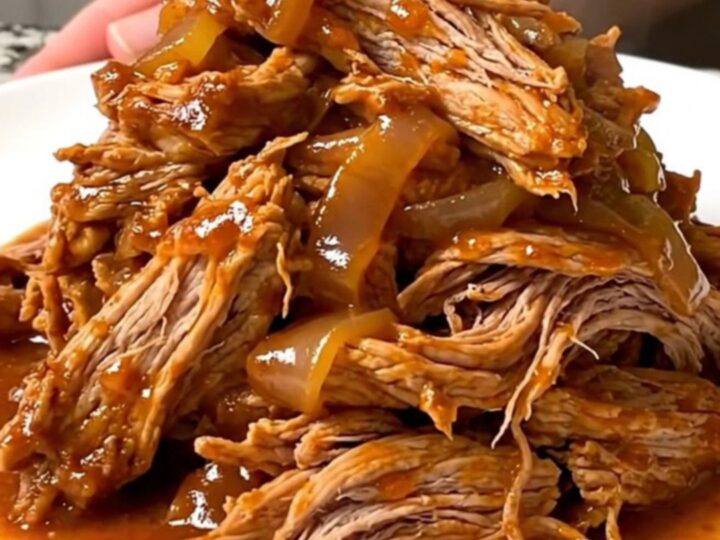
Transform a humble pork shoulder into a flavorful, succulent meal with minimal effort. This slow cooker pork tinga recipe relies on low and slow cooking to break down tough fibers, resulting in melt-in-your-mouth meat that is infused with smoky, savory notes. It is the perfect solution for busy days when you want a home-cooked meal waiting for you, requiring only a few minutes of active preparation before letting the slow cooker work its magic.
Pork tinga is a classic dish celebrated for its ability to balance smoky, deep flavors with the natural richness of pork. By utilizing a slow cooker, this version achieves a consistent, tender texture that is difficult to replicate with faster cooking methods.
The combination of tomato sauce, onions, and smoky chile powder creates a robust sauce that clings to the shredded pork, making it an excellent choice for tacos, burrito bowls, or simply served alongside steamed rice. This recipe is designed for simplicity, ensuring that even on your busiest days, you can enjoy a hearty and satisfying dinner that feels special.
Ingredients
- 3 lb pork shoulder, trimmed of excess fat
- 1 large onion, thinly sliced
- 2 tbsp smoky chile powder
- 1 tsp dried oregano
- 15 oz tomato sauce
Why this recipe works
The slow cooker method is ideal for pork shoulder because the prolonged, gentle heat gradually breaks down the connective tissues. This process converts collagen into gelatin, which keeps the meat moist and tender even after hours of cooking. Unlike searing or roasting, which can dry out larger cuts of meat, the enclosed environment of the slow cooker maintains a consistent moisture level, ensuring the pork shreds easily without becoming stringy or tough.
Additionally, the slow cooking process allows the flavors of the onion, smoky chile powder, and tomato sauce to deeply penetrate the meat. As the pork cooks, it releases its own savory juices, which mingle with the spices to create a concentrated, complex sauce.
This infusion happens over time, resulting in a depth of flavor that develops naturally without the need for constant monitoring or complex techniques, making it a reliable method for consistent results every single time.
Notes and substitutions
When choosing a pork shoulder for this recipe, look for a piece with good marbling, as the intramuscular fat is essential for keeping the meat succulent throughout the long cooking process.
If you cannot find a pork shoulder labeled as such, pork butt or Boston butt are excellent alternatives that perform identically. Ensure the meat is trimmed of excessive exterior fat, but leave some intact to provide flavor and moisture while the meat braises in the tomato sauce.
The equipment required for this dish is minimal, needing only a reliable slow cooker with a capacity large enough to accommodate the roast comfortably. If your slow cooker has a non-stick insert, cleanup will be particularly easy.
For the spices, using a high-quality smoky chile powder is recommended to achieve the signature depth of the dish. If you prefer a milder version, you can reduce the amount of chile powder, though it is the primary source of the characteristic smoky profile.
- pork shoulder: pork butt or boneless pork roast
- smoky chile powder: chipotle powder for extra heat and smoke
Equipment
- slow cooker
- cutting board
- chef's knife
- tongs
- forks for shredding
Up next · Part 2 of 3
3 steps · 8 h of cooking · what to look for at each stage
Step-by-step instructions (Part 2)