Dinner · Part 1 of 3: Ingredients
Slow Cooker Pork Roast with Red Cabbage and Apples
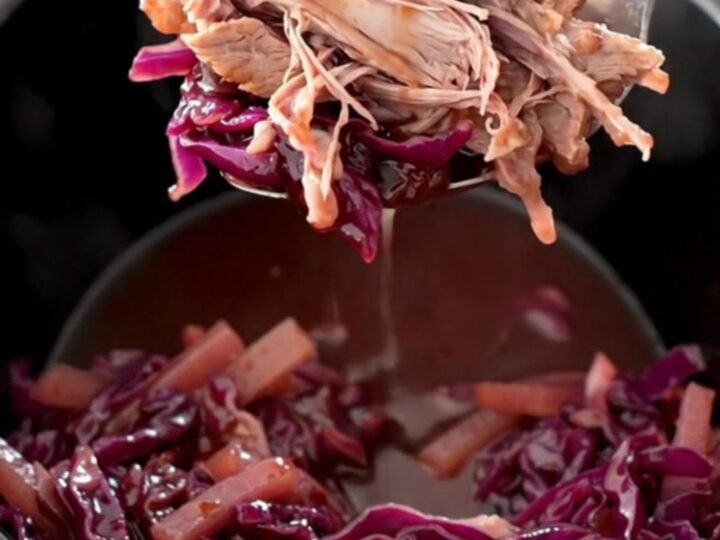
- Prep
- Cook
- Total
- Serves
- 6
Master the art of hands-off cooking with this succulent pork roast. By combining fresh fruit and earthy cabbage in a slow cooker, you create a complex, tender, and comforting meal that requires minimal effort.
This recipe proves that simple ingredients, when given enough time, transform into a restaurant-quality dinner. Perfect for busy weeknights when you want a meal waiting for you, this dish offers a wonderful balance of savory pork and sweet, tangy fruit that satisfies the entire family every single time.
Slow cooking is the ultimate technique for tough cuts of meat like pork shoulder. The low, consistent heat breaks down connective tissues slowly, resulting in meat that is incredibly tender and moist. Adding apples and cabbage creates a natural braise; the sugars from the fruit and the added brown sugar caramelize slightly, while the apple juice provides a bright, acidic contrast.
This recipe is designed for ease and reliability, allowing the slow cooker to do the heavy lifting while you focus on other tasks. The resulting meal is a complete, satisfying dish that brings warmth and comfort to any table.
Ingredients
- 3 lb boneless pork shoulder, cut into large chunks
- 1 head red cabbage, shredded
- 2 large apples, sliced
- 1/4 cup brown sugar
- 1 cup apple juice
Why this recipe works
The slow cooking method works by maintaining a low temperature over an extended period. This gentle heat is essential for converting the collagen in the pork shoulder into gelatin, which makes the meat melt-in-your-mouth tender. Because the lid stays closed, all the moisture remains inside the vessel, creating a self-basting environment that keeps the pork juicy while the cabbage absorbs all the savory pork drippings and sweet apple notes.
The combination of red cabbage and apples provides a structural and flavor contrast. Cabbage holds its shape well even after hours of cooking, while the apples soften and release their natural pectin and sugars into the sauce.
This creates a thick, flavorful glaze that clings to the pork. The brown sugar enhances the natural sweetness of the apples, balancing the slight bitterness of the cabbage and the savory profile of the slow-cooked pork roast.
Notes and substitutions
For the best results, use a boneless pork shoulder, often labeled as a Boston butt or pork roast. This cut has enough intramuscular fat to stay juicy during the long cook time. If you cannot find a pre-cut roast, purchase a whole shoulder and cut it into large, uniform chunks. Ensure the pieces are roughly the same size so they cook at the same rate, preventing some pieces from drying out while others remain undercooked.
A standard oval slow cooker works perfectly for this recipe. If you have a programmable model, set it to the low setting. Avoid using too much liquid; the pork and cabbage will release significant moisture during the cooking process, and the apple juice is intended to provide flavor rather than act as a soup base.
If you prefer a thicker sauce at the end, you can remove the lid for the final thirty minutes of cooking to allow some liquid to evaporate.
- apple juice: apple cider or a dry white wine for a slightly more acidic finish.
- red cabbage: green cabbage works well, though it loses the vibrant purple color.
Equipment
- slow cooker
- chef knife
- cutting board
- measuring cups
Up next · Part 2 of 3
3 steps · 8 h of cooking · what to look for at each stage
Step-by-step instructions (Part 2)