Dinner · Part 1 of 3: Ingredients
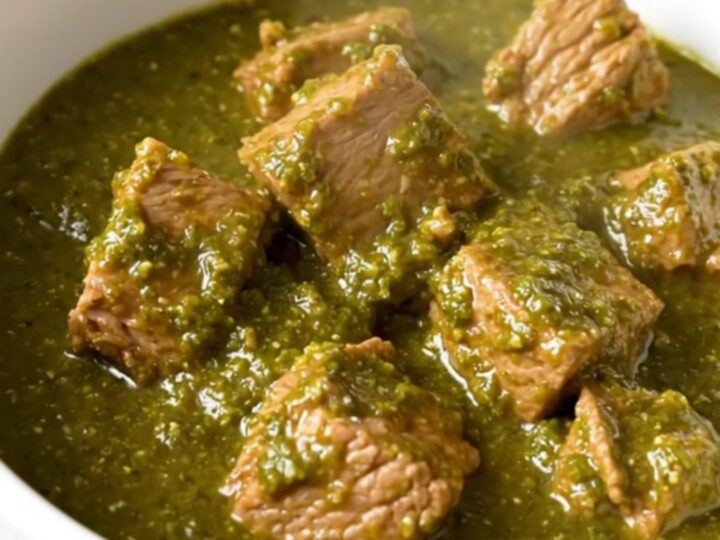
Slow Cooker Pork Chile Verde for Easy Weeknight Dinners
- Prep
- Cook
- Total
- Serves
- 6
Master the art of hands-off cooking with this incredibly simple slow cooker pork chile verde. By using a few pantry staples and a reliable slow cooker, you can create a restaurant-quality meal that is perfect for busy families or those who appreciate a low-maintenance cooking style. This dish relies on the long, slow braising process to transform tougher cuts of pork into succulent, melt-in-your-mouth bites that are infused with the bright, tangy flavors of green salsa.
This pork chile verde is designed to be the ultimate convenience meal. By layering the ingredients directly into the slow cooker, you eliminate the need for pre-searing or complex preparation steps, making it an ideal choice for hectic weeknights.
The combination of savory pork, aromatic onions, and zesty salsa verde creates a balanced flavor profile that pairs wonderfully with rice, tortillas, or a simple side salad. It is a reliable recipe that delivers consistent results every time you make it.
Ingredients
Main Ingredients
- 2 lb pork shoulder, cut into 1-inch cubes
- 1 cup diced onions
- 1 packet fajita seasoning
- 16 oz salsa verde
Why this recipe works
The slow cooker method is ideal for this recipe because it provides a consistent, low-heat environment that is perfect for braising meat. As the pork cooks over several hours, the collagen in the meat breaks down into gelatin, which thickens the surrounding sauce and ensures the pork remains moist and tender rather than drying out.
This method also allows the flavors of the fajita seasoning and the tangy salsa verde to penetrate deeply into the meat, creating a cohesive and complex flavor profile that develops gradually.
Furthermore, the layering technique is essential for success. By placing the onions and seasoning on top of the pork and covering everything with salsa, you create a self-basting environment. As the onions release their moisture and the salsa heats up, the liquid circulates through the pork, preventing any hot spots and ensuring even cooking.
This simple, systematic approach removes the guesswork from the process, providing a foolproof way to achieve a delicious result without needing constant supervision or complicated culinary techniques.
Notes and substitutions
When selecting pork for this recipe, look for a well-marbled pork shoulder or pork butt. The fat content in these cuts is crucial for keeping the meat tender during the long cooking time. Avoid leaner cuts like pork tenderloin, as they are likely to become dry and tough when subjected to slow cooking. If you find the pork is too fatty, you can trim the larger pieces of exterior fat before cubing, but leaving some marbling is recommended for the best texture and flavor.
Regarding the salsa verde, the choice of heat level is entirely up to personal preference. You can use a mild, medium, or hot salsa depending on the desired spice level for the final dish. Because the salsa provides the primary liquid and seasoning base, ensure you choose a brand or style that you enjoy eating on its own.
The fajita seasoning packet typically contains a blend of salt, garlic, onion, and chili powder, which provides a consistent base of flavor that complements the acidity of the tomatillos in the salsa.
- pork shoulder: pork butt or boneless pork loin chops cut into chunks
- fajita seasoning: a blend of cumin, chili powder, oregano, and garlic powder
Equipment
- Slow cooker
- Knife
- Cutting board
- Measuring cup
Up next · Part 2 of 3
3 steps · 8 h of cooking · what to look for at each stage
Step-by-step instructions (Part 2)