Dinner · Part 2 of 3: Instructions
Slow Cooker Pesto Ranch Chicken for Easy Weeknight Dinners Step-by-step instructions
- Prep
- Cook
- Total
- Serves
- 4
Before you start
Before beginning, ensure the slow cooker is clean and positioned on a level surface away from the edge of the counter.
Prepare the chicken by removing any giblets from the cavity and patting it dry with paper towels to ensure the seasonings adhere properly. Slice the yellow onion into uniform, thin rounds so that they cook consistently and meld into the sauce.
Ingredients at a glance (4)
- 1 whole chicken, approximately 3-4 lbs
- 1 medium yellow onion, thinly sliced
- 1 packet ranch seasoning mix
- 1/2 cup basil pesto
Instructions
Initial Assembly
- Prepare the slow cookerPlace the raw whole chicken into the base of the slow cooker. Arrange the thinly sliced yellow onions evenly over and around the chicken to build a flavor base.Look for Chicken sits stable on the bottomTip Ensure the onions are distributed well to prevent the chicken from sticking.
The chicken should be nestled securely on the bed of onions, forming a stable foundation.
The onions should be spread evenly to ensure they provide consistent flavor throughout the cooking cycle without clumping together at the bottom of the slow cooker.
Seasoning Layer
- Season and layerSprinkle the entire packet of ranch seasoning evenly over the surface of the chicken. Follow this by spooning the basil pesto over the top, using the back of the spoon to spread it into an even layer.Look for Pesto covers the top of the chickenTip The pesto acts as a moisture barrier, keeping the breast meat succulent during the long cook.
The ranch seasoning should be dusted evenly over the entire chicken, followed by a smooth, uniform layer of basil pesto. The pesto should coat the top and sides of the chicken, acting as a flavor-infusing moisture barrier as the chicken cooks.
Final Cooking
- Cook and serveCover the slow cooker and cook on low for 6 to 8 hours, or on high for 3 to 4 hours. Ensure the internal temperature of the chicken reaches 165°F (74°C). Allow the chicken to rest for at least 5 minutes before carving and serving.Look for Chicken is tender and pulls away easily from the boneSafe temperature 165°F (74°C) internal temperature (poultry)Tip Check the temperature at the thickest part of the thigh, avoiding the bone.
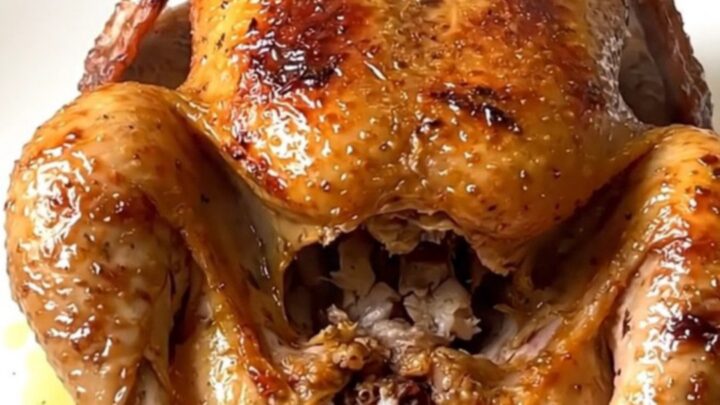
The chicken is ready when the meat is succulent, glossy, and reaches the required internal temperature of 165°F (74°C). The onions should be soft and translucent, having melded with the chicken juices and seasonings to create a savory, aromatic sauce.
Common mistakes
A common mistake is overcrowding the slow cooker with extra vegetables, which can release too much liquid and dilute the flavor of the pesto and ranch sauce. Stick to the specified onions to maintain the right balance.
Additionally, avoid lifting the lid frequently during the cooking process, as each opening releases heat and significantly increases the total cooking time required.
How to tell it’s done
The chicken is perfectly cooked when the juices run clear and the meat is tender enough to pull away from the bone with minimal effort.
Using a digital meat thermometer, ensure the thickest part of the thigh reaches an internal temperature of 165°F (74°C). Always allow the chicken to rest for at least 5 minutes to let the juices redistribute throughout the meat.
- Poultry: 165°F (74°C) in the thickest part
Up next · Part 3 of 3
2 variations · storage & make-ahead · 3 answers · printable card
Tips, FAQ & printable recipe (Part 3)← Back to the ingredients (Part 1)