Dinner · Part 2 of 3: Instructions
Slow Cooker Pepper Jack Steak Bites Step-by-step instructions
- Prep
- Cook
- Total
- Serves
- 4
Before you start
Before beginning, ensure the steak is cut into uniform one-inch cubes to guarantee consistent cooking. Have the measuring cup ready for the butter and ensure the slow cooker is clean and dry.
Keep all ingredients at room temperature for about 20 minutes before starting, but do not exceed 30 minutes. Having everything pre-measured and ready will make the assembly process seamless and allow the slow cooker to start working immediately once all components are combined.
Ingredients at a glance (5)
- 1 1/2 lb steak, cut into 1-inch cubes
- 4 oz diced green chiles, canned
- 1 packet fajita seasoning
- 1/2 cup unsalted butter, melted
- 1 cup pepper jack cheese, shredded
Instructions
Assembly and seasoning
- Prepare the slow cookerPlace the cubed steak into the bottom of the slow cooker. Ensure the pieces are spread out in an even layer to promote uniform cooking during the process.Look for Steak pieces are arranged in a single layer at the base of the pot.Tip Pat the steak dry with paper towels before adding to the cooker to improve browning.
- Add aromatics and seasoningDistribute the diced green chiles over the steak. Sprinkle the fajita seasoning packet evenly over the top of the meat and chiles, ensuring everything is well coated.Look for The seasoning covers the surface of the steak and chiles.Tip Use a spoon to lightly toss the meat if the seasoning is not covering every piece.
The steak is neatly arranged in the slow cooker, covered with a vibrant layer of green chiles and aromatic fajita seasoning. The ingredients look ready for the slow, steady heat that will transform them.
Slow cooking process
- Add butter and slow cookPour the melted butter over the seasoned steak. Cover the slow cooker and cook on low for 4 hours, or until the steak is tender and reaches an internal temperature of 145°F (63°C). Once cooked, let the meat rest for at least 3 minutes.Look for The steak is tender and the butter has created a savory sauce.Safe temperature 145°F (63°C) internal temperature (steaks, chops and roasts)Tip Ensure the butter is fully melted before pouring to ensure even distribution.
During the four-hour cook, the kitchen fills with a savory, spiced aroma. The steak bites are submerged in the butter and chile mixture, becoming increasingly tender as the flavors meld together into a rich, buttery sauce.
Melting the cheese
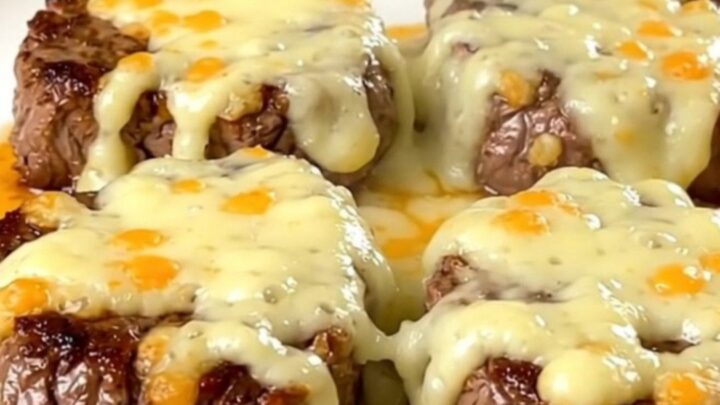
- Melt the cheeseOnce the steak is cooked, sprinkle the shredded pepper jack cheese over the top. Cover the slow cooker for 5 minutes to allow the cheese to melt completely before serving.Look for The cheese is bubbling and fully melted over the steak bites.Tip Ensure the cheese is evenly distributed for the best coverage.
The final step transforms the dish, with the pepper jack cheese melting into a bubbly, golden layer over the steak. The smell is rich and slightly spicy, signaling that the meal is ready to serve.
Common mistakes
A common mistake is overcrowding the slow cooker, which can lead to uneven cooking and tough meat. Ensure the steak pieces are in a single, even layer.
Another error is using too much heat or cooking for too long; while slow cooking is forgiving, excessive time can cause the meat to lose its structure.
Finally, failing to let the steak rest after cooking will result in juices leaking out, making the bites feel drier than intended.
How to tell it’s done
The steak is done when it is fork-tender and reaches a minimum internal temperature of 145°F (63°C). Use a meat thermometer inserted into the thickest piece to verify this.
The texture should be soft enough to cut with a fork, and the sauce should look glossy and well-emulsified. Always allow the meat to rest for at least 3 minutes after reaching the target temperature to ensure the juices are properly redistributed before serving.
- Steaks, chops and roasts: 145°F (63°C) in the thickest part, then a 3-minute rest
Up next · Part 3 of 3
2 variations · storage & make-ahead · 3 answers · printable card
Tips, FAQ & printable recipe (Part 3)← Back to the ingredients (Part 1)