Dinner · Part 1 of 3: Ingredients
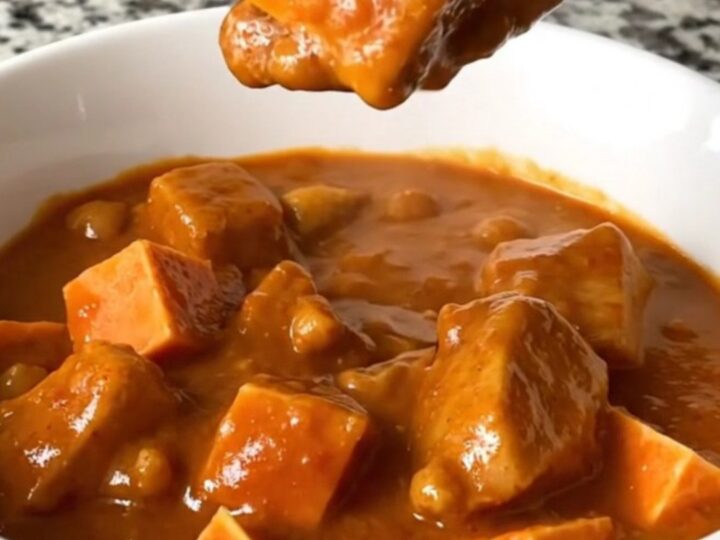
Slow Cooker Peanut Sweet Potato Chicken Stew
- Prep
- Cook
- Total
- Serves
- 4
Transform humble pantry staples into a sophisticated, comforting meal with this slow cooker peanut sweet potato chicken stew. This dish creates its own rich, aromatic sauce while simmering slowly, resulting in tender chicken and perfectly soft vegetables that melt in the mouth. It is the ideal solution for those who want a homemade, hearty dinner without spending hours in the kitchen after a long day of work or activities.
This recipe relies on the gentle, steady heat of a slow cooker to meld the earthy flavors of cumin and ginger with the creamy richness of peanut butter and the bright acidity of crushed tomatoes.
By layering the ingredients properly, the flavors develop deep complexity, while the sweet potatoes thicken the sauce naturally. It is a reliable, wholesome, and delicious meal that requires minimal active preparation time, making it a staple for any home cook looking for efficiency and flavor.
Ingredients
Main Ingredients
- 1 1/2 lb boneless skinless chicken thighs, cut into bite-size chunks
- 2 cups sweet potatoes, peeled and cubed
- 1 cup yellow onion, chopped
Seasoning
- 1 tsp ground cumin
- 1 tsp ground ginger
Sauce
- 1 1/2 cups peanut butter tomato sauce
Why this recipe works
The slow cooking method allows the chicken thighs to become incredibly tender without drying out, which is a common issue with high-heat cooking.
As the stew simmers, the starch from the sweet potatoes releases into the sauce, providing a natural thickening agent that creates a velvety mouthfeel without needing flour or cornstarch. This technique ensures that the peanut and tomato flavors are thoroughly infused into every piece of meat and vegetable.
Furthermore, the combination of peanut butter and tomatoes creates a balanced flavor profile that hits both savory and slightly sweet notes. Using a slow cooker also means that the ingredients are cooked in their own juices, preserving the integrity of the sweet potatoes and the moisture of the chicken.
This hands-off approach guarantees consistent results every time, as the steady temperature prevents the sauce from scorching or separating during the cooking process.
Notes and substitutions
When selecting chicken for this recipe, boneless skinless thighs are recommended over breasts because their higher fat content makes them much more forgiving during long cooking times.
For the best texture, ensure the sweet potatoes are cut into uniform, one-inch cubes so they finish cooking at the same time as the chicken. If the sauce appears too thick after cooking, a splash of water or broth can be stirred in to reach the desired consistency before serving.
A standard slow cooker with a ceramic insert is ideal for this recipe, as it distributes heat evenly. If a particular spice blend is preferred, the cumin and ginger can be adjusted to taste, though these provide the essential aromatic base for the peanut sauce. Ensure that the peanut butter used is well-mixed and smooth, as this will result in a more integrated sauce that clings beautifully to the chicken and vegetables.
- Chicken thighs: Chicken breast can be used, though it may result in a slightly less tender texture.
- Sweet potatoes: Butternut squash provides a similar texture and sweetness if preferred.
Equipment
- Slow cooker
- Chef's knife
- Cutting board
- Measuring cups
- Measuring spoons
- Mixing bowl
Up next · Part 2 of 3
3 steps · 4 h of cooking · what to look for at each stage
Step-by-step instructions (Part 2)