Dinner · Part 1 of 3: Ingredients
Slow-Cooker Peach Bourbon Pulled Pork for Easy Weeknight Dinners
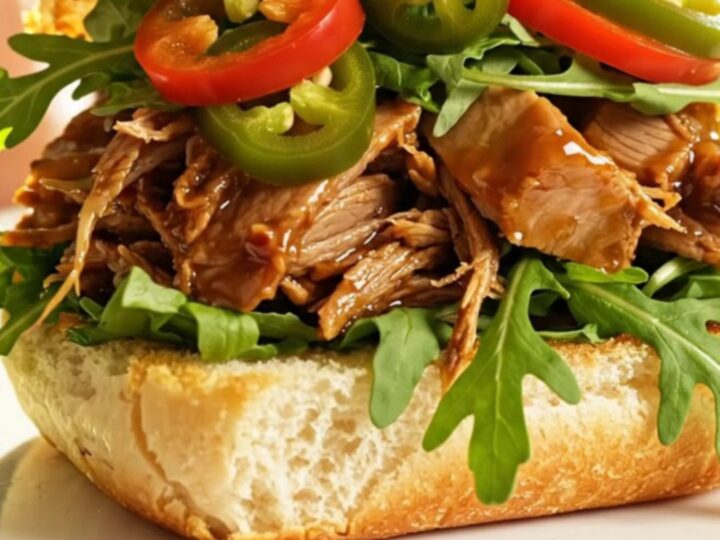
- Prep
- Cook
- Total
- Serves
- 8
Discover how a simple slow cooker can transform a humble pork butt into a sophisticated, Southern-style masterpiece. By combining fresh summer peaches with the depth of bourbon and the sweetness of brown sugar, you create a dish that is both complex and incredibly comforting.
This recipe is designed to be a set-it-and-forget-it solution for busy households, ensuring that a flavorful meal is ready without hours spent hovering over a hot stove.
Pulled pork is a classic dish that benefits immensely from low and slow heat. By layering fresh ingredients like ripe peaches, ginger, and Dijon mustard, you build a flavor profile that balances sweetness and acidity perfectly. The bourbon provides a subtle smoky note that cuts through the richness of the pork, while the brown sugar helps create a glossy, jammy finish that coats every strand of meat.
Whether you are hosting a casual gathering or simply looking to upgrade your weekday dinner rotation, this recipe offers a reliable, impressive result that never fails to satisfy those who enjoy a touch of sweetness in their savory dishes.
Ingredients
Main Ingredients
- 4 lb boneless pork butt
- 2 cups sliced ripe peaches
- 1/2 cup dark brown sugar
- 1/3 cup bourbon
- 2 tbsp Dijon mustard
- 1 tsp grated fresh ginger
For Serving
- butter-toasted brioche rolls, for serving
- fresh arugula, for serving
- sliced jalapenos, for serving
Why this recipe works
The slow-cooking method is essential for breaking down the connective tissues in the pork butt. Over the course of eight hours, the low heat ensures the meat remains succulent rather than drying out. The natural pectin in the peaches acts as a thickener, combining with the sugars and bourbon to create a rich, syrupy glaze that clings perfectly to the shredded pork.
Using a slow cooker also allows the aromatics and spices to permeate the meat thoroughly. Because the lid remains closed for the duration of the cooking, the moisture is trapped, creating an environment where the pork effectively braises in its own juices and the peach-bourbon mixture. This result is nearly impossible to replicate with faster, high-heat methods and guarantees a consistent texture every single time.
Notes and substitutions
Select a pork butt with good marbling, as the fat will render down during the long cook time, contributing to the overall moisture and depth of flavor.
If you prefer a less sweet profile, you can reduce the amount of brown sugar slightly, though it is necessary for achieving the signature glaze consistency. Fresh ginger is highly recommended over dried, as it provides a brighter, more vibrant heat that complements the peaches.
When it comes to equipment, any standard slow cooker will work. If your slow cooker has a tendency to run hot, check the pork around the seven-hour mark to prevent over-reduction of the sauce.
The brioche rolls provide a soft, buttery base that absorbs the juices without disintegrating, so choose high-quality bakery-style rolls for the best experience. Arugula and jalapenos are essential for providing a peppery and spicy contrast to the sweet pork.
- bourbon: apple juice or cider vinegar mixed with a splash of vanilla extract
- fresh peaches: frozen peach slices, thawed and drained
Equipment
- Slow cooker
- Two forks
- Chef knife
- Grater
Up next · Part 2 of 3
3 steps · 8 h of cooking · what to look for at each stage
Step-by-step instructions (Part 2)