Dinner · Part 1 of 3: Ingredients
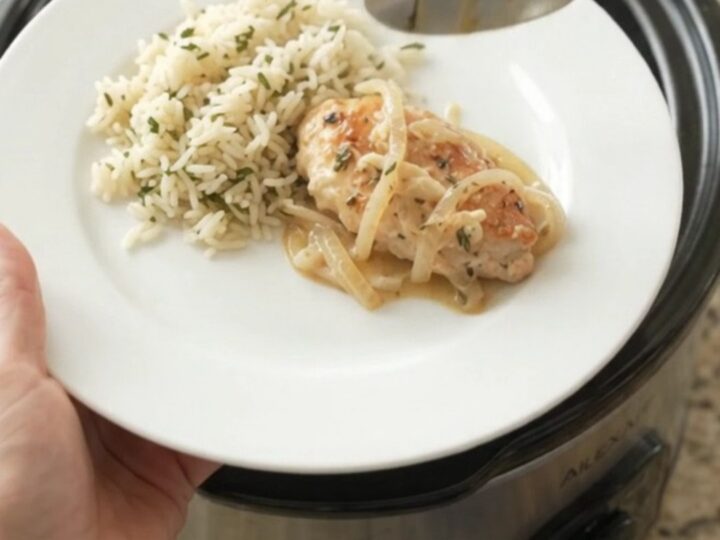
Slow Cooker Parmesan French Onion Chicken Cutlets
- Prep
- Cook
- Total
- Serves
- 4
This slow cooker chicken cutlets recipe is the definition of set-it-and-forget-it. Four chicken breasts, a mountain of sweet onions, a block of cream cheese, and a shower of Parmesan go into the Crockpot, and hours later you come back to tender chicken in a velvety, savory onion sauce.
It tastes like French onion soup turned into a hearty dinner, with no constant stirring or watching. Perfect for busy weeknights when you want a home-cooked meal without the effort.
Chicken cutlets are the unsung heroes of quick dinners, but in the slow cooker they become something special. Layered with sweet Vidalia onions, fresh thyme, and a rich cream cheese–Parmesan sauce, they cook low and slow until spoon-tender.
The onions melt into silky ribbons, the cheese forms a glossy sauce, and the broth keeps everything moist and savory. This is a one-pot meal that requires just 10 minutes of prep, then the slow cooker takes over. Serve it over rice, noodles, or with crusty bread to soak up every last drop.
Ingredients
- 4 boneless, skinless chicken breast cutlets
- 2 large sweet Vidalia onions, thinly sliced
- 6 sprigs fresh thyme
- 1/2 cup low-sodium chicken broth
- 8 oz cream cheese, softened
- 1/2 cup freshly grated Parmesan cheese
Why this recipe works
The slow cooker's gentle, moist heat transforms chicken breast cutlets into exceptionally tender morsels. Unlike high-heat cooking that can dry out lean poultry, the low-and-slow method allows the meat to stay juicy while absorbing the flavors of the broth, onions, and herbs. The onions slowly caramelize in their own juices, releasing natural sugars that deepen the overall taste of the dish.
The combination of cream cheese and Parmesan creates a rich, velvety sauce without any extra thickening. As the cream cheese melts, it emulsifies with the broth and onion juices, forming a smooth, coating sauce.
The Parmesan adds a nutty, salty depth that echoes the classic French onion flavor. Everything melds together in the Crockpot with zero stirring, making this recipe as foolproof as it is delicious.
Notes and substitutions
Choose chicken breast cutlets that are even in thickness so they cook at the same rate. If you can only find full breasts, slice them horizontally into cutlets.
Sweet onions like Vidalia are key — they're mild and high in sugar, which helps them caramelize beautifully. Yellow onions are a fine substitute, but avoid red or white onions, which can turn sharp and slightly bitter during the long cook.
Fresh thyme is highly recommended; it infuses the dish with a gentle herbal note that dried thyme can't quite match. If using dried, reduce to 1 teaspoon and add it with the broth. Use a block of cream cheese, not the whipped kind, and let it soften before adding. Freshly grated Parmesan melts better than pre-shredded, which often contains anti-caking agents that can make the sauce grainy.
- chicken breast cutlets: chicken thighs (boneless, skinless) — cook the same way, they stay even juicier
- Vidalia onions: yellow onions or sweet onions like Walla Walla
- fresh thyme: 1 teaspoon dried thyme, added with the broth
- chicken broth: dry white wine or a mix of wine and broth for extra depth
Equipment
- 6-quart slow cooker
- Cutting board
- Chef's knife
- Measuring cups
- Measuring spoons
- Wooden spoon
- Serving spoon
Up next · Part 2 of 3
5 steps · 4 h of cooking · what to look for at each stage
Step-by-step instructions (Part 2)