Dinner · Part 2 of 3: Instructions
Slow Cooker Paprika Chicken Goulash for an Easy Weeknight Dinner Step-by-step instructions
- Prep
- Cook
- Total
- Serves
- 4
Before you start
Before starting, ensure your slow cooker is clean and positioned on a stable, heat-resistant surface near an outlet. Gather all your ingredients and prep them in advance: dice the chicken into uniform pieces, slice the onions into thin strips, and have your tomato broth measured and ready to pour.
This preparation keeps the workflow smooth and efficient, allowing you to assemble the dish in just a few minutes without any unnecessary rush or mess.
Ingredients at a glance (4)
- 1.5 lb diced chicken
- 2 medium onions, sliced
- 2 tbsp red paprika
- 2 cups tomato broth
Instructions
Layering the Ingredients
- Prepare the Slow Cooker BasePlace the diced chicken into the bottom of the slow cooker to ensure even cooking throughout the process. Scatter the sliced onions evenly over the chicken, allowing them to soften and release their sweetness as the dish simmers.Look for Chicken is at the bottom of the cooker.Tip Ensure the chicken pieces are relatively uniform in size to promote even cooking.
At this stage, the slow cooker is prepared with the raw chicken and sliced onions. Everything is neatly layered, providing a solid foundation for the flavors to develop.
The chicken is evenly distributed at the bottom, and the onions are scattered across the top, ready to release their moisture and sweetness during the long, slow simmer.
Adding Seasonings and Liquid
- Season and Add LiquidSprinkle the red paprika generously over the onions and chicken to infuse the base with deep flavor. Pour the tomato broth over the top, ensuring that the chicken and onions are mostly submerged to keep the meat moist.Look for Liquid covers the ingredients.Tip Use high-quality sweet or smoked paprika for the best flavor profile.
The paprika and tomato broth have been added, creating a vibrant, seasoned base. The ingredients are now submerged, and the slow cooker is ready to be covered. You should see a uniform color from the paprika and enough liquid to ensure the chicken will cook through perfectly without drying out.
Slow Cooking and Finishing
- Slow Cook and ServeCover the slow cooker and cook on low for 4 hours. Once finished, check that the chicken reaches an internal temperature of 165°F (74°C). Allow the dish to rest for 5 minutes before serving on warm plates.Look for Chicken is tender and cooked through.Safe temperature 165°F (74°C) internal temperature (poultry)Tip If the sauce is too thin, you can thicken it with a little cornstarch slurry after cooking.
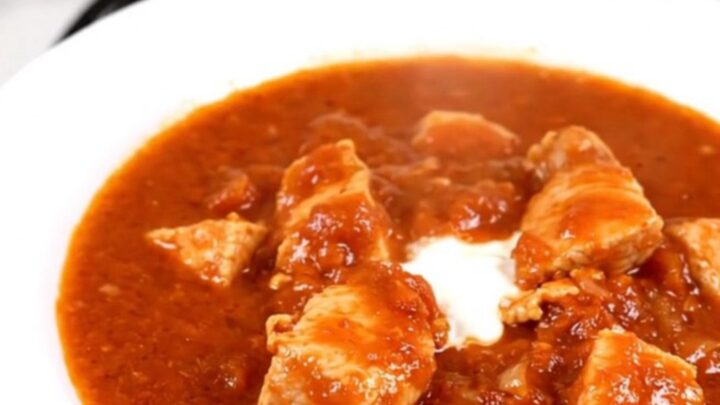
After hours of cooking, the kitchen is filled with the aroma of savory chicken and paprika. The chicken is tender, the onions have softened into the sauce, and the liquid has reduced into a rich, glossy consistency. The internal temperature of the chicken should be checked to confirm it is safe to serve.
Common mistakes
Avoid lifting the slow cooker lid during the cooking process, as this releases heat and steam, which significantly increases the total cooking time and can affect the final texture of the chicken.
Additionally, do not crowd the slow cooker beyond its recommended capacity, as this prevents even heat distribution. Finally, ensure your ingredients are not frozen when you start; always thaw meat completely in the refrigerator before adding it to the slow cooker for food safety reasons.
How to tell it’s done
The goulash is done when the chicken is fork-tender and reaches a minimum internal temperature of 165°F (74°C). The sauce should be thickened, glossy, and fragrant, with the onions completely softened into the broth.
If the chicken still feels firm or the temperature is below the required threshold, continue cooking for another 30 minutes. Always test the thickest piece of chicken to ensure it is thoroughly cooked before turning off the heat.
- Poultry: 165°F (74°C) in the thickest part
Up next · Part 3 of 3
2 variations · storage & make-ahead · 3 answers · printable card
Tips, FAQ & printable recipe (Part 3)← Back to the ingredients (Part 1)