Dinner · Part 1 of 3: Ingredients
Slow-Cooker Mozzarella French Onion Chicken Thighs
- Prep
- Cook
- Total
- Serves
- 4
This slow-cooker recipe turns just five ingredients into a rich, savory dinner that tastes like you simmered it all day—because you did, but without any babysitting.
Juicy chicken thighs braise in sweet onion soup with melting mozzarella and garlic herb butter, creating a velvety sauce that's perfect over pasta or with crusty bread. Set it in the morning, come home to dinner.
This is the kind of meal that makes weeknights feel special without extra effort. Boneless chicken thighs are nestled under a blanket of sweet onions, condensed French onion soup, shredded mozzarella, and pats of garlic herb butter.
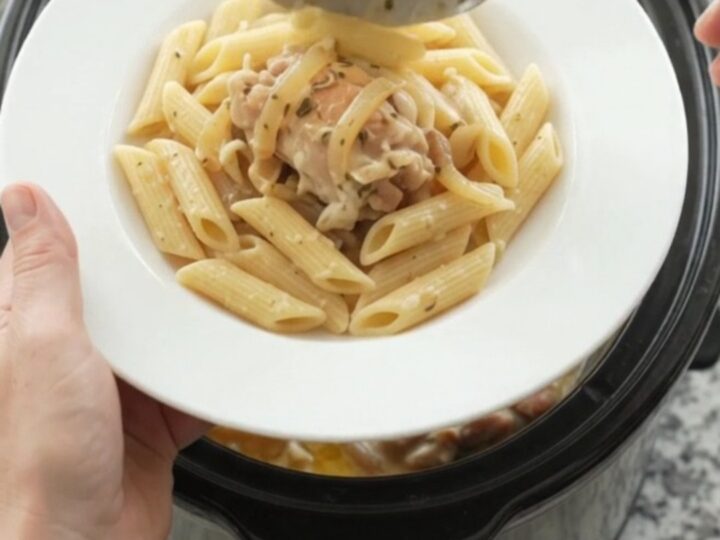
After a long, slow simmer, the chicken becomes fork-tender and the sauce turns into a glossy, cheesy gravy. Serve it over al dente penne or with a side of crusty bread to soak up every drop. It's a cozy, satisfying dinner that lives up to its viral reputation.
Ingredients
- 1 1/2 lb boneless skinless chicken thighs
- 2 medium sweet onions (such as Vidalia), thinly sliced
- 1 can (10.5 oz) condensed French onion soup
- 2 cups shredded whole-milk mozzarella cheese
- 2 tbsp garlic herb butter, cut into pats
Why this recipe works
The method relies on the slow cooker's gentle heat to transform tough chicken thighs into meltingly tender meat. The low temperature allows the collagen in the thighs to break down slowly, resulting in a moist, pull-apart texture that you simply can't achieve with quick cooking. The fat from the thighs also enriches the sauce, making it silky and full-flavored.
Condensed French onion soup is the secret shortcut. It provides a concentrated, deeply savory broth that simmers down into a rich glaze. The sweet onions break down and caramelize slowly, adding natural sweetness and body to the sauce.
The mozzarella melts into the liquid, creating a creamy, slightly stretchy texture that coats every piece of chicken. The garlic herb butter adds a final layer of aromatic richness that ties it all together.
Notes and substitutions
Choose boneless, skinless chicken thighs for the best texture—they stay juicy during the long cooking time. If you prefer chicken breasts, know that they can dry out; reduce the cooking time to 3-4 hours on low and check for doneness at 165°F (74°C). Sweet onions like Vidalia are ideal for their mild, sweet flavor, but yellow onions work well too.
Use full-fat, whole-milk mozzarella for the creamiest melt. Pre-shredded cheese often contains anti-caking agents that can make the sauce grainy, so shredding your own from a block is worth the extra minute.
Garlic herb butter is available in most grocery stores, but you can make your own by mixing softened butter with minced garlic and dried herbs like thyme or rosemary.
- chicken thighs: Chicken breasts can be used, but they may dry out; reduce cooking time to 3-4 hours on low and check for doneness at 165°F (74°C).
- sweet onions: Yellow onions work well if Vidalia are unavailable; add a pinch of sugar to mimic sweetness.
- garlic herb butter: Use 2 tablespoons salted butter mixed with 1/2 teaspoon garlic powder and 1/2 teaspoon dried herbs.
- mozzarella: Provolone or fontina cheese can be substituted for a different melt and flavor.
Equipment
- 6-quart or larger slow cooker
- Cutting board
- Chef's knife
- Measuring cups and spoons
- Serving spoon
Up next · Part 2 of 3
6 steps · 6 h of cooking · what to look for at each stage
Step-by-step instructions (Part 2)