Dinner · Part 1 of 3: Ingredients
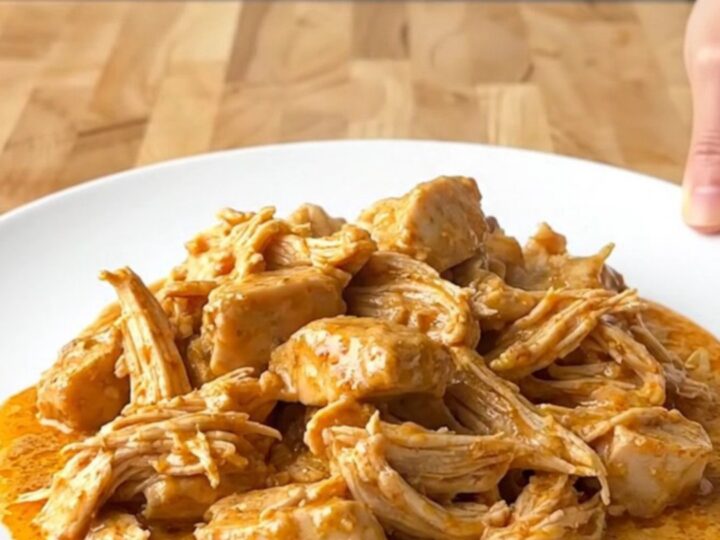
Slow Cooker Mexican Chicken with Peppers and Creamy Sauce
- Prep
- Cook
- Total
- Serves
- 4
Master the art of hands-off cooking with this incredibly simple Mexican-inspired chicken dish. By letting the slow cooker do the heavy lifting, you achieve perfectly tender poultry bathed in a luxurious, savory sauce that is guaranteed to please everyone at your dinner table tonight.
This recipe is designed for those busy days when you need a wholesome meal without spending hours standing at the stove. By combining fresh chicken breast with crisp bell peppers and onions, and finishing it with a rich cream cheese base, you create a complex, comforting flavor profile that tastes like it took all day to prepare.
It is a fantastic way to elevate standard pantry staples into a restaurant-quality meal with minimal preparation time and virtually no cleanup required after the cooking is done.
Ingredients
Main Ingredients
- 1 1/2 lb boneless skinless chicken breast, cut into strips
- 2 cups bell pepper strips
- 1 cup onion strips
Seasoning
- 1 tsp ground cumin
- 1 tsp paprika
Sauce
- 8 oz cream cheese, block form
Why this recipe works
The slow cooking method is ideal for chicken breast because it allows the meat to cook gently in its own juices, preventing it from drying out. By layering the ingredients properly and allowing the cream cheese to melt slowly, you create a natural emulsification that results in a velvety, flavorful sauce without needing to add heavy creams or thickeners.
This technique ensures that the vegetables retain their structure while absorbing the aromatic spices, creating a balanced and satisfying texture in every single bite.
Using a slow cooker also provides the benefit of consistent, controlled heat distribution, which is difficult to achieve on a stovetop. Because the vessel is sealed, moisture is trapped inside, which creates a steamy environment that tenderizes the chicken fibers perfectly.
This method effectively transforms the cream cheese into a smooth, savory binder that coats the chicken and peppers, ensuring that the finished dish is consistently moist, flavorful, and perfectly cooked every time you decide to make it.
Notes and substitutions
For the best results, use a standard slow cooker that is appropriately sized for your ingredients. If the insert is too large, the sauce may evaporate too quickly, so ensure the ingredients fill at least half of the vessel. The cream cheese should be used at room temperature to help it melt more evenly, but it will work fine straight from the refrigerator if you are in a rush. If you prefer a spicier profile, you can add a pinch of cayenne or red pepper flakes to the seasoning mix.
When it comes to the vegetables, using a mix of red, yellow, and green bell peppers will add a beautiful visual appeal to the final dish. The onions should be sliced into uniform strips to match the chicken, which helps with presentation and consistent cooking.
If you find yourself without paprika, a smoked variety can be used to add a deeper, wood-fired flavor profile that complements the cumin perfectly. Always ensure the chicken is completely thawed before adding it to the pot to ensure safe cooking temperatures.
- bell peppers: poblano peppers for a slightly earthier flavor and mild heat
- chicken breast: boneless skinless chicken thighs for a more tender, succulent texture
Equipment
- Slow cooker
- Chef's knife
- Cutting board
- Serving spoon
Up next · Part 2 of 3
3 steps · 4 h of cooking · what to look for at each stage
Step-by-step instructions (Part 2)