Dinner · Part 1 of 3: Ingredients
Slow-Cooker Parmesan Kielbasa Tortellini
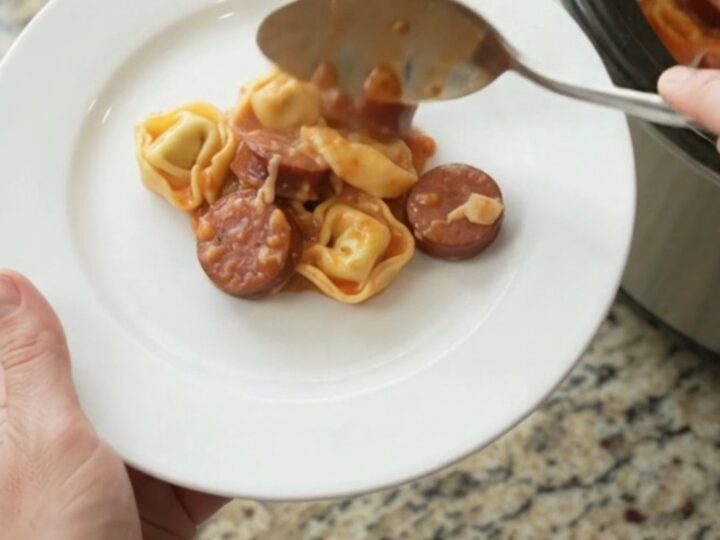
- Prep
- Cook
- Total
- Serves
- 6
This slow-cooker kielbasa tortellini is the ultimate dump-and-forget dinner: smoked sausage, cheese-filled pasta, and rich marinara simmer together until the cheese melts into a golden crust.
With just five ingredients and five minutes of prep, it’s a hearty, family-friendly meal that feels like a special occasion but couldn’t be easier. Set it in the morning and come home to a bubbling, cheesy pasta bake that’s ready to serve.
This recipe brings together the savory depth of smoked kielbasa, the pillowy comfort of cheese tortellini, and the bright acidity of crushed San Marzano tomatoes. Layered in the slow cooker, the ingredients meld into a cohesive, saucy dish with a luscious cheese topping.
The slow cooker does all the work, turning simple pantry staples into a dinner that tastes like it simmered all day. Perfect for busy weeknights, this is the kind of meal that makes everyone at the table happy.
Ingredients
- 2 lb smoked kielbasa sausage, sliced into 1/2-inch medallions
- 20 oz refrigerated three-cheese tortellini
- 24 oz crushed San Marzano marinara sauce
- 2 cups shredded Italian four-cheese blend
- 1/2 cup freshly grated Parmigiano-Reggiano
Why this recipe works
The slow cooker creates a gentle, even heat that allows the flavors of the kielbasa, marinara, and cheese to meld slowly. The sausage releases its smoky juices, which infuse the sauce as it cooks. The tortellini, meanwhile, cooks directly in the sauce, absorbing flavor while staying tender. This hands-off method eliminates the need for constant stirring or monitoring, making it a true set-and-forget dinner.
Layering the cheese on top rather than stirring it in creates a golden, slightly crispy crust that adds texture and visual appeal. The Parmigiano-Reggiano, with its nutty, salty character, enhances the overall richness without overwhelming the dish.
As the cheese melts and browns, it forms a protective layer that keeps the pasta moist and the sauce bubbling beneath. This technique yields a restaurant-quality finish with minimal effort.
Notes and substitutions
Use a good-quality smoked kielbasa, preferably Polish-style, for the best flavor. The sausage is already cooked, so it only needs to heat through, which means it can withstand the long slow-cook time without becoming tough.
For the tortellini, refrigerated cheese tortellini works best; dried or frozen varieties may require different cooking times. Choose a marinara sauce that you enjoy eating on its own, as it forms the base of the dish.
The Italian four-cheese blend typically includes mozzarella, provolone, parmesan, and asiago, which melt beautifully. Freshly grated Parmigiano-Reggiano adds an extra layer of savory depth. If you prefer a spicier dish, consider using a hot Italian sausage or adding red pepper flakes. The slow cooker size matters: a 6-quart model fits these quantities perfectly, allowing room for the sauce to bubble without overflowing.
- smoked kielbasa: Smoked turkey sausage or andouille sausage (adjust for spice level)
- three-cheese tortellini: Cheese ravioli or any filled pasta (cook time may vary)
- crushed San Marzano marinara: Any good-quality marinara or pasta sauce
- Italian four-cheese blend: Shredded mozzarella, provolone, or a mix of your favorite melting cheeses
Equipment
- 6-quart slow cooker
- Large spoon
- Cutting board
- Chef's knife
- Measuring cups
Up next · Part 2 of 3
8 steps · 4 h of cooking · what to look for at each stage
Step-by-step instructions (Part 2)