Dinner · Part 2 of 3: Instructions
Slow Cooker Honey Butter Ham for Easy Entertaining Step-by-step instructions
- Prep
- Cook
- Total
- Serves
- 8
Before you start
Before beginning, ensure the slow cooker basin is clean and dry. Remove the ham from its packaging and pat it dry with paper towels to help the glaze adhere. If the ham has a plastic disk or bone guard, remove it before placing the ham in the cooker.
Have all ingredients measured and ready to go, especially the butter pats, which are easier to insert when slightly chilled, preventing them from melting before they reach their position between the slices.
Ingredients at a glance (4)
- 1 half spiral-sliced bone-in ham
- 1/2 cup unsalted butter, cut into pats
- 1 cup light brown sugar
- 1/2 cup honey
Instructions
Preparation and placement
- Prepare the slow cookerPlace the spiral-sliced bone-in ham cut side down into the slow cooker basin. Ensure it fits snugly; if necessary, trim slightly to allow the lid to close properly.Look for The ham should sit level and steady in the bottom of the crock.Tip Use a slow cooker liner for easier cleanup after the honey and sugar caramelize.
The ham should be positioned securely in the center of the slow cooker with the cut side resting against the bottom. The fit should be snug to ensure even heat distribution.
Check that no packaging materials remain and that the ham sits level, which prevents it from tipping over during the long cooking process, ensuring consistent results throughout.
Glazing the slices
- Add the glaze ingredientsTuck the butter pats between the individual spiral slices. Sprinkle the brown sugar evenly over the top of the ham, then drizzle the honey over the entire surface to coat.Look for The butter and sugar should be distributed throughout the slices.Tip For even distribution, use a spoon to gently separate the slices while adding the butter.
The butter should be distributed evenly throughout the slices, with the brown sugar and honey coating the top and sides. The aroma of sweet honey and butter should be noticeable as you prepare to close the lid. Ensure the honey is drizzled thoroughly to reach the gaps between the slices for maximum flavor absorption during the slow cooking phase.
Slow cooking to perfection
- Slow cook and serveCover and cook on low for 4 hours until the ham reaches an internal temperature of 145°F (63°C). Remove the ham, let it rest for 10 minutes, then slice and serve with the warm pan juices.Look for The ham should be heated through and the glaze syrupy and bubbling.Safe temperature 145°F (63°C) internal temperature (steaks, chops and roasts)Tip Basting the ham with the pan juices halfway through adds extra shine and flavor.
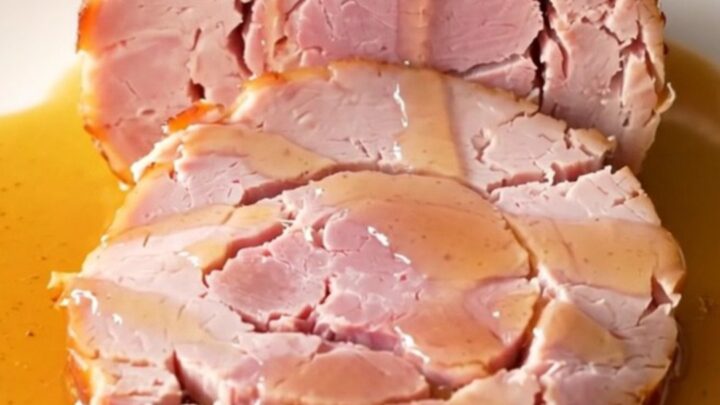
The ham should be tender and heated through, with the glaze transformed into a rich, golden-brown liquid pooling at the base. The meat should pull away easily from the bone. Before serving, verify the internal temperature of 145°F (63°C) and ensure the glaze has reached the desired thickness, providing a glossy finish to every slice.
Common mistakes
A common mistake is overcooking the ham, which can lead to a mushy texture rather than tender, distinct slices. Monitor the internal temperature closely, as slow cookers vary in heat intensity.
Another error is neglecting to tuck the butter deep enough between the slices; without this, the glaze may not coat the center of the ham as effectively. Ensure the ham is placed cut-side down to allow the juices to collect in the base for a better glaze.
How to tell it’s done
The ham is ready when it reaches an internal temperature of 145°F (63°C) at the thickest part. Use a digital meat thermometer inserted into the center, avoiding the bone, to verify the temperature.
The meat should be tender and easily fanned out, and the glaze should be reduced to a thick, syrupy consistency that coats the back of a spoon. Always allow the meat to rest for 10 minutes to redistribute the juices before carving.
- Steaks, chops and roasts: 145°F (63°C) in the thickest part, then a 3-minute rest
Up next · Part 3 of 3
2 variations · storage & make-ahead · 3 answers · printable card
Tips, FAQ & printable recipe (Part 3)← Back to the ingredients (Part 1)