Dinner · Part 1 of 3: Ingredients
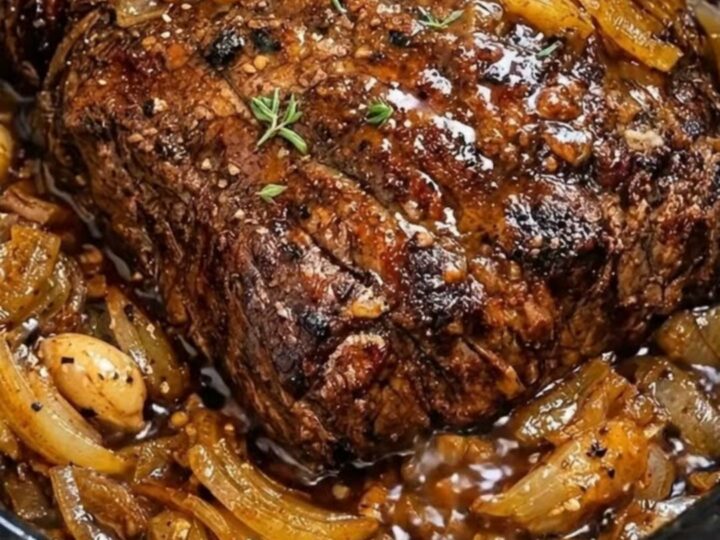
Slow Cooker Garlic Onion Beef Roast for Tender Results
- Prep
- Cook
- Total
- Serves
- 6
Few culinary experiences match the comfort of a slow-cooked beef roast glistening in a rich, savory gravy. This classic recipe combines the deep, caramelized flavors of seared chuck roast with the sweet, mellow notes of slow-cooked onions and whole garlic cloves. By allowing the slow cooker to do the heavy lifting, a tough cut of beef transforms into a succulent masterpiece that pulls apart effortlessly with a fork.
Preparing a spectacular dinner does not require standing over a hot stove for hours. This slow cooker garlic onion beef roast relies on simple techniques and high-quality aromatics to deliver a deeply satisfying meal. The process begins with a hard sear in a hot skillet, which develops a rich crust and locks in the natural juices of the meat.
From there, the roast slow-cooks on a bed of sweet onions and plump garlic cloves, absorbing their rich oils while releasing its own savory juices to create an exquisite, ready-made gravy. It is the ultimate hands-off recipe for busy weeknights or relaxed weekends.
Ingredients
- 3 lb beef chuck roast
- 2 large yellow onions, sliced
- 8 whole garlic cloves, peeled
- 2 cups beef broth
- 4 sprigs fresh thyme
Why this recipe works
Searing the beef roast before placing it in the slow cooker is the key to unlocking deep, complex flavors. This process, known as the Maillard reaction, caramelizes the proteins and sugars on the surface of the meat, creating a rich brown crust that infuses the entire cooking liquid with savory depth.
Without this crucial step, the roast would lack the characteristic roasted flavor and end up tasting boiled rather than braised.
The slow, gentle heat of the slow cooker is uniquely suited for tough, marbled cuts of meat like chuck roast. Over several hours, the steady low temperature gradually breaks down the tough connective tissues and collagen within the beef, turning them into gelatin.
This process naturally tenderizes the meat from the inside out, while the surrounding broth, onions, and garlic steam and baste the roast continuously, ensuring a moist and succulent finish.
Notes and substitutions
Choosing the right cut of beef is paramount for slow cooker success. A well-marbled chuck roast is the ideal choice, as its fat content prevents the meat from drying out during the long cooking process.
Avoid lean cuts like eye of round or sirloin, which tend to become tough and stringy when cooked for extended periods. For the aromatics, yellow onions provide a balanced sweetness, while whole garlic cloves mellow out beautifully, losing their sharp bite and becoming soft and buttery.
A heavy skillet, preferably cast iron, is highly recommended for achieving the perfect sear on the beef roast. Cast iron retains heat exceptionally well, allowing for a rapid, even sear without cooling down when the cold meat is added. If a cast iron skillet is unavailable, a heavy-bottomed stainless steel pan works beautifully. Make sure the pan is hot before adding the meat, and use sturdy tongs to rotate the roast safely.
- beef chuck roast: beef round roast or rump roast, though chuck roast provides the best marbled fat for a tender result.
Equipment
- slow cooker
- large skillet
- tongs
- measuring cups
- chef's knife
- cutting board
Up next · Part 2 of 3
5 steps · 8 h of cooking · what to look for at each stage
Step-by-step instructions (Part 2)