Dinner · Part 2 of 3: Instructions
Slow Cooker Firecracker Pork Tenderloin Step-by-step instructions
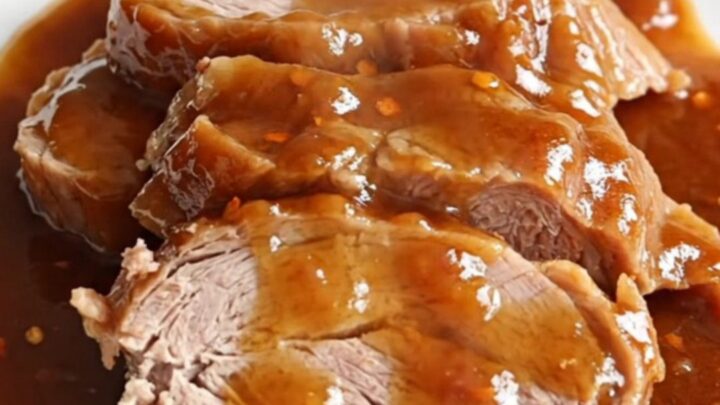
- Prep
- Cook
- Total
- Serves
- 4
Before you start
Before you begin, ensure you have a clean workspace and all your ingredients measured and ready. If your pork tenderloin comes in a vacuum-sealed package, remove it and pat the meat dry with paper towels.
Prepare your green onions by washing them thoroughly and slicing them into thin rounds. Have your slow cooker positioned on a heat-safe surface with easy access to a power outlet. Preparing these elements ahead of time allows for a seamless assembly process.
Ingredients at a glance (4)
- 2 lbs pork tenderloin
- 2 tbsp green onions, sliced
- 1 tsp red pepper flakes
- 1 cup firecracker sauce (hot sauce whisked with brown sugar)
Instructions
Preparation and Setup
- Prepare the PorkPlace the whole raw pork tenderloins into the base of the slow cooker insert. Ensure they are laid out in a single layer to allow for even heat distribution during the cooking process.Look for The pork should be sitting flat at the bottom of the slow cooker.Tip Avoid overcrowding the cooker to ensure the meat cooks evenly throughout.
The pork is arranged neatly in the slow cooker insert, ready to be seasoned. The workspace is clean, and the environment is organized, ensuring that the assembly process will be efficient. The slow cooker is ready to be turned on once the ingredients are layered.
Seasoning and Glazing
- Season and GlazeScatter the sliced green onions over the top of the pork. Sprinkle the red pepper flakes evenly across the meat. Whisk the hot sauce and brown sugar together in a measuring cup until smooth, then pour the mixture over the pork, ensuring it coats the meat thoroughly.Look for The sauce should cover the pork and pool slightly at the base.Tip Whisking the sauce ingredients well ensures the sugar dissolves for a better glaze.
The pork is thoroughly coated in the firecracker sauce, and the green onions and red pepper flakes are evenly distributed. The aroma of the sauce should be noticeable, and the mixture should be properly whisked to ensure a uniform glaze that will coat the meat.
Cooking and Resting
- Cook and RestCover and cook on low for 4 hours until the pork reaches an internal temperature of 145°F (63°C). Once cooked, remove the pork to a cutting board, tent with foil, and let it rest for at least 5 minutes before slicing into thick pieces to serve with the remaining sauce.Look for The pork should be tender and easily sliced without falling apart.Safe temperature 145°F (63°C) internal temperature (steaks, chops and roasts)Tip Resting the meat is essential to retain its natural juices.
The pork has reached the required internal temperature of 145°F (63°C) and has been allowed to rest for the specified time. The meat should be succulent, and the sauce should have thickened into a flavorful glaze that can be spooned over the sliced tenderloin.
Common mistakes
A common mistake is failing to let the meat rest after cooking, which causes the juices to run out and results in dry slices. Another error is using a hot sauce that is overly salty without checking the sodium content, which can overwhelm the dish.
Ensure you do not lift the slow cooker lid frequently during the cooking process, as each time you open it, you lose heat and increase the total cooking time needed to reach safe temperatures.
How to tell it’s done
The pork tenderloin is perfectly cooked when it reaches an internal temperature of 145°F (63°C) as measured by a digital meat thermometer inserted into the thickest part of the roast.
At this stage, the meat will be tender and juicy with a slight pink center, which is the ideal texture for pork.
Avoid overcooking, as the lean nature of the tenderloin can become dry if left for too long. Always allow the meat to rest for at least 5 minutes before slicing.
- Steaks, chops and roasts: 145°F (63°C) in the thickest part, then a 3-minute rest
Up next · Part 3 of 3
2 variations · storage & make-ahead · 3 answers · printable card
Tips, FAQ & printable recipe (Part 3)← Back to the ingredients (Part 1)