Dinner · Part 1 of 3: Ingredients
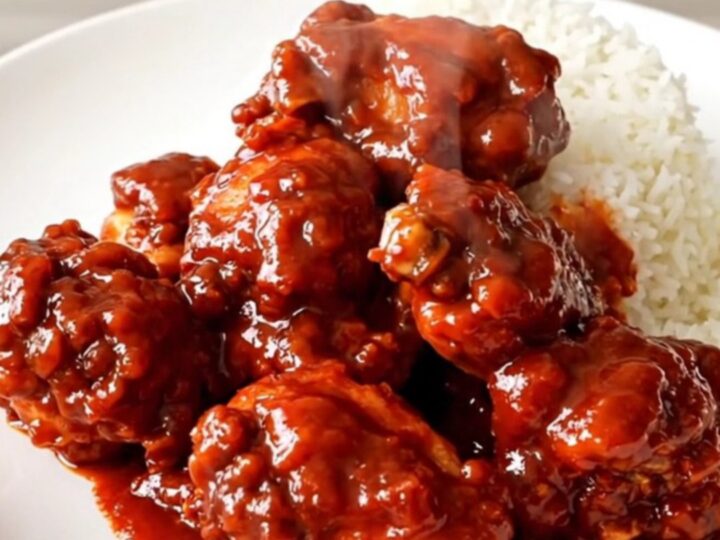
Slow Cooker Firecracker Chicken for Easy Weeknight Dinners
- Prep
- Cook
- Total
- Serves
- 4
Discover the effortless way to achieve a perfect balance of sweet and spicy flavors with this slow cooker firecracker chicken. This recipe is designed for those who appreciate a hands-off approach to cooking, allowing the slow cooker to do all the heavy lifting while you focus on your day. It is the ultimate comfort food for a busy weeknight, providing a rich, glossy sauce that turns simple chicken into a restaurant-quality meal right in your own kitchen.
This firecracker chicken recipe relies on the slow, gentle heat of a crockpot to transform basic ingredients into a deeply flavorful dish. By layering chicken with brown sugar, garlic, and hot buffalo sauce, you create a complex, sticky glaze that coats every piece of meat.
The result is tender poultry that balances savory heat with a hint of sweetness, making it a crowd-pleasing option for family dinners or casual gatherings. Serve this over a bed of fluffy white rice to soak up the delicious sauce.
Ingredients
- 2 lbs chicken pieces (thighs or breasts)
- 1/2 cup brown sugar
- 1 tbsp garlic powder
- 1 cup hot buffalo sauce
Why this recipe works
The slow cooking method allows the chicken to absorb the bold flavors of the buffalo sauce and garlic while the brown sugar caramelizes slowly. This process breaks down the fibers in the meat, ensuring that every bite is incredibly tender and succulent. Because the lid remains closed during the process, the moisture is trapped inside, preventing the chicken from drying out and ensuring the sauce maintains its perfect, glossy consistency without the need for constant monitoring or stirring.
The combination of ingredients creates a natural thickening effect as the sugar melts and combines with the buffalo sauce. This method is highly effective because it minimizes the need for extra thickeners like cornstarch or flour.
The gentle heat ensures the sugar does not burn, which can often happen during high-heat stovetop cooking. By utilizing this simple layering technique, you achieve a harmonious blend of flavors that permeates the meat completely, resulting in a consistent and deeply satisfying culinary experience.
Notes and substitutions
For the best results, use chicken thighs rather than breasts if you prefer a juicier texture that holds up well during the long cooking time. If you only have chicken breasts, keep a close eye on the cooking time to prevent them from becoming too dry.
Ensure your slow cooker is not overcrowded, as this can lead to uneven cooking and excess liquid. You can easily double this recipe for larger families, provided your slow cooker has enough capacity to accommodate the additional chicken without being filled to the brim.
The choice of hot buffalo sauce significantly impacts the final flavor profile. A standard vinegar-based buffalo sauce works best, but you can experiment with different heat levels depending on your personal preference.
Keep in mind that the brown sugar will mellow the heat of the sauce, so do not be afraid to use a slightly hotter variety if you enjoy a significant kick. If you find the sauce is not spicy enough after cooking, you can stir in a little extra hot sauce right before serving to adjust the final seasoning to your liking.
- brown sugar: honey or maple syrup for a different depth of sweetness
- hot buffalo sauce: a mix of hot sauce and melted butter for a classic wing flavor profile
Equipment
- Slow cooker
- Measuring cups
- Measuring spoons
- Tongs
Up next · Part 2 of 3
3 steps · 4 h of cooking · what to look for at each stage
Step-by-step instructions (Part 2)