Desserts · Part 2 of 3: Instructions
Slow Cooker Dark Chocolate Semolina Cake Step-by-step instructions
- Prep
- Cook
- Total
- Serves
- 6
Before you start
Before beginning, ensure the slow cooker is clean and dry. Measure all ingredients accurately using standard measuring cups to guarantee the proper consistency.
Have a serving plate ready nearby so the warm cake can be plated immediately once it finishes cooking. There is no need for buttering or greasing the slow cooker, as the milk and chocolate provide enough moisture to prevent sticking.
Ingredients at a glance (4)
- 1 cup fine semolina
- 1/2 cup chopped dark chocolate
- 1/3 cup granulated sugar
- 2 cups whole milk
Instructions
Preparation and Layering
- Layering the ingredientsPour the fine semolina into the bottom of the slow cooker. Add the chopped dark chocolate pieces on top of the semolina in an even layer. Sprinkle the granulated sugar over the chocolate, ensuring it is distributed well across the surface of the dry ingredients.Look for The base layer of semolina is evenly spread and topped with chocolate and sugar.Tip Ensure the semolina is spread evenly to prevent clumping during the cooking process.
The dry ingredients, including the semolina, chocolate, and sugar, should be evenly spread at the base of the slow cooker without any large clumps. The surface should look uniform before the liquid is added.
Slow Cooking Process
- Adding the liquidPour the whole milk over the layered semolina, chocolate, and sugar. Use a slow cooker set on the low setting. Cover the slow cooker with the lid and let the mixture cook undisturbed for about 3 hours, or until the cake is set and the top is slightly glossy.Look for The milk covers the dry ingredients completely before the slow cooker is turned on.Tip Do not stir the ingredients after adding the milk to maintain the layered structure.
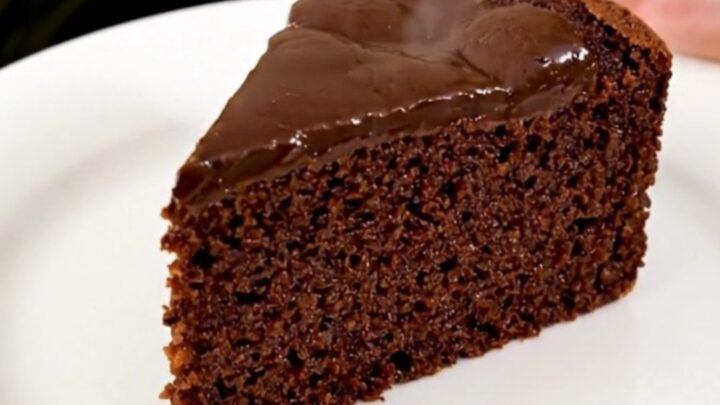
During this phase, the milk will gradually be absorbed by the semolina. The cake will transform from a loose mixture into a cohesive, soft, and glossy dessert. The chocolate will melt into the milk, creating a rich color throughout.
Serving the Dessert
- Serving the cakeOnce the cooking time is complete, carefully remove the lid to let some steam escape. Allow the cake to rest for about 10 minutes to firm up slightly. Scoop a warm portion of the cake onto a serving plate and serve immediately while it remains soft and glossy.Look for The cake appears set with a glossy, steaming surface.Tip Serve while warm to enjoy the best texture of the melted chocolate and semolina.
After the resting period, the cake should be firm enough to scoop but still very warm. It should have a glossy, moist appearance and be ready to be served immediately on a plate.
Common mistakes
A common mistake is using coarse semolina instead of fine, which ruins the desired creamy texture.
Another error is stirring the ingredients after adding the milk; this prevents the layers from forming correctly and can lead to uneven cooking.
Avoid opening the slow cooker lid frequently during the cooking time, as this releases heat and steam, which are vital for the cake to cook through properly.
How to tell it’s done
The cake is considered done when the center is set and the top appears glossy and slightly firm to the touch. It should still be soft and moist, not dry.
Since there are no raw proteins involved, internal temperature checks are not required for this dessert. Simply ensure the semolina has fully absorbed the milk and the chocolate is completely melted and incorporated into the mixture.
Up next · Part 3 of 3
2 variations · storage & make-ahead · 3 answers · printable card
Tips, FAQ & printable recipe (Part 3)← Back to the ingredients (Part 1)