Dinner · Part 1 of 3: Ingredients
Slow Cooker Cola Barbecue Pulled Pork for Easy Weeknight Dinners
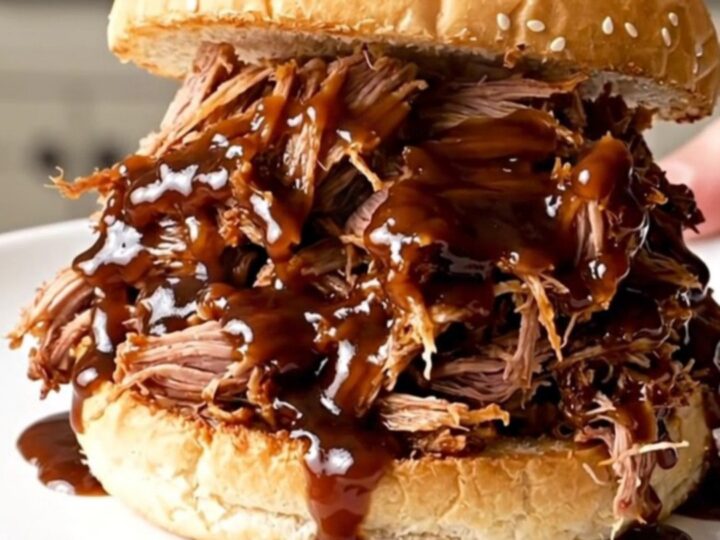
- Prep
- Cook
- Total
- Serves
- 8
Master the art of effortless, fall-apart tender pulled pork by utilizing the slow and steady heat of your slow cooker. This classic method transforms a tough cut of pork into a succulent, saucy masterpiece that is perfect for feeding a crowd or prepping for a busy week of delicious meals.
Pulled pork is a beloved staple for a reason: it is incredibly versatile, satisfying, and forgiving to prepare. By combining a pork shoulder with onions, a savory seasoning blend, and a sweet, tangy cola barbecue sauce, you create a complex flavor profile that permeates every single fiber of the meat.
This recipe is designed to minimize your time in the kitchen while maximizing the depth of flavor in the final dish. Whether you are hosting a casual gathering or simply need a reliable, hearty dinner that is ready when you walk through the door, this slow cooker approach delivers consistent, restaurant-quality results every single time.
Ingredients
Main Ingredients
- 4 lb pork shoulder
- 2 onions, sliced
- 1 packet pork seasoning
- 2 cups cola barbecue sauce
Why this recipe works
The slow cooker method is ideal for tougher, well-marbled cuts like pork shoulder. The extended cooking time at a low temperature allows the connective tissues to break down slowly, resulting in meat that is incredibly tender and succulent. This process ensures that the pork absorbs the flavors of the onions and the cola barbecue sauce, creating a cohesive and deeply flavorful dish without requiring constant monitoring or active cooking time during the day.
The combination of ingredients creates a balanced braising environment. The onions provide a subtle sweetness and aromatics, while the cola barbecue sauce introduces a balance of acidity, sweetness, and spice.
As the pork cooks in this liquid, the natural juices combine with the sauce to create a rich, glossy coating that clings to the shredded meat. This creates a moist final product that stays juicy even after it is shredded, making it the perfect filling for buns or sandwiches.
Notes and substitutions
When choosing your pork shoulder, look for a piece with good marbling, as the fat will render during the long cooking process, keeping the meat moist. If you find a particularly large shoulder, you may need to cut it into smaller, uniform chunks to ensure it fits comfortably in your slow cooker and cooks evenly throughout.
Always ensure the pork is completely thawed in the refrigerator before starting, as cooking from frozen can lead to uneven temperatures and food safety concerns.
The equipment used is minimal, but a quality slow cooker is essential. Most standard oval-shaped slow cookers work perfectly for this recipe. If you prefer a different flavor profile, you can easily adapt the seasoning packet to include your own blend of smoked paprika, garlic powder, and brown sugar.
Ensure that your forks are sturdy enough for shredding, as the tender meat will practically fall apart on its own once it reaches the proper internal temperature of 145 degrees Fahrenheit.
- Cola barbecue sauce: Use your favorite store-bought barbecue sauce mixed with a half cup of cola for a similar flavor profile.
- Pork shoulder: Pork butt or Boston butt are excellent alternatives that provide the necessary fat content for shredding.
Equipment
- Slow cooker
- Sharp knife
- Cutting board
- Measuring cup
- Two forks for shredding
Up next · Part 2 of 3
3 steps · 8 h of cooking · what to look for at each stage
Step-by-step instructions (Part 2)