Dinner · Part 1 of 3: Ingredients
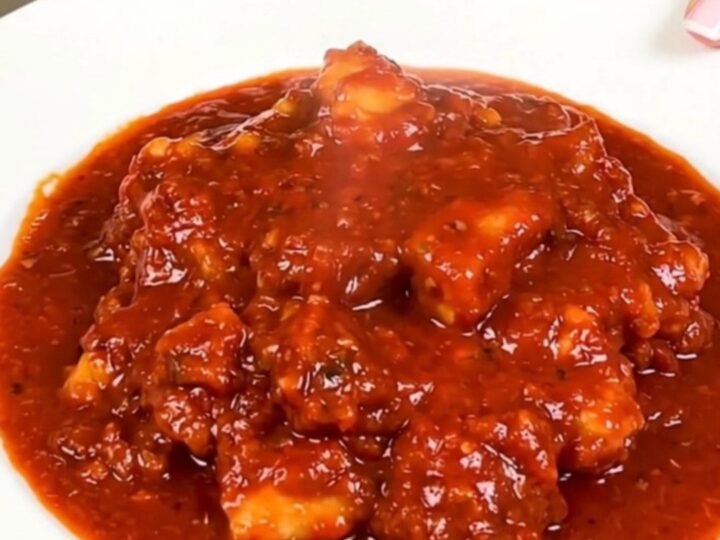
Slow Cooker Cod Rougail: An Easy One-Pot Fish Dinner
- Prep
- Cook
- Total
- Serves
- 4
Master the art of effortless, flavorful cooking with this slow cooker cod rougail. By combining fresh cod with aromatic ginger, onions, and savory tomatoes, you create a dish that is both sophisticated and incredibly simple.
This method relies on gentle heat to transform basic ingredients into a restaurant-quality meal that fits perfectly into a busy schedule, providing a warm, comforting experience for any weeknight dinner, regardless of the occasion or the season.
The beauty of a slow cooker cod rougail lies in its simplicity and the depth of flavor that develops over several hours of low-temperature cooking. This classic approach ensures the cod remains tender and succulent while absorbing the vibrant, spiced tomato sauce.
Ideal for those who appreciate minimal cleanup and maximum flavor, this recipe demonstrates how to utilize a slow cooker to achieve delicate textures that are often difficult to maintain with direct, high-heat methods. Perfect for serving over steamed rice or crusty bread, it is a versatile addition to any home cooking repertoire.
Ingredients
Main Ingredients
- 1 1/2 lb cod fillets, cut into chunks
- 1 large onion, sliced
Seasoning
- 1 tbsp grated ginger
- 1 tsp mixed spices (turmeric, thyme, and black pepper)
Sauce
- 14 oz crushed tomatoes
Why this recipe works
The slow cooker environment creates a consistent, low-heat atmosphere that is ideal for delicate proteins like cod. By maintaining a steady temperature, the fish cooks evenly without the risk of overcooking or drying out, which can happen quickly in a conventional oven or on a stovetop. This gentle poaching effect allows the cod to absorb the aromatic profile of the ginger, onions, and spices while staying moist and flavorful throughout.
Layering the ingredients allows the flavors to migrate naturally as the tomatoes release their juices and the onions soften. By avoiding unnecessary stirring, the integrity of the cod chunks is preserved, resulting in a visually appealing final dish.
This method simplifies the cooking process by removing the need for constant monitoring, allowing the slow cooker to do the heavy lifting while the ingredients develop a complex, cohesive sauce that balances acidity and warmth.
Notes and substitutions
When selecting cod, prioritize fresh fillets with a firm texture and a mild, clean scent. If using frozen cod, ensure it is completely thawed and thoroughly patted dry with paper towels to remove excess water before cooking. This step is essential for maintaining the consistency of the final sauce, as extra moisture from the fish can dilute the concentrated tomato and spice profile during the slow cooking process.
The choice of spices, specifically turmeric and thyme, provides the signature profile of this dish. If fresh ginger is unavailable, high-quality ground ginger can be used, though fresh grated ginger offers a brighter, more pungent aroma.
The slow cooker insert should be cleaned thoroughly after each use to ensure no residue affects subsequent meals. Always ensure the lid fits tightly to trap steam and maintain the required internal temperature for safe fish preparation.
- Cod: Haddock or pollock work well as firm white fish alternatives.
- Crushed tomatoes: Diced tomatoes blended until smooth can be used instead.
Equipment
- Slow cooker
- Measuring cup
- Cutting board
- Chef's knife
- Grater
Up next · Part 2 of 3
3 steps · 3 h of cooking · what to look for at each stage
Step-by-step instructions (Part 2)