Desserts · Part 2 of 3: Instructions
Slow Cooker Cider and Vanilla Poached Pears Step-by-step instructions
- Prep
- Cook
- Total
- Serves
- 4
Before you start
Ensure the slow cooker is clean and placed on a flat, heat-resistant surface near an electrical outlet. Peel the pears thoroughly using a sharp vegetable peeler, being careful not to remove the stems as they provide a rustic, elegant look.
Have the brown sugar measured and the vanilla bean split lengthwise to expose the seeds inside. Check that the slow cooker lid fits tightly to trap the steam during the cooking process.
Ingredients at a glance (4)
- 4 whole pears, peeled
- 1 vanilla bean, split
- 1/2 cup brown sugar
- 2 cups apple cider
Instructions
Preparation of the Fruit
- Prepare the PearsPeel the pears completely using a vegetable peeler, keeping the stem intact for a beautiful presentation. Carefully place the whole, peeled pears into the base of the slow cooker, ensuring they are arranged in a single layer to cook evenly.Look for The pears should be fully peeled and stable in the slow cooker base.Tip Use a firm variety of pear like Bosc or Anjou so they maintain their shape during the long cooking process.
The pears should be completely peeled and have their stems intact. They should be arranged in the slow cooker base so that they are stable and do not tip over. The vanilla bean should be split, and the brown sugar should be ready for sprinkling. Ensure the workspace is clean and all ingredients are within reach for a seamless assembly before turning the appliance on.
Slow Poaching Process
- Season and SimmerAdd the split vanilla bean into the slow cooker alongside the pears. Sprinkle the brown sugar evenly over the fruit, then pour the apple cider over everything. Cover the slow cooker and cook on low for 3 hours until the pears are tender and infused with the cider syrup.Look for The pears should look tender and glossy, and the liquid should be reduced to a light syrup.Tip Ensure the vanilla bean is submerged in the liquid to extract the maximum flavor into the poaching syrup.
The pears should be submerged or partially covered by the cider and sugar mixture. The slow cooker should be set to the low setting. During this phase, the aroma of vanilla and warm apples should become noticeable in the kitchen.
The pears are cooking gently, and the liquid is beginning to penetrate the fruit, infusing it with flavor while the sugar slowly dissolves into the cider.
Serving the Finished Dish
- Serve and EnjoyCarefully remove the poached pears from the slow cooker using a slotted spoon. Transfer them to individual serving plates. Drizzle a small amount of the remaining warm poaching syrup over each pear before serving immediately while warm.Look for The pears should steam gently when placed on the plate.Tip Serve with a small dollop of lightly whipped cream if desired to balance the sweetness of the cider reduction.
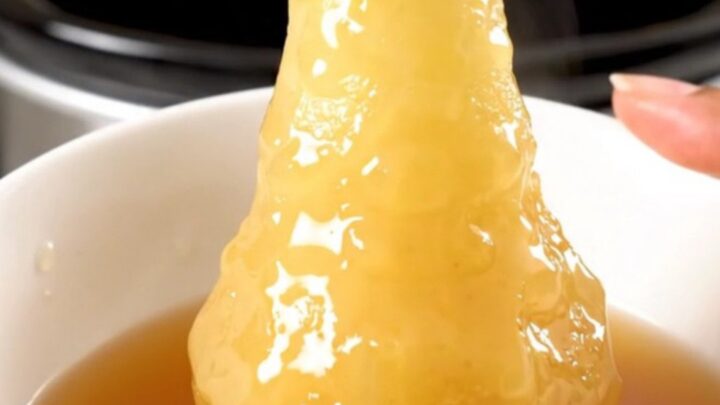
The pears should be soft and tender, easily pierced with a fork. They should look glossy and well-coated in the thickened cider syrup. Carefully transfer each pear to a plate and drizzle with the warm syrup from the slow cooker. The final dish should be served warm, with the syrup providing a rich, sweet finish to the tender, flavorful poached pears.
Common mistakes
Avoid overcooking the pears, which can lead to a mushy texture; start checking for doneness at the 2.5-hour mark. Do not use pears that are already bruised or overripe, as they will not hold their shape during the poaching process.
Ensure the lid remains closed for the majority of the cooking time to maintain an even temperature. Never leave the slow cooker unattended for an extended period if you are unfamiliar with how your specific model regulates low heat.
How to tell it’s done
The pears are done when they are fork-tender, meaning a paring knife slides into the thickest part of the fruit with no resistance. The pears should appear slightly translucent and have a deep, golden-brown color from the cider and sugar.
The poaching liquid should have reduced slightly and appear syrupy. If the pears still feel firm, continue cooking for an additional 30 minutes, checking frequently to ensure they do not become too soft.
Up next · Part 3 of 3
2 variations · storage & make-ahead · 3 answers · printable card
Tips, FAQ & printable recipe (Part 3)← Back to the ingredients (Part 1)