Dinner · Part 1 of 3: Ingredients
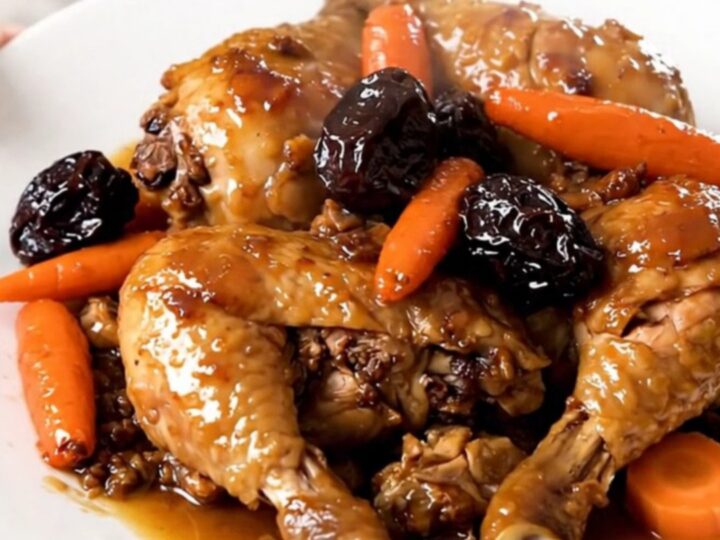
Slow Cooker Chicken with Prunes and Carrots
- Prep
- Cook
- Total
- Serves
- 4
Elevate your weeknight dinner with this slow-cooked delight that combines savory poultry with the natural sweetness of prunes and carrots. This recipe relies on the gentle, steady heat of a slow cooker to transform simple ingredients into a tender, aromatic meal that feels like a classic French comfort dish.
It is a straightforward, reliable method that maximizes flavor with minimal effort, allowing you to focus on other tasks while the slow cooker does the heavy lifting for a truly impressive result.
The magic of this recipe lies in the slow braising process, which allows the juices from the chicken to mingle with the sweetness of the prunes and the earthy depth of the carrots. By using a slow cooker, the chicken thighs remain exceptionally moist and tender, absorbing the subtle warmth of the cinnamon throughout the cooking time.
This dish serves as an excellent main course that pairs wonderfully with roasted potatoes, steamed rice, or crusty bread to soak up the flavorful, aromatic broth created during the cooking process.
Ingredients
Main Ingredients
- 4 pieces chicken thighs, bone-in and skin-on
- 3 medium carrots, sliced
- 1/2 cup prunes, pitted
Seasoning
- 1/2 tsp ground cinnamon
Liquid
- 1 cup chicken broth
Why this recipe works
The slow cooker method provides a gentle, consistent heat that is ideal for bone-in chicken thighs. This process allows the connective tissues to break down slowly, resulting in meat that is incredibly tender and succulent. Because the ingredients are cooked in a sealed environment, the moisture is retained, ensuring that the chicken does not dry out, while the prunes and carrots soften and release their natural sugars into the broth.
Cooking with prunes adds a sophisticated sweetness that balances the savory notes of the chicken and broth. When combined with cinnamon, the flavor profile becomes warm and inviting.
The slow cooking cycle allows the flavors to meld together deeply, creating a cohesive and complex sauce without requiring constant attention or multiple pans. This approach is highly efficient, making it perfect for busy schedules while still delivering a high-quality, restaurant-style meal right at home.
Notes and substitutions
When selecting chicken thighs for this recipe, opt for bone-in, skin-on thighs if possible. The bone helps to keep the meat moist during the extended cooking time, while the skin contributes a depth of flavor to the broth. If you prefer a leaner version, skinless thighs can be used, though you may need to reduce the cooking time slightly to ensure they stay tender. Always ensure the chicken is placed in a single layer to promote even heat distribution.
The choice of broth can influence the final taste of the dish. A high-quality chicken stock or broth will provide a solid foundation for the sauce. Regarding equipment, a standard oval slow cooker works best for this recipe as it allows for an even arrangement of the chicken and vegetables.
If your slow cooker has a very high setting, stick to the low setting to ensure the most tender results, as rapid boiling can toughen the meat and prevent the flavors from developing properly.
- chicken thighs: chicken drumsticks or chicken breasts can be used, though cooking times may vary slightly.
- prunes: dried apricots or dates offer a similar sweetness if prunes are unavailable.
Equipment
- Slow cooker
- Measuring cup
- Knife
- Cutting board
Up next · Part 2 of 3
3 steps · 4 h of cooking · what to look for at each stage
Step-by-step instructions (Part 2)