Dinner · Part 1 of 3: Ingredients
Slow Cooker Chicken Drumsticks and Carrots in Onion Gravy
- Prep
- Cook
- Total
- Serves
- 4
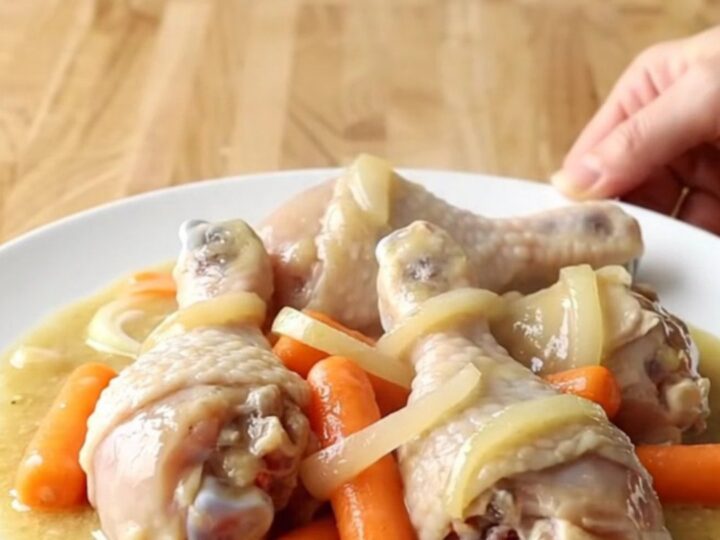
Discover the simplicity of a dump-and-go dinner that delivers maximum comfort with minimal effort. This slow cooker recipe transforms humble chicken drumsticks and fresh carrots into a succulent, creamy meal that practically cooks itself while the day unfolds.
Perfect for busy schedules, this dish relies on the steady, low heat of the slow cooker to meld flavors, ensuring the meat becomes incredibly tender, while the onion gravy provides a rich, velvety finish that pulls the entire meal together beautifully.
This slow cooker chicken and carrot recipe is designed for those who appreciate a home-cooked meal without the need for constant kitchen supervision. By layering bone-in drumsticks with aromatics and a savory, creamy gravy, the slow cooker creates a moist, flavorful environment that gently braises the protein.
The result is a comforting, rustic dish that pairs perfectly with mashed potatoes, steamed rice, or crusty bread to soak up the excess sauce. It is an ideal solution for preparing a wholesome dinner in advance, allowing the flavors to develop over several hours of slow, even cooking.
Ingredients
- 8 bone-in skinless chicken drumsticks
- 1 cup baby carrots
- 1 cup onion slices
- 1 tsp dried thyme
- 1 cup creamy chicken gravy, store-bought or made ahead
Why this recipe works
The slow cooking method is ideal for chicken drumsticks because it allows the connective tissue in the meat to break down slowly, resulting in a tender, succulent texture that is difficult to achieve with high-heat methods. By cooking the chicken in a bath of creamy gravy, the meat remains hydrated throughout the process, preventing it from drying out and ensuring every bite is infused with the flavors of the onion and thyme.
Layering the ingredients in the slow cooker ensures that the aromatics and vegetables are fully incorporated into the sauce as it heats. The onions release their moisture and sweetness into the creamy gravy, while the carrots soften without turning mushy. This one-pot technique minimizes cleanup while maximizing flavor, making it a reliable and efficient method for creating a hearty, restaurant-quality meal at home with minimal active preparation time.
Notes and substitutions
When selecting drumsticks, look for pieces that are relatively uniform in size to ensure they finish cooking at the same time. While the recipe calls for bone-in skinless drumsticks for the best flavor and texture, bone-in skin-on can also be used if preferred, though the gravy may require skimming of excess fat before serving.
Ensure the slow cooker insert is large enough to hold all the pieces in a single layer if possible, which promotes more even cooking throughout the duration of the cycle.
For the creamy onion gravy, you can use a high-quality store-bought version or a homemade base prepared in advance. If you prefer a thicker sauce, you can stir in a small amount of cornstarch slurry during the final thirty minutes of cooking.
The dried thyme provides an earthy, classic flavor profile that complements the chicken and onions perfectly, but feel free to adjust the seasoning with freshly cracked black pepper or a pinch of garlic powder if additional depth is desired.
- creamy chicken gravy: a mix of cream of chicken soup and a splash of heavy cream
- dried thyme: dried rosemary or poultry seasoning
Equipment
- slow cooker
- measuring cups
- measuring spoons
- knife
- cutting board
Up next · Part 2 of 3
3 steps · 6 h of cooking · what to look for at each stage
Step-by-step instructions (Part 2)