Dinner · Part 1 of 3: Ingredients
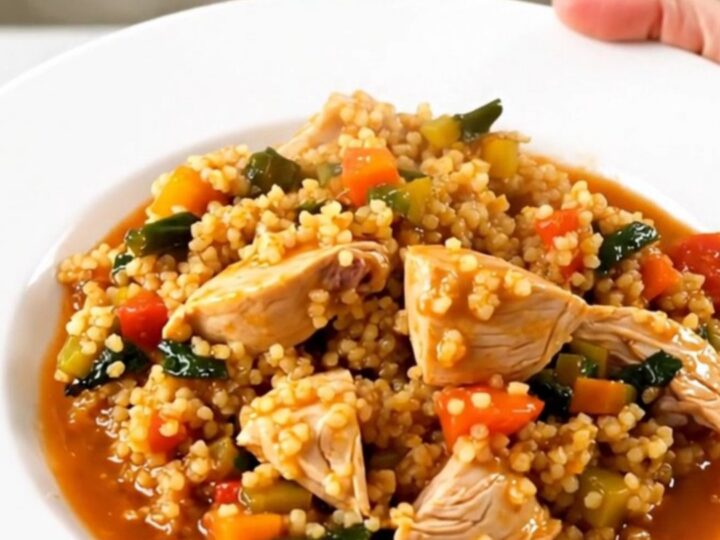
Easy Slow Cooker Chicken and Autumn Vegetable Couscous
- Prep
- Cook
- Total
- Serves
- 4
Master the art of effortless, one-pot cooking with this savory slow cooker chicken and autumn vegetable couscous. This dish brings together tender poultry, hearty root vegetables, and aromatic spices in a rich tomato-based sauce. By letting the slow cooker do the heavy lifting, you can enjoy a complex, restaurant-quality flavor profile without spending hours in the kitchen standing over the stove.
Creating a wholesome dinner should not require excessive effort or a sink full of dirty dishes. This slow cooker recipe is designed for maximum convenience, allowing you to assemble the ingredients in minutes and let the appliance work its magic.
The combination of chicken thighs, earthy root vegetables like carrots and turnips, and the subtle warmth of traditional couscous spices creates a comforting experience. Whether you are planning a weeknight family dinner or simply want a reliable, fuss-free meal, this recipe provides a consistent and delicious result that highlights the natural flavors of the ingredients.
Ingredients
Main Ingredients
- 4 pieces chicken thighs, bone-in and skin-on
Vegetables and Legumes
- 2 cups carrots, peeled and sliced into rounds
- 1 cup turnips, peeled and cubed
- 1 can (15 oz) chickpeas, drained and rinsed
Seasoning
- 1 packet couscous spice blend
Liquid
- 2 cups tomato broth
Why this recipe works
The slow cooking process is ideal for chicken thighs, as the gentle, consistent heat allows the connective tissues to break down slowly. This results in incredibly succulent and tender meat that easily pulls away from the bone. By cooking the chicken directly in the tomato-based liquid, the meat absorbs the savory notes of the broth and spices, ensuring every bite is deeply flavorful and satisfying.
Cooking vegetables alongside the protein in a sealed slow cooker environment allows them to steam in the aromatic juices. The carrots and turnips become perfectly tender without losing their structural integrity, while the chickpeas add a pleasant texture and density to the dish.
This method ensures that all the components meld together, creating a unified sauce that ties the entire meal together perfectly.
Notes and substitutions
When selecting ingredients for this recipe, prioritize fresh, firm root vegetables. Carrots and turnips should be free of soft spots to ensure the best texture after the long cooking cycle.
For the spice packet, use a high-quality blend that includes notes of cumin, coriander, and turmeric to complement the tomato broth. If the packet contains salt, adjust any additional seasoning carefully to avoid an overly salty final dish.
The choice of slow cooker is important for even heat distribution. A standard 6-quart oval or round slow cooker works best for this quantity of ingredients. Always ensure the lid is properly seated to maintain the internal temperature and moisture levels.
If you find the sauce is too thin after cooking, you can remove the lid for the final 30 minutes of the cycle to allow some of the liquid to reduce to your preferred consistency.
- Turnips: Parsnips or rutabaga work well as a substitute for a similar earthy flavor profile.
- Tomato broth: Chicken or vegetable stock mixed with two tablespoons of tomato paste can be used.
Equipment
- Slow cooker
- Glass measuring cup
- Chef knife
- Cutting board
- Can opener
Up next · Part 2 of 3
3 steps · 4 h of cooking · what to look for at each stage
Step-by-step instructions (Part 2)