Dinner · Part 2 of 3: Instructions
Slow Cooker Cherry Cola Baby Back Ribs Step-by-step instructions
- Prep
- Cook
- Total
- Serves
- 4
Before you start
Before beginning, ensure the slow cooker is clean and placed on a stable, heat-resistant surface. Take the pork ribs out of the refrigerator approximately 20 minutes before cooking to help them lose their chill.
Gather all measuring tools and ingredients to ensure a smooth assembly process. Check that the electrical cord for the slow cooker is clear of any water or kitchen clutter to maintain a safe working environment while the appliance is heating up during the long cook time.
Ingredients at a glance (4)
- 2 lb pork baby back ribs
- 1/2 cup cherry preserves
- 1 packet pork seasoning
- 1 cup cherry cola
Instructions
Preparation and assembly
- Assemble the ribsPlace the pork baby back ribs into the base of the slow cooker. Ensure they are arranged in an even layer to promote consistent cooking throughout the process.Look for The ribs are snugly fitted in the cooker.Tip Trim any excess fat from the ribs before placing them in the cooker if desired.
The ribs are arranged neatly in the slow cooker, providing a stable foundation for the braising liquid. Ensure the surface of the meat is exposed enough to receive the seasoning evenly.
Once the ribs are placed, confirm there is enough space around the edges for the liquid to circulate properly, which is vital for the infusion of flavors during the long cooking duration.
Seasoning and glazing
- Add the flavoringsSpoon the cherry preserves over the ribs. Sprinkle the seasoning packet evenly over the top, then pour the cherry cola over the entire mixture to create the braising liquid.Look for The liquid covers the base of the ribs.Tip Pour the cola slowly to avoid splashing the seasoning off the meat.
The cherry preserves, seasoning, and cola are layered over the ribs, creating a vibrant combination of ingredients. The liquid should partially submerge the ribs, ensuring the bottom of the meat stays moist. Check that the seasoning is distributed across the entire surface of the ribs to guarantee that each piece is well-coated with the dry rub before the cooking begins.
Slow cooking to perfection
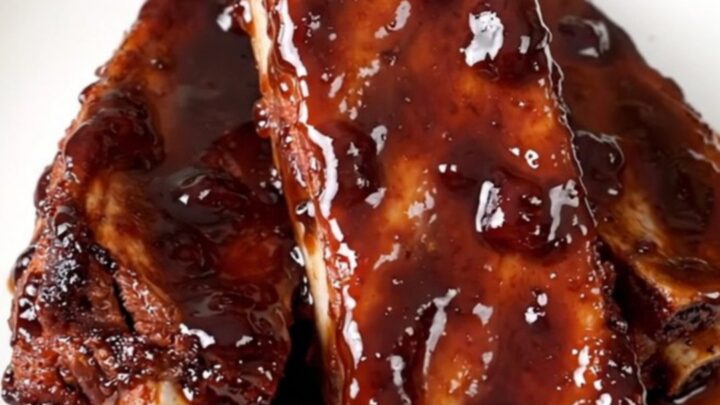
- Cook and finishCover and cook on low for 8 hours until the meat is tender and reaches an internal temperature of 145°F (63°C). Let the ribs rest for 10 minutes before serving.Look for The meat pulls away from the bone easily.Safe temperature 145°F (63°C) internal temperature (steaks, chops and roasts)Tip Use a digital thermometer to verify the temperature in the thickest part of the meat.
The slow cooker is set to the appropriate cycle, and the kitchen begins to fill with a savory, sweet aroma. During this phase, the meat undergoes a transformation as the slow, consistent heat breaks down the structure of the pork. Check periodically that the liquid is bubbling gently, indicating that the braising process is working as intended to tenderize the meat.
Common mistakes
A common mistake is overcrowding the slow cooker, which prevents even heat distribution and can lead to unevenly cooked meat. Ensure the ribs are placed in a single layer or stacked loosely.
Another frequent error is using a high-heat setting for too long; this can cause the sugars in the glaze to burn prematurely. Stick to the low-heat setting to allow for gradual flavor development and a perfectly sticky, non-burnt finish that highlights the cherry notes.
How to tell it’s done
The ribs are considered done when the meat is extremely tender and pulls away from the bone with minimal resistance. Use a meat thermometer to check that the internal temperature has reached at least 145°F (63°C).
When pierced with a fork, the meat should feel soft and yield easily. Allowing the ribs to rest for 10 minutes after cooking is essential, as this helps the juices redistribute throughout the meat, ensuring every bite remains moist and flavorful.
- Steaks, chops and roasts: 145°F (63°C) in the thickest part, then a 3-minute rest
Up next · Part 3 of 3
2 variations · storage & make-ahead · 3 answers · printable card
Tips, FAQ & printable recipe (Part 3)← Back to the ingredients (Part 1)